Desserts & Baking
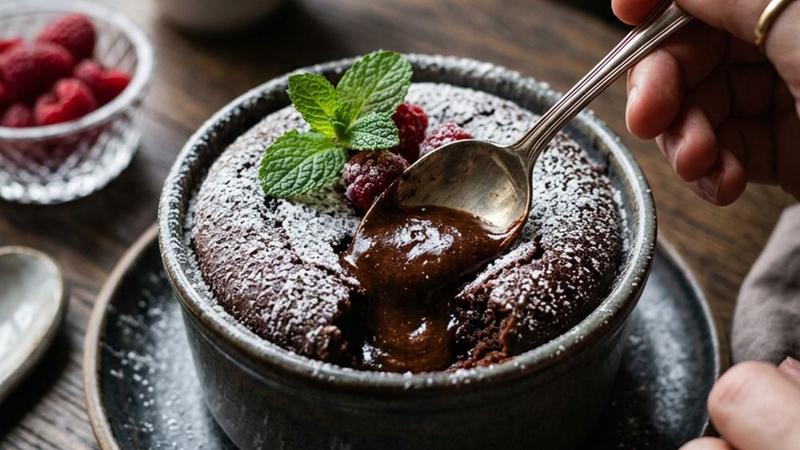
Chocolate Lava Cake
Rich chocolate lava cake with a molten center that oozes pure decadence. Easy recipe with just 6 ingredients, ready in 25 minutes.
Why This Chocolate Lava Cake Recipe Is Special
I still remember the first time I cracked open a chocolate lava cake at a tiny bistro in Paris. The spoon broke through the delicate shell and a river of molten, glossy chocolate came pouring out. From that moment, I was determined to recreate that magic at home.
What makes this recipe different is the ratio. I use more chocolate and less flour than most recipes, giving you a cake that is intensely chocolatey with a shell barely set enough to hold its shape. One tap of a spoon sends warm chocolate flowing across your plate. The extra egg yolks add richness without heaviness, and powdered sugar dissolves instantly for a smoother texture throughout.
This recipe takes about 25 minutes from start to finish. No mixer, no complicated techniques. If you can melt chocolate and crack eggs, you can make a restaurant-quality lava cake that will have your guests convinced you trained under a French pastry chef.
The Science Behind the Perfect Molten Center
A lava cake relies on a temperature gradient. The outer edges, closest to the hot ramekin walls, cook and set into firm cake. Meanwhile, the center stays below the temperature needed for the eggs and flour to set, remaining liquid and molten.
This is why I bake at 425°F (220°C) — higher than most cakes. That high heat rapidly sets the outside while leaving the inside gloriously underdone. At a lower temperature, heat penetrates all the way through, and you end up with a good chocolate cake but not a lava cake.
I use only 2 tablespoons of flour for the entire recipe. It gives the outer shell just enough structure to hold its dome shape after unmolding. More flour and the center sets too firmly. Less and the cake collapses. The eggs and extra yolks serve double duty — structure for the shell through protein coagulation, and a velvety, custard-like quality in the molten center.
Choosing the Right Chocolate
The chocolate determines 80% of the flavor here. With only six ingredients, every one needs to pull its weight. I recommend good-quality semi-sweet chocolate with 55-60% cacao — Ghirardelli, Guittard, or Lindt are my go-to brands. Avoid chocolate chips if you can, as their stabilizers prevent smooth melting.
For a darker, more intense cake, step up to 70% dark chocolate and add an extra tablespoon of powdered sugar. For a sweeter version, milk chocolate works beautifully — just reduce the sugar slightly. One trick I learned: chop the chocolate very finely before melting. Smaller pieces melt more evenly for a smoother batter.
Tips for Perfect Chocolate Lava Cakes Every Time
Master the timing with a test cake. Bake one for 12 minutes, unmold it, and cut it open. If the center is liquid, that timing is perfect for your oven. Write down the exact time — you will use it every time after that.
Bring your eggs to room temperature. Cold eggs cause the melted chocolate to seize up and form lumps. Set them out 30 minutes before baking, or place them in warm water for 5 minutes.
Do not skip the butter and cocoa coating. This is what allows the cake to release cleanly. Cocoa powder is better than flour because it does not leave white residue on your chocolate cake.
Use a kitchen scale for consistency. Six ounces by weight is precise and repeatable, while measuring by cups varies depending on how finely you chop.
Serve immediately. The molten center begins to set as it cools. Have your plates ready and your guests seated before you open the oven door.
Variations to Try
White Chocolate Lava Cake. Replace the semi-sweet chocolate with 6 ounces of white chocolate, reduce the powdered sugar to 2 tablespoons, and add 1 teaspoon vanilla extract. Pair with a raspberry coulis for beautiful color contrast.
Peanut Butter Lava Cake. Spoon batter halfway into ramekins, add a frozen ball of peanut butter (1 tablespoon, frozen 2 hours) in the center, then cover with more batter. My husband’s absolute favorite version.
Salted Caramel Lava Cake. Tuck a frozen cube of salted caramel (2 teaspoons) into each ramekin before the final batter layer. Add flaky sea salt on top after unmolding.
Espresso Lava Cake. Add 2 teaspoons of instant espresso powder to the melted chocolate mixture. The coffee amplifies the chocolate without making it taste like coffee.
How to Store and Troubleshooting
Lava cakes are best fresh, but you can fill prepared ramekins, cover with plastic wrap, and refrigerate for up to 24 hours. Add 2 extra minutes for cold batter. You can also freeze unbaked batter in wrapped ramekins for up to 1 month — bake from frozen at 425°F for 16 to 18 minutes.
The cake stuck to the ramekin. The butter and cocoa coating was not thorough enough. If it sticks, serve it in the ramekin and call it a “chocolate pot de creme.”
The center was fully cooked. Reduce your time by 1 to 2 minutes. Check your oven temperature with a thermometer — many ovens run hotter than the dial says.
The cake collapsed when unmolded. The batter was too wet, often from undermeasuring flour. Let cakes rest a full 60 seconds before unmolding.
The batter looks grainy or split. The chocolate was too hot when you added the eggs. Let it cool for a full 2 minutes before combining.
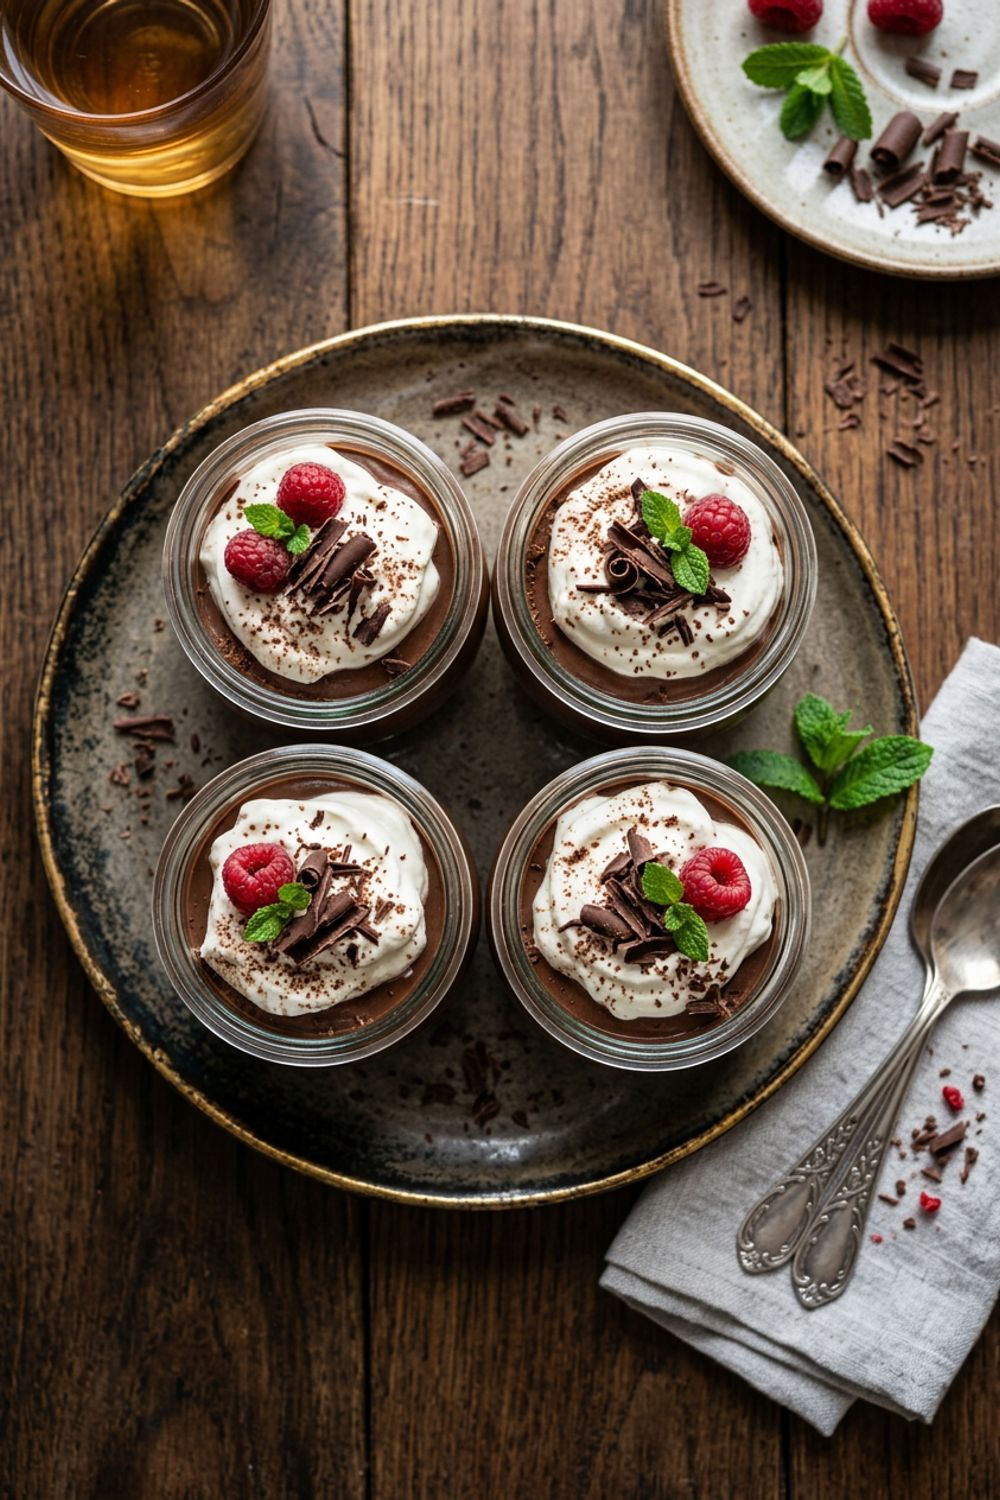
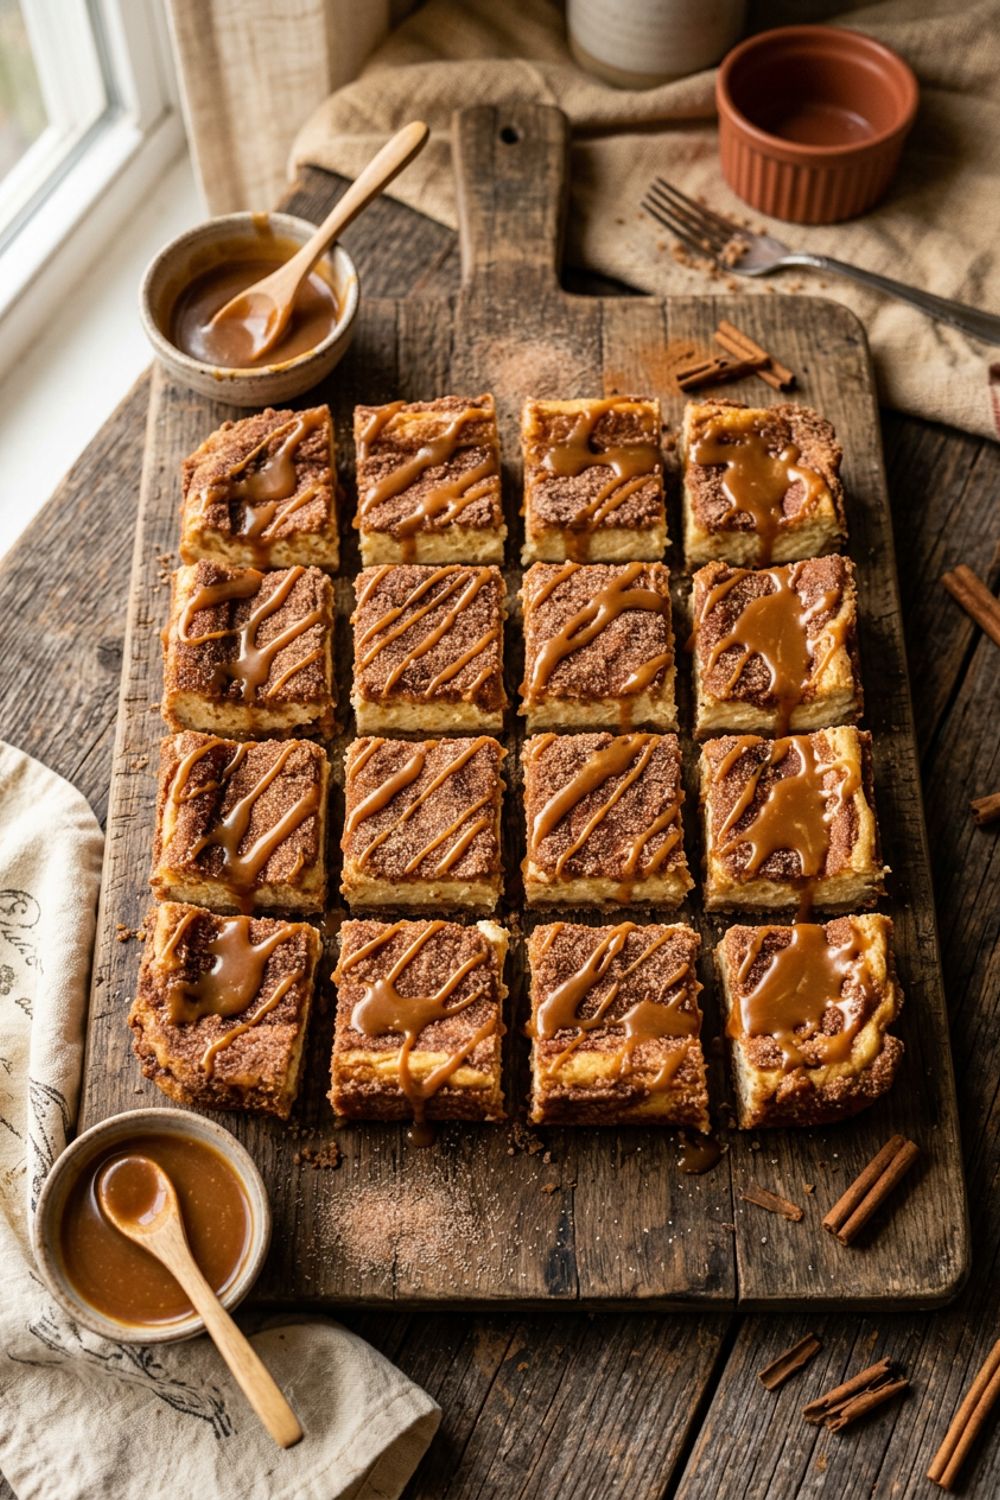
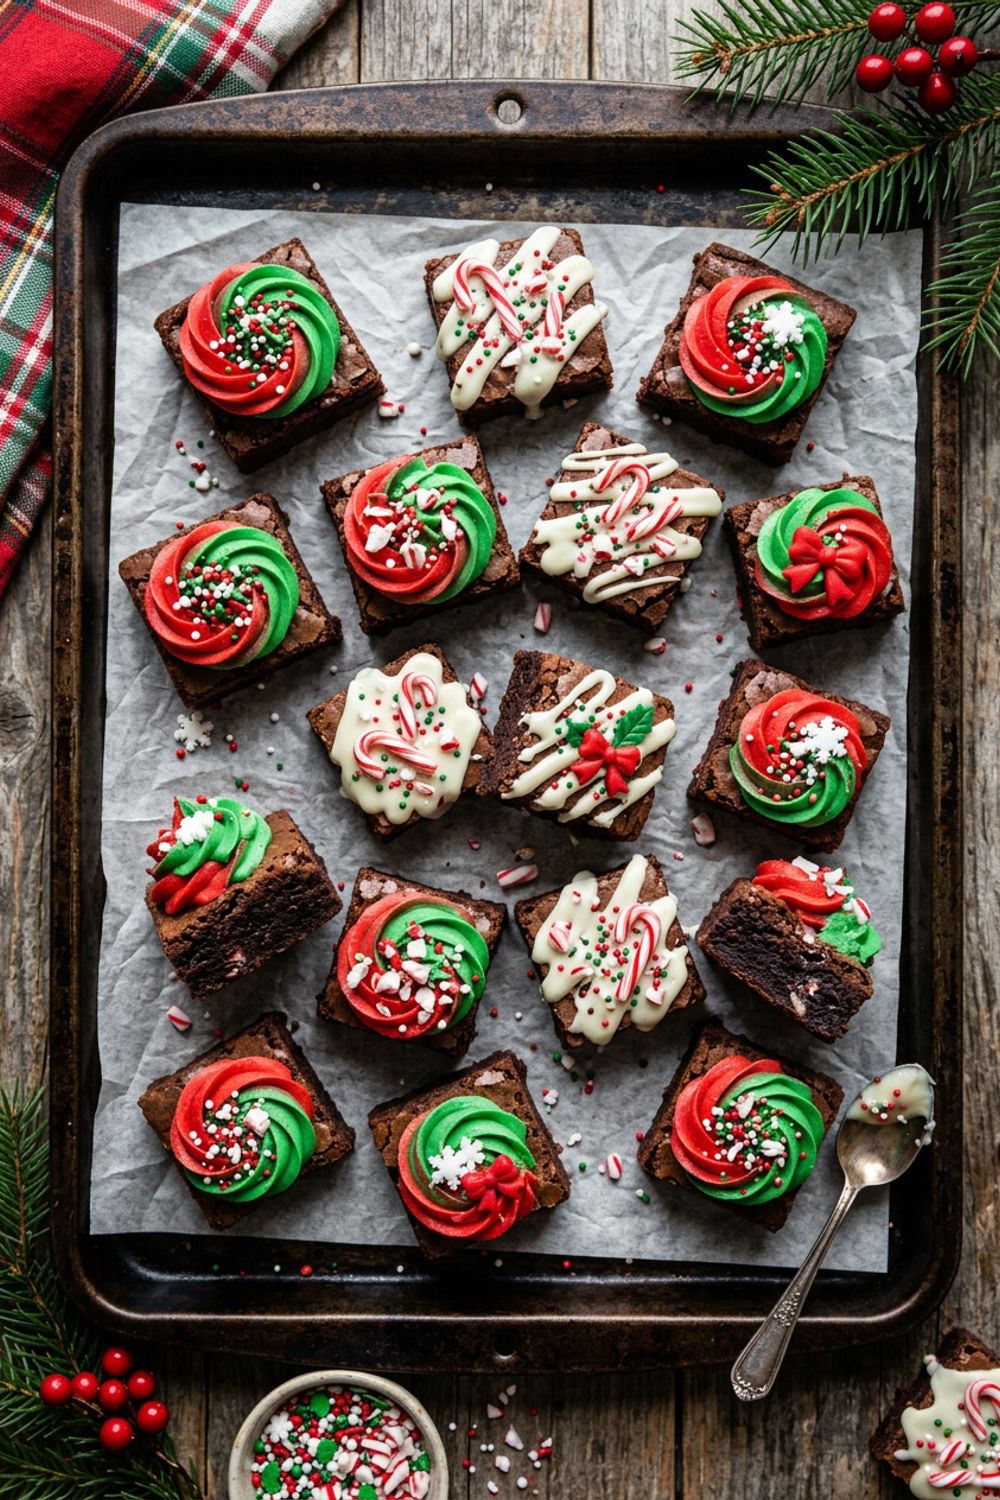
If you are craving more chocolate decadence, I highly recommend my chocolate pudding pots for something silky and spoonable, or my christmas brownie bites for a festive twist. And for a creamy cheesecake contrast, check out my churro cheesecake recipe.
Ingredients
Lava Cake Batter
For Ramekins
Garnish
Instructions
Prepare the Ramekins
Preheat your oven to 425°F (220°C). Generously brush the insides of four 6-ounce ramekins with softened butter, making sure to coat every surface. Dust each ramekin with cocoa powder, tapping out the excess. This double coating ensures the cakes release perfectly every time. Place the prepared ramekins on a baking sheet.
Melt the Chocolate and Butter
Place the chopped chocolate and butter in a microwave-safe bowl. Microwave in 30-second intervals, stirring between each, until completely melted and smooth, about 90 seconds total. Alternatively, melt over a double boiler, stirring constantly. Let the mixture cool for 2 minutes so it does not cook the eggs when combined.
Mix the Eggs and Sugar
In a separate bowl, whisk together the eggs, egg yolks, and powdered sugar until thick and pale, about 2 minutes of vigorous whisking. The mixture should form a ribbon when the whisk is lifted. This aeration is what gives the cake its delicate outer shell.
Combine the Batter
Pour the melted chocolate mixture into the egg mixture and fold gently with a spatula until just combined. Sift the flour over the top and fold in until no streaks of flour remain. Be careful not to overmix, as this develops gluten and can make the cake tough rather than tender.
Fill and Bake
Divide the batter evenly among the four prepared ramekins, filling each about three-quarters full. Bake at 425°F (220°C) for exactly 12 to 14 minutes. The edges should be firm and set, but the center should still jiggle slightly when you gently shake the ramekin. The timing is critical — even one extra minute can turn your molten center into a solid cake.
Unmold and Serve
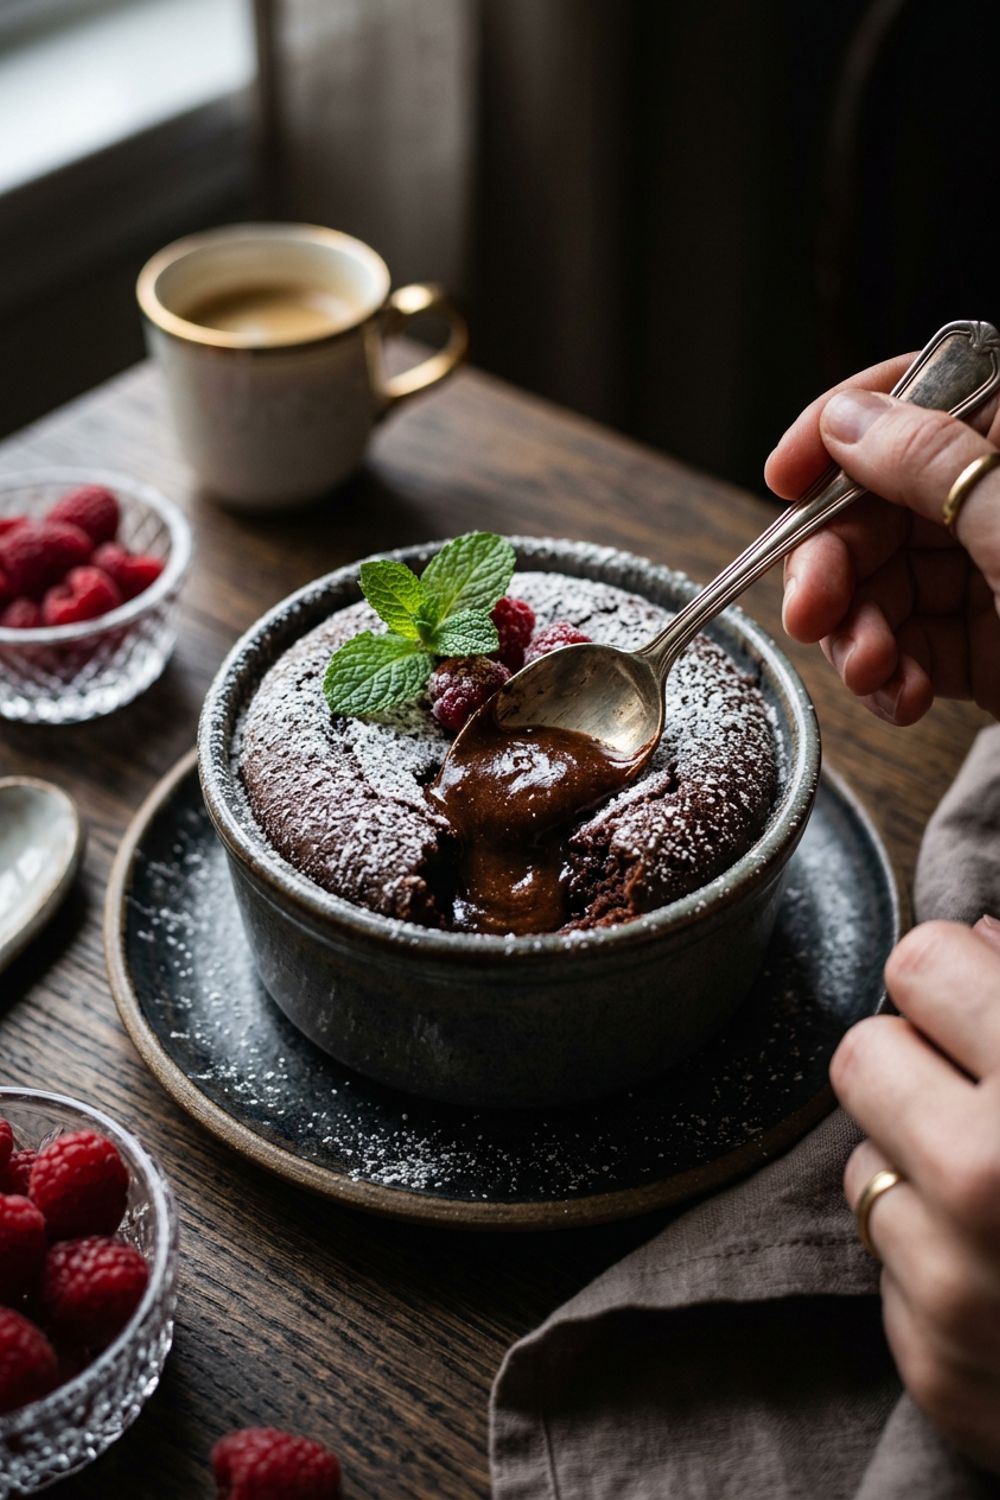
Let the cakes rest in the ramekins for exactly 1 minute. Run a thin knife around the edge of each cake. Place a serving plate upside down on top of the ramekin, then quickly flip both together. Gently lift the ramekin away. The cake should slide out with a perfect dome. Dust with powdered sugar and serve immediately with fresh raspberries or a scoop of vanilla ice cream.
Nutrition Information
Per serving (serves 4). Values are approximate.
| Calories | 420 calories |
| Total Fat | 30g |
| Saturated Fat | 18g |
| Carbohydrates | 34g |
| Sugar | 24g |
| Protein | 7g |
| Sodium | 45mg |
| Fiber | 3g |
* Percent Daily Values are based on a 2,000 calorie diet. Your daily values may be higher or lower depending on your calorie needs. Nutritional information is an estimate and may vary.
Never Miss a Recipe
Join 5,000+ home cooks and get new recipes straight to your inbox.
Frequently Asked Questions
Can I make chocolate lava cakes ahead of time?
Yes! Prepare the batter and fill the ramekins, then cover with plastic wrap and refrigerate for up to 24 hours. When ready to bake, add 2 extra minutes to the baking time since the batter will be cold.
Why did my lava cake not have a runny center?
The most common reason is overbaking. Every oven is different, so start checking at 11 minutes. The center should jiggle like gelatin when you shake the ramekin. Also, make sure you are using 6-ounce ramekins — larger ones spread the batter too thin.
Can I use milk chocolate instead of semi-sweet?
Absolutely. Milk chocolate will give a sweeter, creamier center. Reduce the powdered sugar to 2 tablespoons if you switch to milk chocolate. Dark chocolate (70% cacao) also works wonderfully for a more intense, bittersweet flavor.
Can I bake lava cakes in a muffin tin?
Yes, you can use a well-greased muffin tin. Reduce the baking time to 9 to 11 minutes since the thinner walls conduct heat faster. The cakes may be slightly harder to unmold, so be sure to butter and cocoa-dust generously.

Hi, I'm Lisa!
I create simple, tested recipes from around the world that anyone can make at home.
Learn More →Reader Reviews
Based on 321 reviews