Desserts & Baking
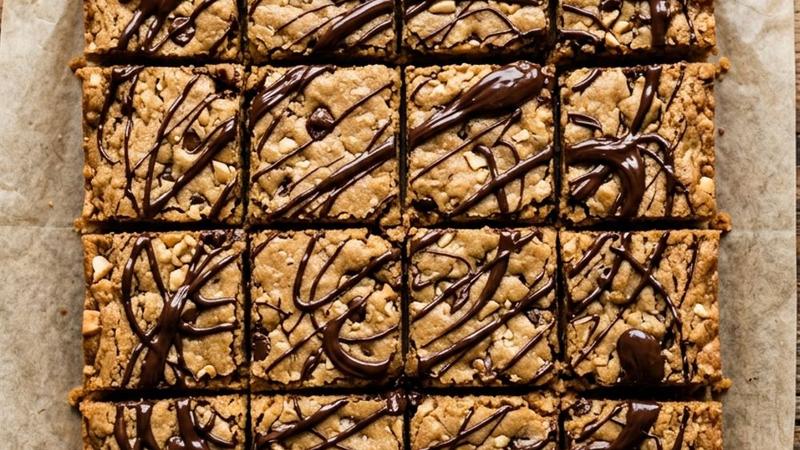
Easy Peanut Butter Cookie Bars
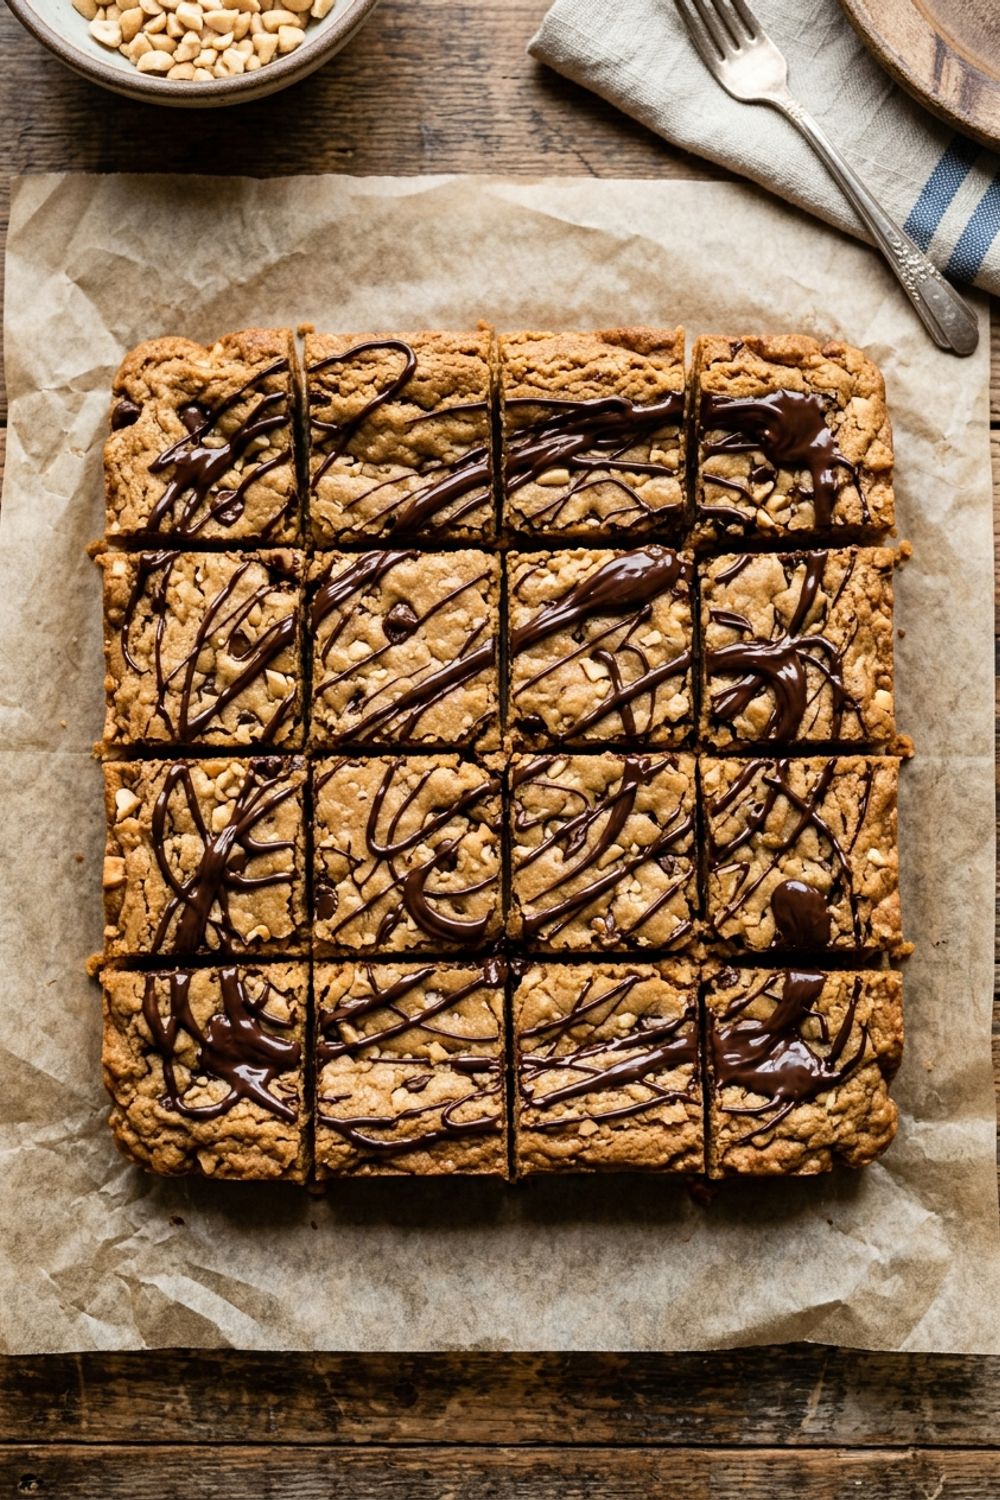
Thick, chewy peanut butter cookie bars with a soft center and golden edges. Just one bowl and 30 minutes for the ultimate peanut butter treat.
Why This Peanut Butter Cookie Bars Recipe Is Special
I have been making peanut butter cookies since I was old enough to hold a mixing spoon, but switching to bars changed my baking life. Instead of rolling individual dough balls, spacing them on multiple sheets, and babysitting batch after batch, you dump everything into one pan, spread it out, and bake once. Same delicious flavors, a fraction of the effort.
These bars have everything I love about a classic peanut butter cookie: that rich, salty-sweet flavor, a chewy center that bends before it breaks, and golden edges with just enough crunch. The brown sugar adds a deep caramel-like sweetness, and the combination of melted butter plus peanut butter creates an incredibly fudgy, dense texture almost like a blondie crossed with a cookie.
The whole recipe comes together in one bowl — no mixer, no chilling time. From start to finished bars, about 30 minutes. Add chocolate chips or leave them plain — either way, they disappear faster than you can cut them.
The Science of Chewy Cookie Bars
Fat is what makes these bars tender and fudgy. Melted butter produces a denser, chewier texture because it does not trap air pockets the way creamed butter does. The peanut butter adds its own fats plus protein for that satisfying chew.
Brown sugar is the secret weapon. It contains molasses, which is hygroscopic — it attracts and holds moisture. Bars made with brown sugar stay softer and chewier for days. I use both brown and white sugar: brown for moisture and chew, white for sweetness and a slightly crisper edge.
Baking time is where most people go wrong. Pull the bars when the center still looks slightly underdone. Residual heat continues baking them, and they firm up as they cool. If the center looks fully set when you take them out, they will be overbaked and dry.
Choosing the Right Peanut Butter
I strongly recommend commercial creamy peanut butter like Jif or Skippy. These contain stabilizers that create a consistent texture in baking. Natural peanut butter behaves differently — the oils can lead to bars that are too oily or too dry. If natural is all you have, stir it thoroughly before measuring.
I measure peanut butter by weight: 256 grams, roughly 1 cup. It is notoriously difficult to measure by volume because it sticks to the cup. A kitchen scale makes this much more accurate, or spray your measuring cup with nonstick spray first.
Tips for Perfect Peanut Butter Cookie Bars
Line the pan with parchment. Peanut butter bars are notorious for sticking. Leave a 2-inch overhang on two sides for effortless removal.
Do not overbake — pull them early. At 20 minutes, the edges should be golden and slightly pulled away from the sides. The center should still look a little shiny and underdone. This is perfect.
Let them cool completely before cutting. Warm bars are too soft to cut cleanly. Cooling allows starches and sugars to set. Pop them in the fridge for 15 minutes to speed things up.
Add mix-ins at the very end. Fold chocolate chips or peanuts in as the last step, right after the flour is incorporated, with a gentle fold.
Use light brown sugar, not dark. Dark brown sugar has more molasses and can make the bars too moist, almost like pudding texture.
Variations to Try
Peanut Butter Chocolate Chip Bars. Fold 1 cup semi-sweet chocolate chips into the batter. Press extra chips into the top before baking for a melty, visible layer.
Peanut Butter Swirl Bars. Drop spoonfuls of Nutella on top and swirl with a knife. Use about 1/2 cup for a generous swirl.
Peanut Butter and Jelly Bars. Dot the top with tablespoons of your favorite jam and swirl with a knife. Strawberry and grape are classics.
Salted Peanut Butter Pretzel Bars. Fold 1 cup crushed pretzels into the batter and sprinkle flaky sea salt over the top before baking.
How to Store and Troubleshooting
These store well at room temperature for up to 5 days in an airtight container. For freezing, wrap individual bars in plastic wrap and freeze in a zip-top bag for up to 3 months. Thaw at room temperature for 30 minutes or microwave 15 seconds.
The bars are too thin and crispy. Make sure you are using a 9x13-inch pan. A bigger pan spreads the batter too thin.
The bars crumbled when I cut them. They needed more cooling time, or they were overbaked. Cool completely and pull from the oven a minute earlier next time.
The bars taste flat. Salt is crucial — it amplifies the peanut flavor dramatically. Use the full 1/2 teaspoon. A pinch of flaky sea salt on top also works wonders.
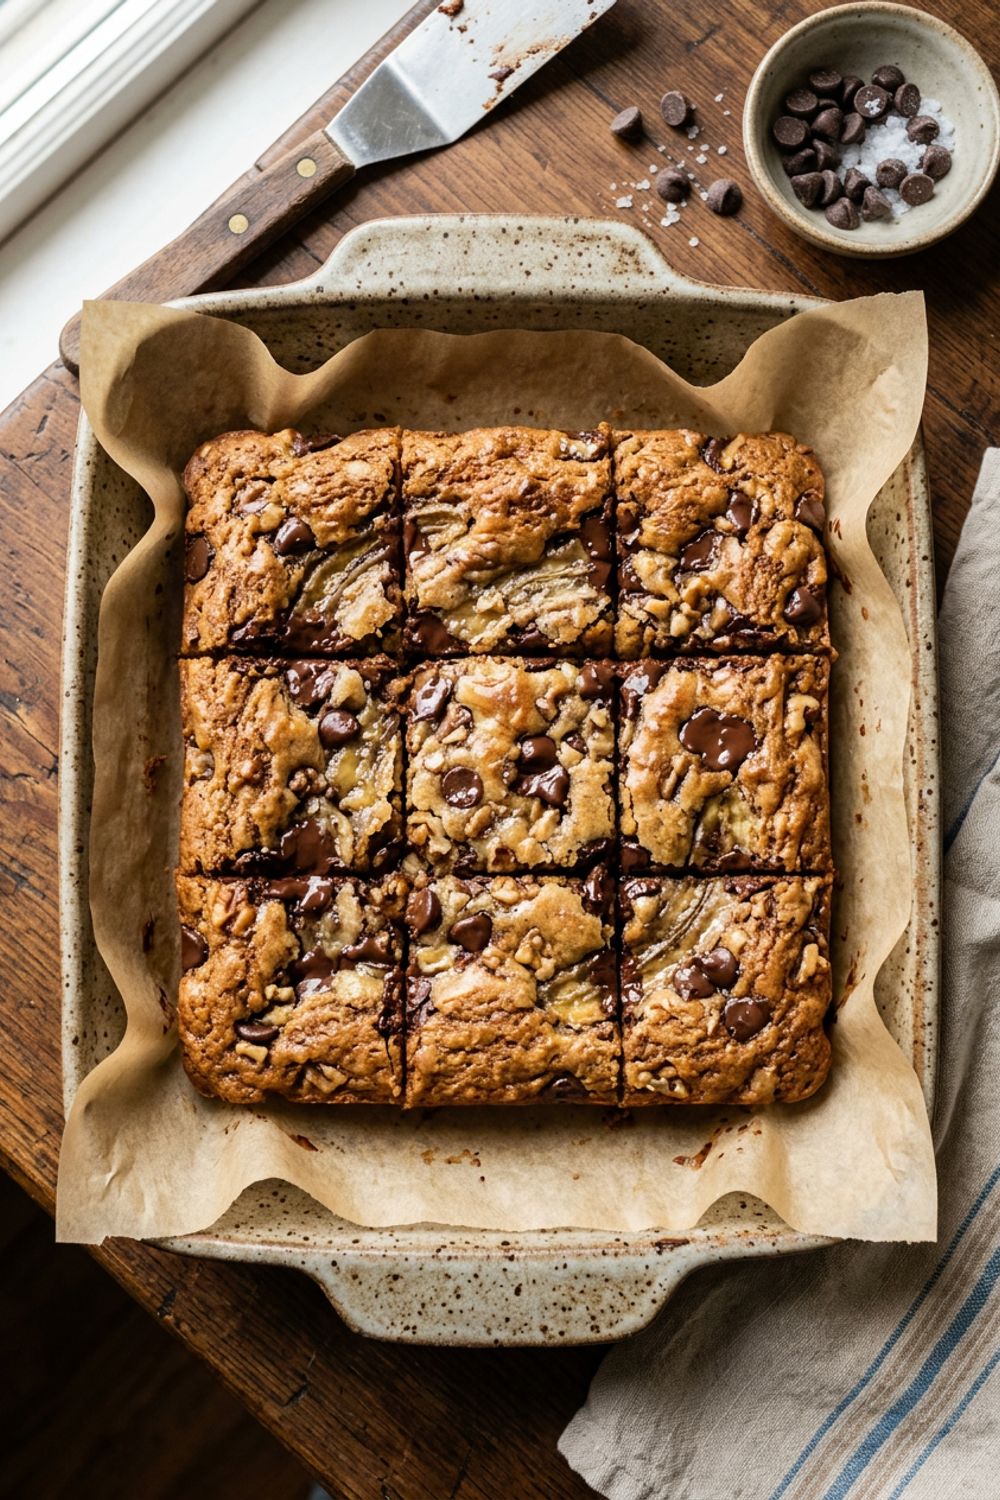
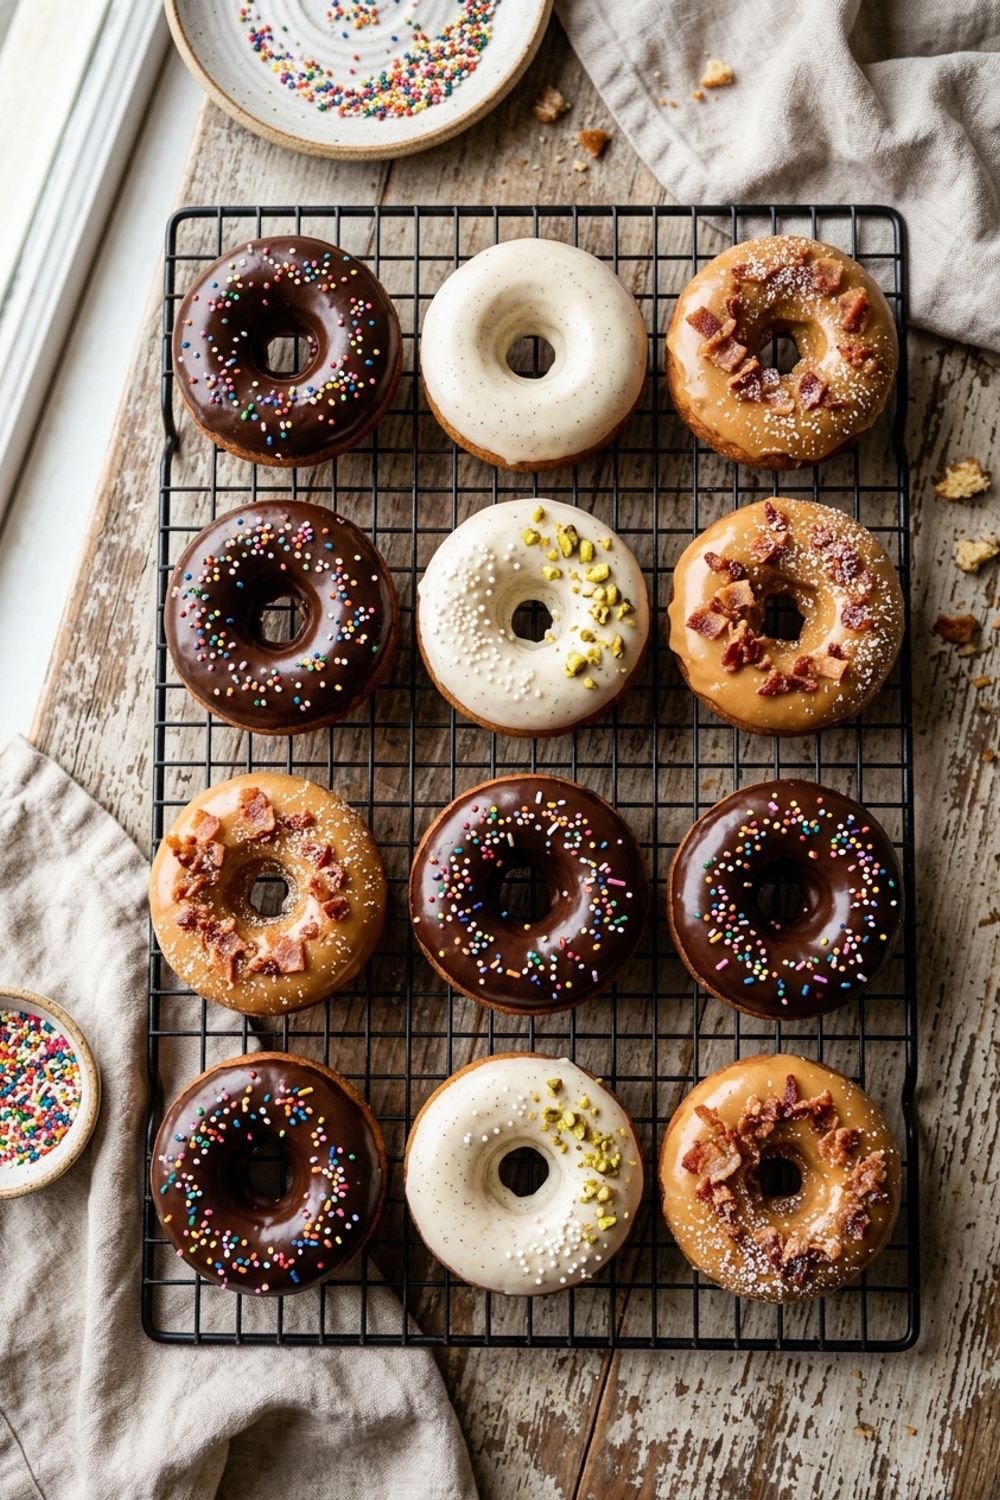
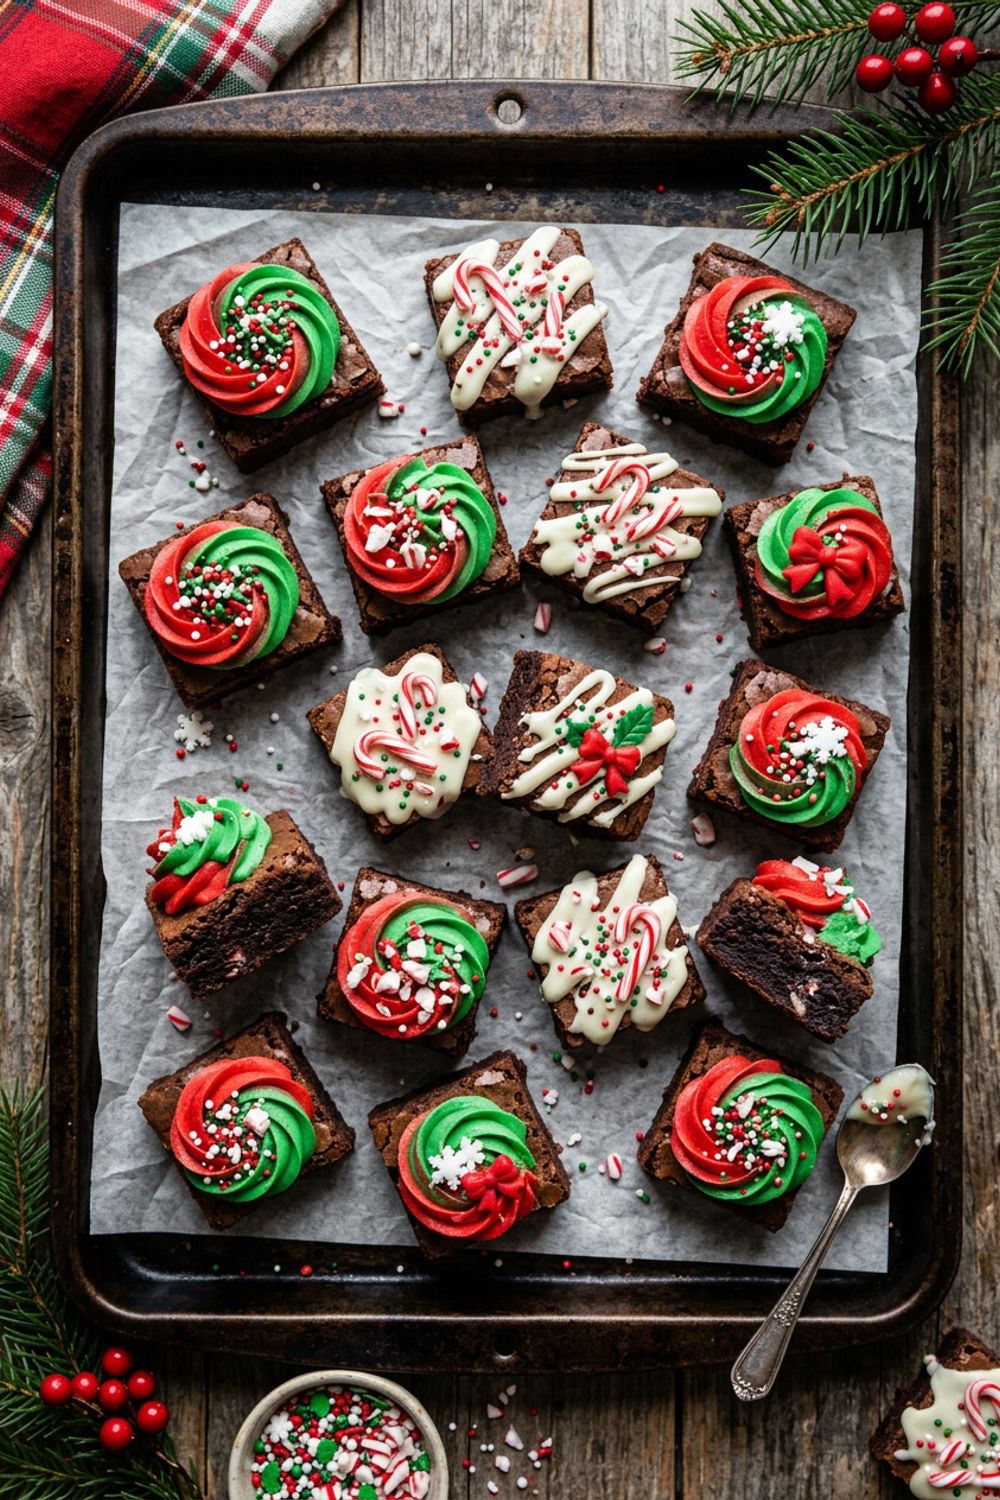
For more bar recipes, try my banana chocolate chip bars for a fruity twist, or my christmas brownie bites for a chocolate-rich holiday version. My cake donuts recipe is another crowd-pleaser that comes together fast.
Ingredients
Cookie Bar Batter
Optional Mix-ins
Instructions
Prepare the Pan
Preheat your oven to 350°F (175°C). Line a 9x13-inch baking pan with parchment paper, leaving an overhang on two sides for easy removal. Lightly spray the parchment with nonstick cooking spray.
Mix the Wet Ingredients
In a large bowl, stir together the peanut butter and melted butter until smooth and combined. Add the brown sugar and granulated sugar, stirring vigorously until the mixture is thick and well combined. Add the eggs one at a time, stirring after each until just incorporated. Stir in the vanilla extract.
Add the Dry Ingredients
Add the flour, baking powder, baking soda, and salt directly to the bowl. Stir with a wooden spoon or spatula until just combined — a few streaks of flour are fine. Fold in the chocolate chips and chopped peanuts if using. Do not overmix.
Spread and Bake
Transfer the batter to the prepared pan and spread it evenly with a spatula or the back of a spoon. The batter will be thick and sticky — wetting the spatula slightly makes spreading easier. Bake at 350°F (175°C) for 20 to 22 minutes, until the edges are golden brown and the center is just barely set. The center will look slightly underdone — this is exactly what you want for chewy bars.
Cool Completely
Let the bars cool completely in the pan on a wire rack, at least 30 minutes. The bars continue to firm up as they cool. Once cool, use the parchment overhang to lift the entire slab out of the pan. Cut into 16 bars.
Serve
Serve at room temperature for the chewiest texture, or warm them briefly in the microwave for 10 seconds for a soft, gooey experience. Store in an airtight container.
Nutrition Information
Per serving (serves 16). Values are approximate.
| Calories | 265 calories |
| Total Fat | 14g |
| Saturated Fat | 5g |
| Carbohydrates | 30g |
| Sugar | 19g |
| Protein | 6g |
| Sodium | 210mg |
| Fiber | 1g |
* Percent Daily Values are based on a 2,000 calorie diet. Your daily values may be higher or lower depending on your calorie needs. Nutritional information is an estimate and may vary.
Never Miss a Recipe
Join 5,000+ home cooks and get new recipes straight to your inbox.
Frequently Asked Questions
Can I use natural peanut butter?
I recommend using regular creamy peanut butter like Jif or Skippy for the best texture. Natural peanut butter has a different oil content and can make the bars greasy or dry depending on the brand. If you use natural, make sure it is well stirred and at room temperature.
Can I use crunchy peanut butter?
Absolutely! Crunchy peanut butter adds a wonderful textural element to these bars. The peanut pieces toast slightly in the oven and add little pops of crunch throughout.
My bars are too crumbly. What went wrong?
Overbaking is the most likely culprit. Pull the bars when the center still looks slightly underdone — they set completely as they cool. Also, make sure you are using enough peanut butter and butter, as the fats are what hold the bars together.
Can I make these gluten-free?
Yes! Replace the all-purpose flour with a 1:1 gluten-free baking flour blend like Bob's Red Mill. The results are very similar in texture and taste.

Hi, I'm Lisa!
I create simple, tested recipes from around the world that anyone can make at home.
Learn More →Reader Reviews
Based on 340 reviews