Holiday & Christmas
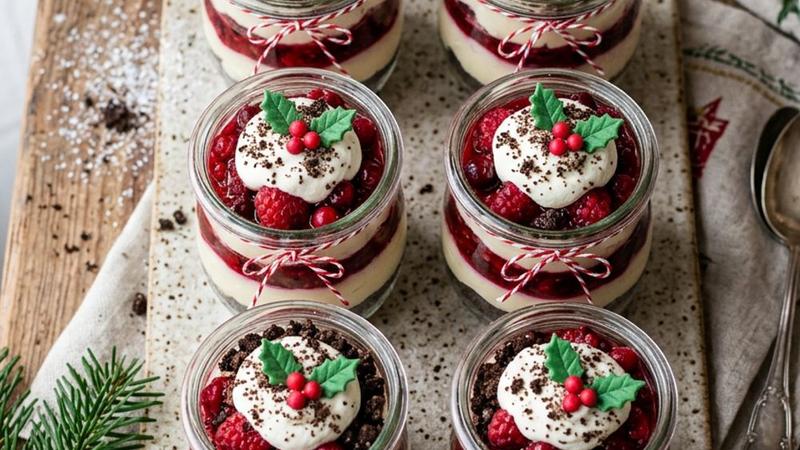
No-Bake Christmas Dessert Cups
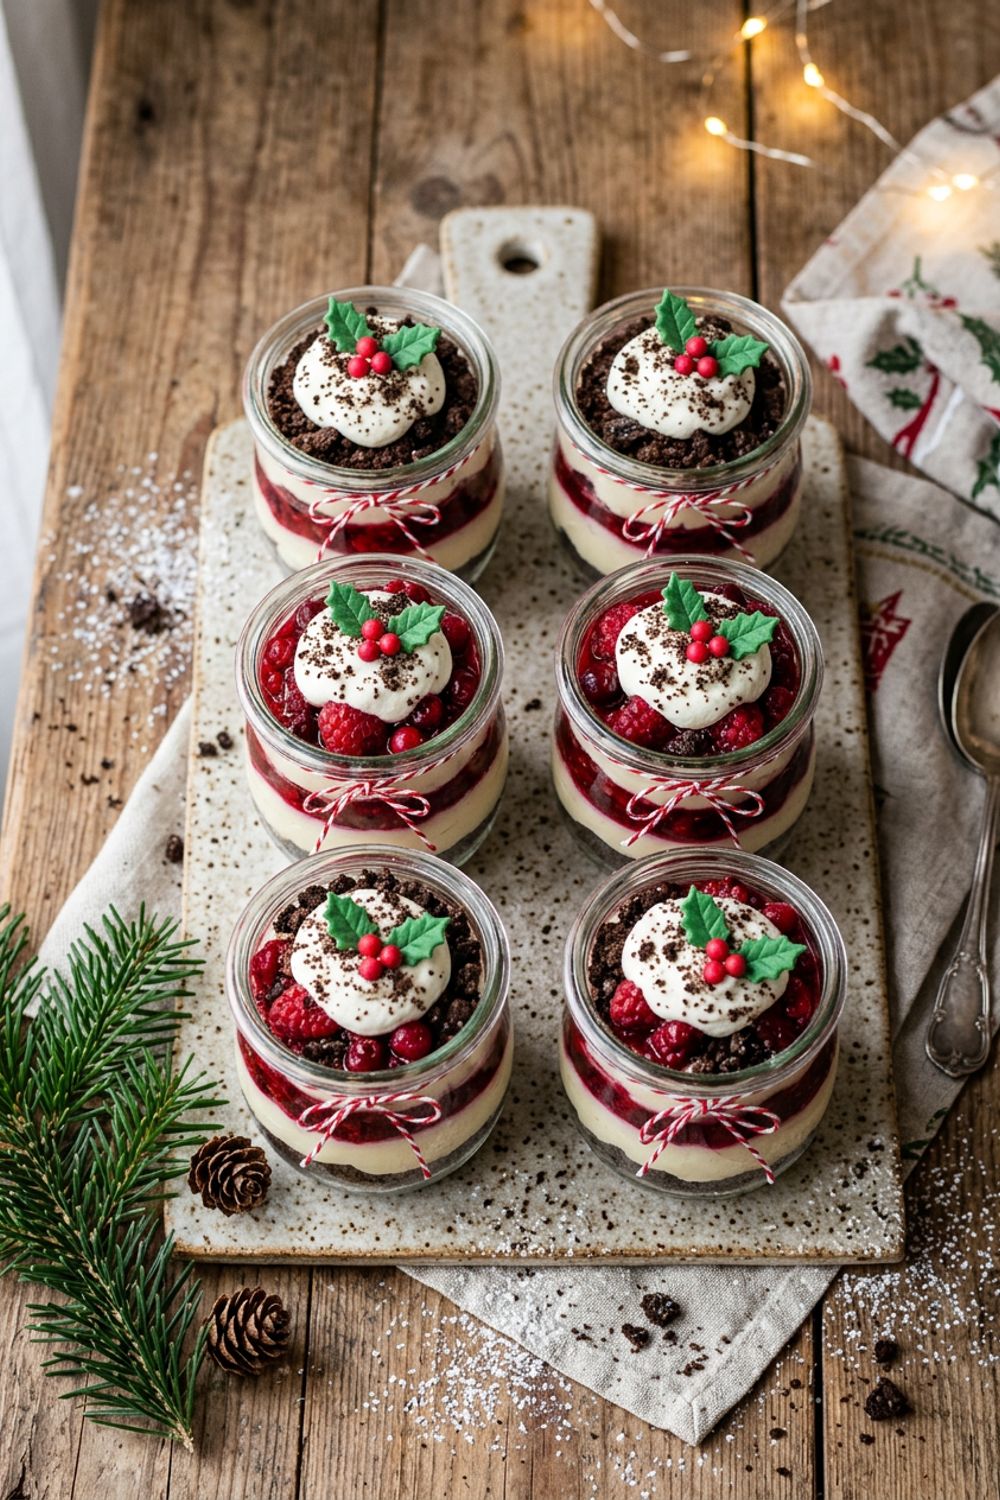
Layered no-bake Christmas dessert cups with cookie crumble, cream cheese mousse, and berry topping. Elegant, easy, and ready in 20 minutes.
Why These No-Bake Christmas Dessert Cups Are Special
I created these for a Christmas party where the turkey was monopolizing the entire oven. In a moment of creative desperation, I grabbed clear glasses, crushed cookies, whipped together a mousse, and topped everything with fresh berries. That frantic improvisation became one of my most beloved holiday desserts.
These cups solve every holiday dessert dilemma. No oven required, nothing to overbake or burn, no complicated techniques. They can be assembled hours ahead and sit patiently in the refrigerator, ready to be pulled out at the perfect moment.
The real reason they became a staple is how they taste. The chocolate cookie crumble adds satisfying crunch and rich cocoa flavor. The cream cheese mousse is impossibly light and airy. And the macerated berry topping brings a burst of tart fruitiness that cuts through the richness. The layers look stunning through clear glass — dark cookie base, snow-white mousse, and ruby-red berries creating a natural Christmas color scheme without any gimmicks.
The Art of the Perfect Mousse
The cream cheese must be fully softened — take it out a full hour ahead. Cold cream cheese stays lumpy no matter how long you beat it. Beat it alone for two minutes on medium speed before adding anything else, scraping down the sides halfway through.
Whip the cream in a separate, chilled bowl. Put both the bowl and whisk in the freezer for 10 minutes beforehand. Whip to stiff peaks — points that stand straight up. Stop immediately at this stage.
Folding is the most critical step. Use a large spatula and fold in three additions. The first third can be folded more vigorously to loosen the cream cheese. The second and third go in with gentle, sweeping folds. Stop as soon as no white streaks remain. Over-folding collapses the air and makes the mousse dense.
Mastering Macerated Berries
Tossing berries with sugar and lemon juice draws out natural juices through osmosis, creating a syrupy sauce. Two tablespoons of sugar is enough without making them overly sweet. The lemon juice adds brightness and helps berries maintain their vivid red color. I use raspberries for their rich juice and strawberries for their firmer structure.
Tips for Perfect Results
Use clear glasses. The entire appeal is the visible layering. Stemless wine glasses, mason jars, or even clear plastic cups work.
Keep layers distinct. Pack the crumble firmly. Spoon mousse carefully from center outward to avoid dragging crumbs up the sides. Add berries gently on top.
Pipe the mousse for a professional look. Transfer to a piping bag with a large round tip and spiral from edges to center. Much smoother than spooning.
Chill 30 minutes to 1 hour before serving. This lets the mousse set without the crumble losing its crunch. Beyond 8 hours, the crumble softens.
Make white chocolate shavings yourself. Use a vegetable peeler on a block of white chocolate. Microwave the block for 5 seconds if too brittle.
Variations to Try
Peppermint Mocha Cups. Replace berries with chocolate ganache (heat cream, pour over chopped dark chocolate). Add peppermint extract to the mousse. Garnish with crushed candy canes.
Gingerbread Cheesecake Cups. Use crushed gingersnaps for the base. Add ginger and cinnamon to the mousse. Top with caramel sauce.
Lemon Berry Trifle Cups. Add lemon curd to the mousse. Use crushed vanilla wafers. Top with a dollop of lemon curd and a fresh blueberry.
Tiramisu-Style Cups. Brush ladyfinger pieces with espresso and Kahlua. Use mascarpone in the mousse. Dust with cocoa powder.
How to Store
Assembled cups keep 8 hours refrigerated. After that, the crumble softens (it tastes like cheesecake crust, still delicious, just different texture). For longer prep, store components separately: crumble mixture keeps 3 days at room temperature, mousse keeps 24 hours refrigerated, berries best same day.
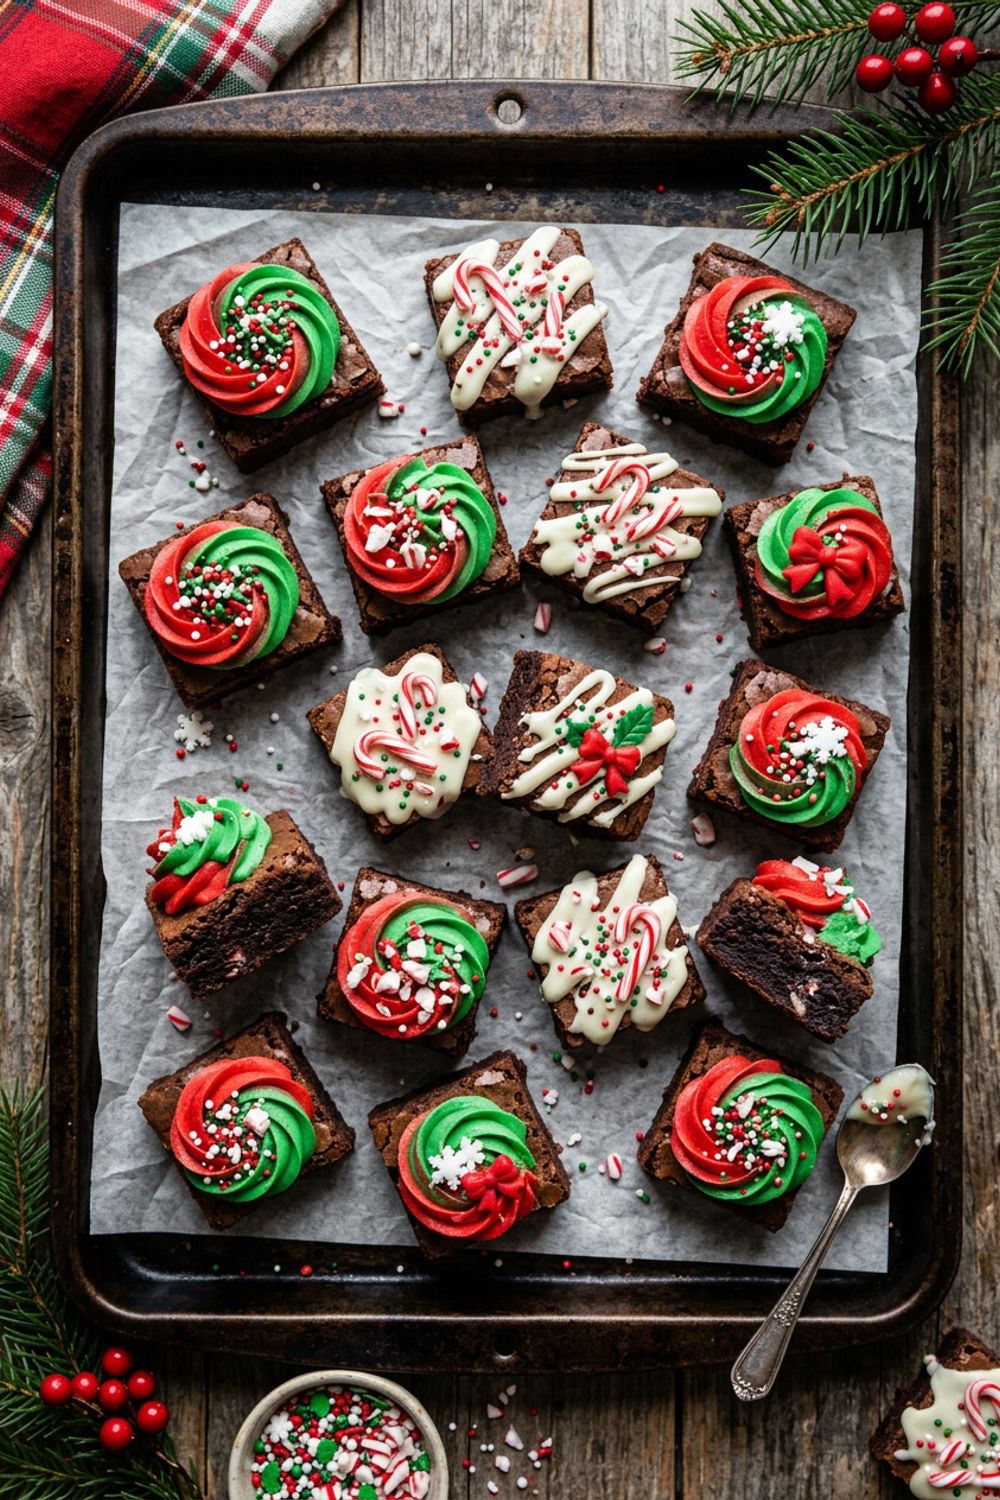
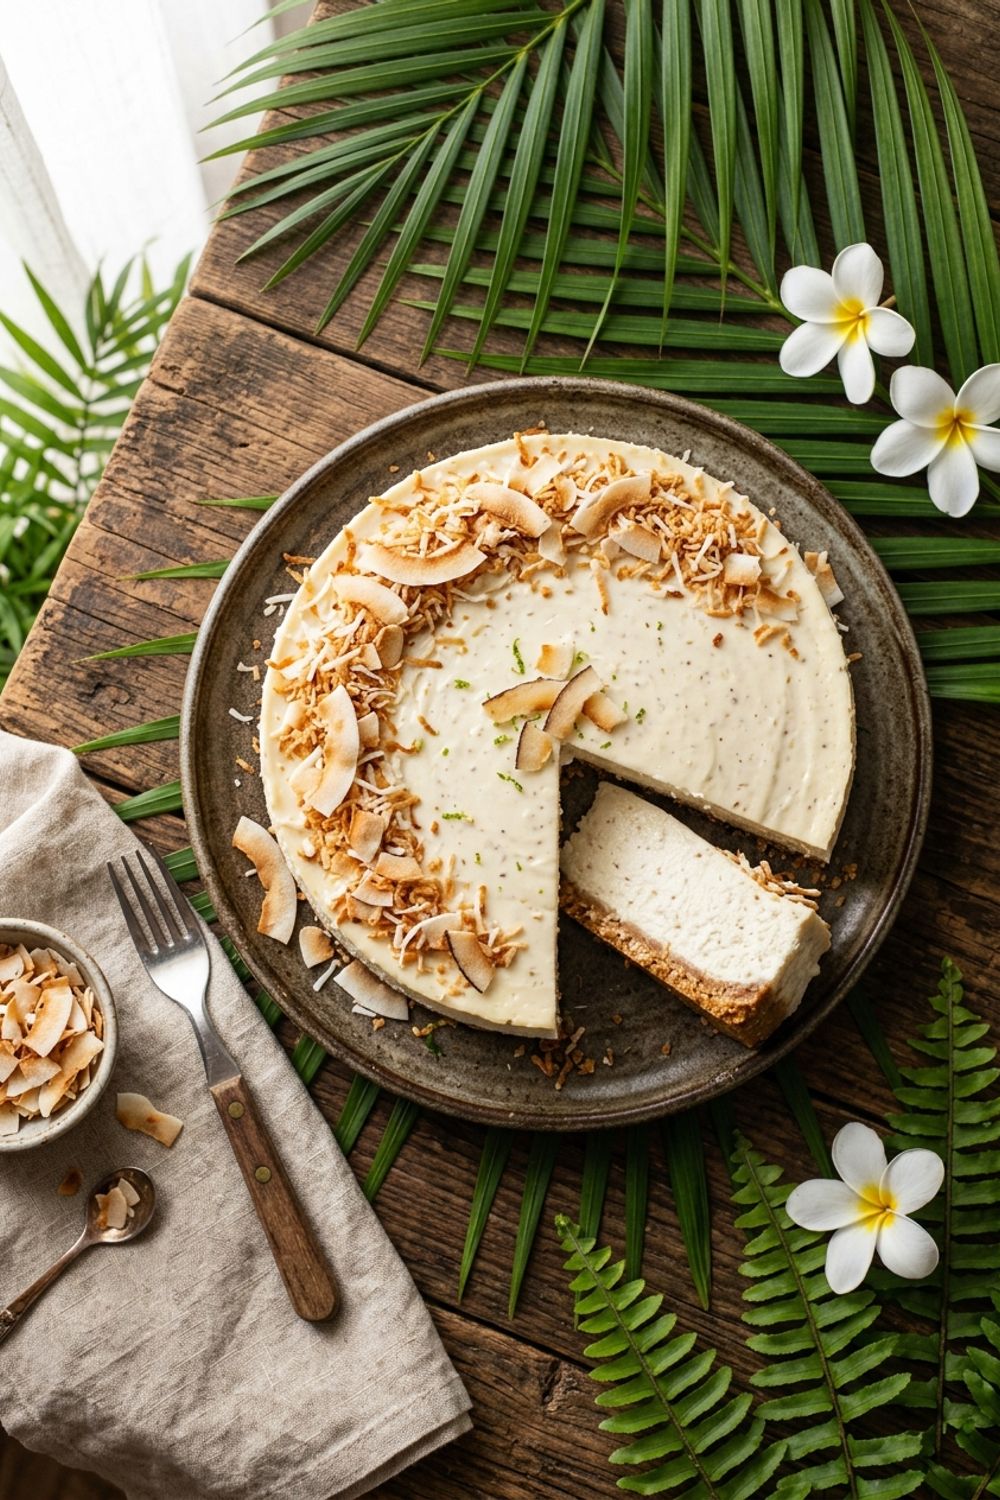
For more holiday desserts, try my christmas brownie bites for a chocolate-lover’s table, or my churro cheesecake recipe for another cream cheese showstopper.
Ingredients
Cookie Crumble Layer
Cream Cheese Mousse Layer
Berry Topping
Garnish
Instructions
Make the Cookie Crumble
Place the chocolate sandwich cookies in a large resealable bag and crush them with a rolling pin until you have a mix of fine crumbs and small chunks. You want some texture, not a uniform powder. Transfer the crushed cookies to a bowl and stir in the melted butter until every crumb is moistened. The butter helps the crumble hold together slightly at the bottom of the cup.
Prepare the Berry Topping
Combine the raspberries, diced strawberries, granulated sugar, and lemon juice in a bowl. Gently toss to coat. Let the berries macerate for at least 15 minutes while you prepare the mousse. The sugar draws out the berry juices and creates a naturally sweet, ruby-red sauce that will pool beautifully on top of the mousse.
Make the Cream Cheese Mousse
In a large bowl, beat the softened cream cheese with an electric mixer on medium speed until smooth and fluffy, about 2 minutes. Add the powdered sugar and vanilla extract and beat until fully incorporated with no lumps remaining. In a separate chilled bowl, whip the heavy cream and almond extract to stiff peaks, about 3 to 4 minutes. Gently fold the whipped cream into the cream cheese mixture in three additions, being careful not to deflate the whipped cream. The mousse should be light, airy, and cloud-like.
Layer the Cookie Crumble
Spoon 2 to 3 tablespoons of the buttered cookie crumble into the bottom of each serving cup or glass (8-ounce clear glasses work best). Press down gently with the back of the spoon to create a compact, even layer about 1/2 inch thick. The clear glass will show off all the beautiful layers, so try to keep the crumble level and clean on the sides.
Layer the Mousse and Berries
Spoon or pipe the cream cheese mousse over the cookie layer, filling each cup about two-thirds full. Smooth the top with the back of a spoon. Spoon the macerated berries and their juices over the mousse. The red berries against the white mousse creates a stunning Christmas color contrast. If any berry juice drips down the side of the glass, wipe it clean with a damp paper towel for the neatest presentation.
Garnish and Chill
Top each cup with white chocolate shavings, a few extra fresh raspberries, and a small mint leaf. Dust lightly with powdered sugar for a snowy effect. Refrigerate for at least 30 minutes before serving to allow the layers to set and the flavors to meld. The cups can be made up to 8 hours ahead and kept covered in the refrigerator.
Nutrition Information
Per serving (serves 8). Values are approximate.
| Calories | 320 calories |
| Total Fat | 21g |
| Saturated Fat | 12g |
| Carbohydrates | 30g |
| Sugar | 20g |
| Protein | 4g |
| Sodium | 230mg |
| Fiber | 2g |
* Percent Daily Values are based on a 2,000 calorie diet. Your daily values may be higher or lower depending on your calorie needs. Nutritional information is an estimate and may vary.
Never Miss a Recipe
Join 5,000+ home cooks and get new recipes straight to your inbox.
Frequently Asked Questions
Can I make these dessert cups the day before?
Yes, but with a small adjustment. Assemble the cookie crumble and mousse layers the night before and refrigerate. Add the berry topping and garnishes within 2 hours of serving. If you add the berries too early, their juices will soak into the mousse and make it pink, which still tastes fine but loses the clean layered look.
What can I use instead of chocolate sandwich cookies?
Graham crackers, vanilla wafers, ginger snaps, or shortbread cookies all work beautifully. Graham crackers give a more subtle, honey-like base. Ginger snaps add a warm, spicy note that is very festive. Shortbread creates a rich, buttery crumble. Adjust the melted butter amount — drier cookies may need a bit more.
Can I use frozen berries instead of fresh?
Yes, but thaw them completely and drain off excess liquid before using. Frozen berries will be softer and release more juice, which can make the topping slightly more saucy. This is not necessarily a bad thing — the extra sauce can look beautiful pooling over the mousse.
Can I make these dairy-free?
Yes. Use a plant-based cream cheese and coconut whipping cream. Make sure the plant-based cream cheese is at room temperature for the smoothest texture. Coconut whipping cream whips best when the can has been refrigerated overnight and you use only the solid cream, not the liquid.

Hi, I'm Lisa!
I create simple, tested recipes from around the world that anyone can make at home.
Learn More →Reader Reviews
Based on 429 reviews