Chicken & Poultry
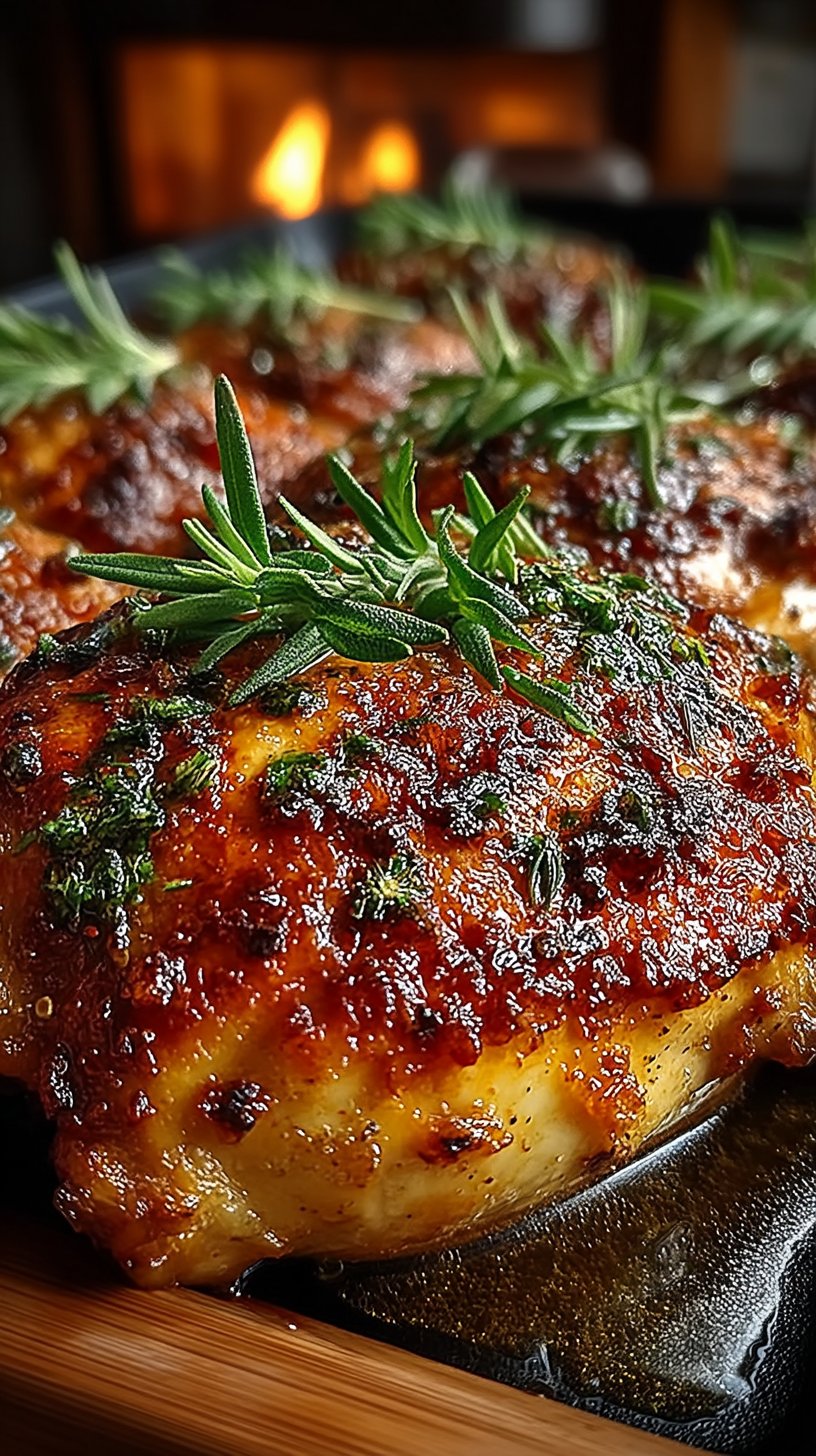
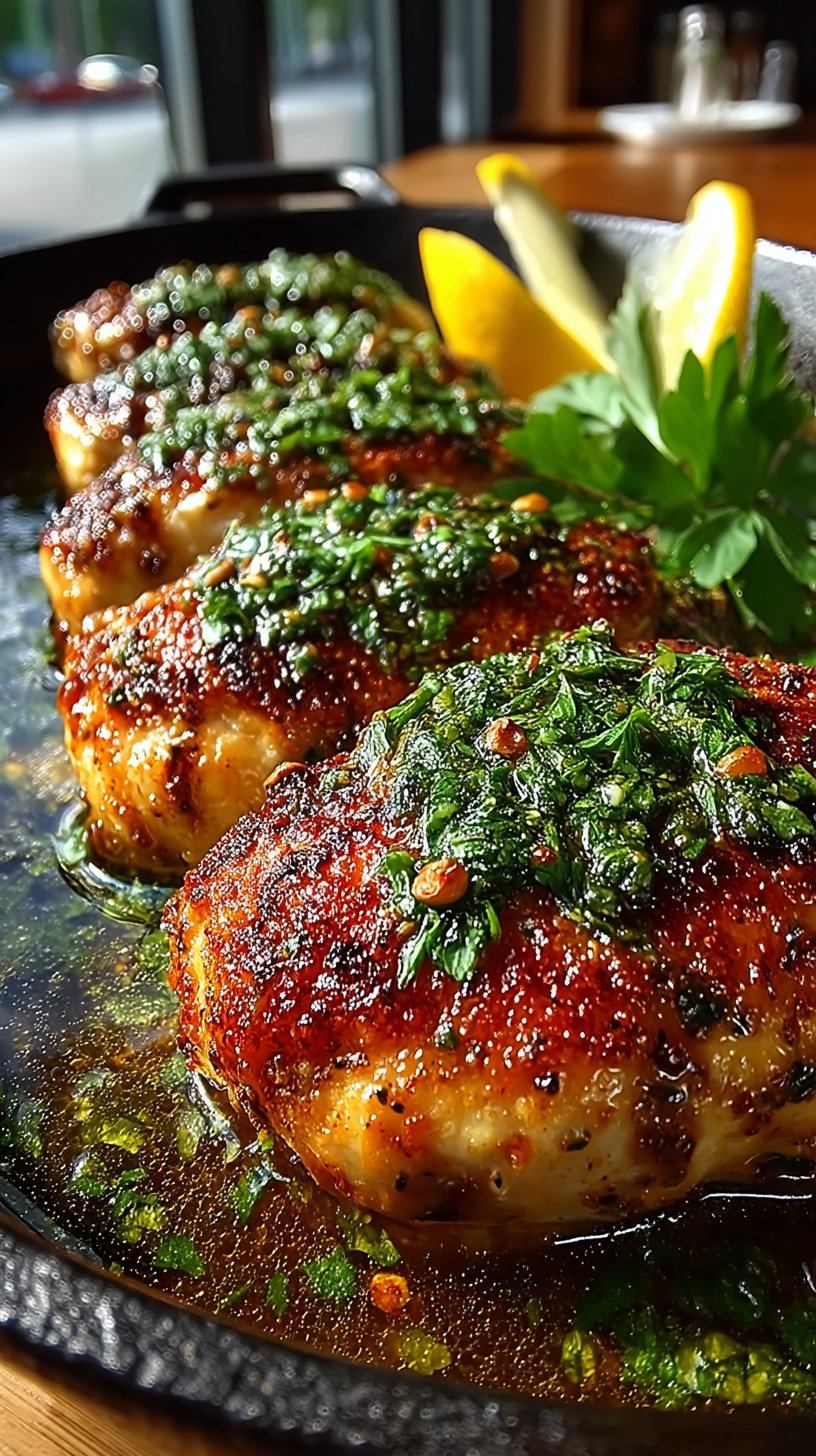
Buttermilk Whole Roasted Chicken Recipe
Learn how to make a perfectly juicy buttermilk whole roasted chicken with crispy golden skin. This classic recipe is simple, flavorful, and feeds the whole family.

Why Buttermilk Makes the Perfect Marinade
I’ve been cooking for years, and I have to tell you—buttermilk is an absolute game-changer for roasted chicken. When I first discovered this technique, I was skeptical, but the results completely converted me. The acidic nature of buttermilk (which contains lactic acid) works to break down the proteins in the chicken, making it incredibly tender and juicy. Unlike some marinades that can make chicken mushy if left too long, buttermilk actually improves the texture the longer you marinate, up to about 24 hours. It’s like having a secret weapon in your kitchen that costs less than five dollars.
What I love most is that the buttermilk doesn’t overpower the chicken’s natural flavor—instead, it acts as a canvas for the spices I add to the brine. The result is chicken that’s moist, flavorful, and so tender that it practically falls off the bone. I’ve served this to friends who claimed they don’t like chicken, and they’ve come back for seconds. That’s the power of proper preparation right there.
The Secret to Crispy Golden Skin
Let me share my tricks for achieving that coveted crispy skin that’s absolutely essential to a great roasted chicken. First, after marinating, I always pat the chicken completely dry with paper towels. Any moisture on the surface will steam rather than crisp, so don’t skip this crucial step. Second, I use that initial blast of high heat at 425°F (220°C) for the first 20 minutes. This sears the skin and renders some of the fat, creating crispiness.
Then I reduce the temperature to 375°F (190°C) to finish cooking the chicken gently. This two-stage roasting method gives you the best of both worlds—crispy skin on the outside and juicy meat on the inside. I also brush softened butter mixed with salt and pepper under and over the skin, which adds incredible flavor and helps with browning. Finally, I make sure to baste the chicken every 15-20 minutes with the pan drippings. This keeps the skin from drying out while maintaining that crispiness. It’s a dance, really, but once you get the timing down, you’ll nail it every time.
Flavor Profile and Spice Blend
The spice blend I use in this recipe is inspired by my love of Southern and Creole cooking. I combine smoked paprika for a subtle smokiness, garlic powder for depth, onion powder for sweetness, and a touch of cayenne for heat. The beauty of this blend is that it’s not overwhelming—it complements the chicken rather than masking it. When I’m marinating the chicken, I make sure the salt dissolves completely in the buttermilk before adding the chicken. This prevents uneven seasoning and ensures every bite is perfectly balanced.
I also love stuffing the cavity with fresh herbs like thyme and rosemary, along with lemon and garlic. As the chicken roasts, these aromatics infuse the meat from the inside out, creating layers of flavor that you just can’t get from external seasoning alone. Feel free to adjust the spice level to your preference—if you like it spicier, increase the cayenne; if you want it milder, reduce it. This recipe is forgiving and adaptable to your taste preferences.
Temperature Control and Cooking Time
One of the biggest mistakes I see people make with roasted chicken is not accounting for the size of their bird. A 4-pound (1.8 kg) chicken will cook faster than a 5-pound (2.3 kg) chicken. That’s why using a meat thermometer is so important. The chicken is done when the thickest part of the thigh reaches 165°F (74°C). Don’t even think about cooking it longer just because it ‘looks done.’ Overcooked chicken is dry chicken, and we’re trying to avoid that!
Room temperature is also crucial. Pulling the chicken from the fridge 45 minutes before cooking ensures it roasts evenly. A cold chicken taken straight from the refrigerator will cook unevenly—the outside might be done while the inside is still raw. I learned this the hard way years ago and never make that mistake anymore. The rest time after roasting is equally important. Those 10 minutes allow the residual heat to finish cooking any remaining cold spots while the juices redistribute throughout the meat, keeping everything moist and tender.
Creating Pan Sauce from Drippings
I never waste those delicious pan drippings! They’re liquid gold for making a simple, restaurant-quality sauce. After removing the roasted chicken, I pour the contents of the roasting pan through a fine-mesh sieve into a saucepan, pressing gently to extract all the flavorful bits stuck to the bottom of the pan. I let it sit for a minute so the fat rises to the top, then I use a spoon to skim off most of the fat (though a little adds flavor).
At this point, I have a few options. I can heat it gently over medium heat and serve it as-is for a simple pan sauce. Or I can make a gravy by whisking in a slurry of cornstarch and water to thicken it. Some nights I deglaze the hot roasting pan with a splash of white wine before straining everything, which adds extra depth. These pan drippings are packed with rendered chicken fat, caramelized bits, and all the flavors from the herbs and vegetables, creating a sauce that’s infinitely better than anything store-bought.
Leftover Ideas and Storage
This recipe yields enough chicken to have delicious leftovers, which is my favorite part! I like to store the cooked chicken in airtight containers in the refrigerator for up to three days. For longer storage, I shred or dice the meat and freeze it in freezer bags for up to three months. Cold roasted chicken is perfect for salads, sandwiches, or grain bowls throughout the week.
One of my favorite ways to use leftovers is to shred the meat and make chicken tacos with a simple slaw and avocado. Or I’ll add it to a creamy pasta dish, layer it in a salad with fresh vegetables and vinaigrette, or turn it into chicken salad for lunch. The bone and skin make an excellent homemade chicken broth if you simmer them with vegetables and water for a couple of hours. Nothing goes to waste in my kitchen, and this buttermilk roasted chicken is designed to give you multiple meals and incredible flavor across all of them.
Ingredients
For the Chicken
For Roasting
Instructions
Prepare the Buttermilk Marinade
I always start by preparing my buttermilk chicken the night before, but honestly, even 4 hours makes a huge difference. In a large bowl or zip-top bag, combine the buttermilk with 2 tablespoons of kosher salt, 1 tablespoon of black pepper, smoked paprika, garlic powder, onion powder, and cayenne pepper. Whisk everything together until the salt dissolves completely. This brine is what's going to keep your chicken incredibly moist—trust me on this one!
Marinate the Whole Chicken
Pat your whole chicken dry with paper towels, then place it in the buttermilk mixture. Make sure every part of the bird gets coated—I like to rub some of the marinade under the skin if I can gently loosen it. If using a zip-top bag, seal it and massage the marinade in. If using a bowl, you can also submerge it in the liquid. Cover and refrigerate for at least 8 hours, but overnight is ideal. The buttermilk's acidity will tenderize the meat while the spices penetrate every fiber.
Bring Chicken to Room Temperature
About 45 minutes before roasting, remove your chicken from the refrigerator and let it sit out at room temperature. This is crucial for even cooking! While it's coming to room temperature, preheat your oven to 425°F (220°C). The initial high heat will give us that beautiful golden, crispy skin we're all craving.
Prepare the Bird for Roasting
Remove the chicken from the buttermilk marinade and pat it dry with paper towels—this is essential for crispy skin. Don't skip this step! Pat the cavity dry too. Now, stuff the cavity with your lemon halves, crushed garlic cloves, thyme sprigs, and rosemary sprigs. Tie the legs together with kitchen twine and tuck the wing tips under the body. In a small bowl, mix your softened butter with a pinch of salt and pepper, then rub it all over the outside of the chicken, getting under any skin you can reach.
Roast at High Heat Initially
Place your chicken breast-side up on a roasting pan and drizzle with olive oil. Roast at 425°F (220°C) for 20 minutes until the skin starts turning golden brown and the pan juices are sizzling. This initial blast of heat is what gives us that restaurant-quality crispy exterior. You'll notice the kitchen starting to smell absolutely incredible at this point!
Reduce Heat and Continue Roasting
After 20 minutes, reduce the oven temperature to 375°F (190°C) and add your chicken broth to the bottom of the roasting pan. This prevents the drippings from burning and creates a beautiful gravy base. Continue roasting for another 50-60 minutes, basting the chicken with the pan juices every 15-20 minutes. The chicken is done when a meat thermometer inserted into the thickest part of the thigh (without touching bone) reads 165°F (74°C), and the skin is deep golden brown.
Rest and Serve
This is where patience pays off! Remove the chicken from the oven and let it rest on a cutting board for at least 10 minutes before carving. This allows the juices to redistribute throughout the meat, ensuring every bite is moist and tender. While it rests, strain the pan juices through a fine-mesh sieve into a saucepan, skim off excess fat, and heat through for a delicious pan sauce. Serve your beautiful buttermilk roasted chicken with the sauce drizzled over top.
Carve and Enjoy
Using a sharp carving knife, carefully cut the chicken into pieces—start by removing the legs, then the breasts. The meat should be incredibly juicy and fall off the bone. Serve with your favorite sides like roasted vegetables, mashed potatoes, or a fresh salad. This is comfort food at its finest, and I promise you'll have people asking for this recipe!
Nutrition Information
Per serving (serves 4). Values are approximate.
| Calories | 425 calories |
| Total Fat | 22g |
| Saturated Fat | 8g |
| Carbohydrates | 2g |
| Sugar | 1g |
| Protein | 52g |
| Sodium | 780mg |
| Fiber | 0g |
* Percent Daily Values are based on a 2,000 calorie diet. Your daily values may be higher or lower depending on your calorie needs. Nutritional information is an estimate and may vary.
Never Miss a Recipe
Join 5,000+ home cooks and get new recipes straight to your inbox.
Frequently Asked Questions
Can I use boneless, skinless chicken breasts instead of a whole chicken?
Absolutely! While a whole chicken is my preference because it stays so moist, you can definitely use boneless, skinless breasts. Just reduce the marinating time to 2-4 hours instead of overnight, and reduce the roasting time to about 25-30 minutes at 375°F (190°C). The buttermilk will still work its magic, but watch them carefully since breasts can dry out more quickly than a whole bird.
What can I substitute for buttermilk?
If you don't have buttermilk on hand, here's my trick: mix 2 cups (480 ml) of regular milk with 2 tablespoons (30 ml) of lemon juice or white vinegar, and let it sit for 5 minutes until it curdles slightly. It works just as well! You could also use plain yogurt thinned with a bit of water. The acidity is what matters for tenderizing the chicken.
How do I know when the chicken is fully cooked?
The most reliable method is using a meat thermometer inserted into the thickest part of the thigh without touching bone—it should read 165°F (74°C). You can also check that the juices run clear when you pierce the thigh, and the legs should wiggle freely at the joints. Don't rely on color alone; some chickens brown faster than others!
Can I make this ahead of time?
Yes! You can marinate the chicken up to 24 hours in advance, which actually helps develop more flavor. After roasting, the chicken keeps well in the refrigerator for up to 3 days. I love shredding the leftover meat for tacos, salads, or chicken sandwiches. You can also freeze the cooked chicken for up to 3 months.
What sides pair best with buttermilk roasted chicken?
I absolutely love serving this with creamy mashed potatoes and roasted vegetables like Brussels sprouts or root vegetables. A fresh green salad cuts through the richness beautifully, and cornbread or a crusty baguette is perfect for soaking up that pan sauce. You really can't go wrong—it's such a versatile dish!
Hi, I'm Lisa!
I create simple, tested recipes from around the world that anyone can make at home.
Learn More →Reader Reviews
Based on 406 reviews
Leave a Review
You Might Also Like
Chicken & Poultry
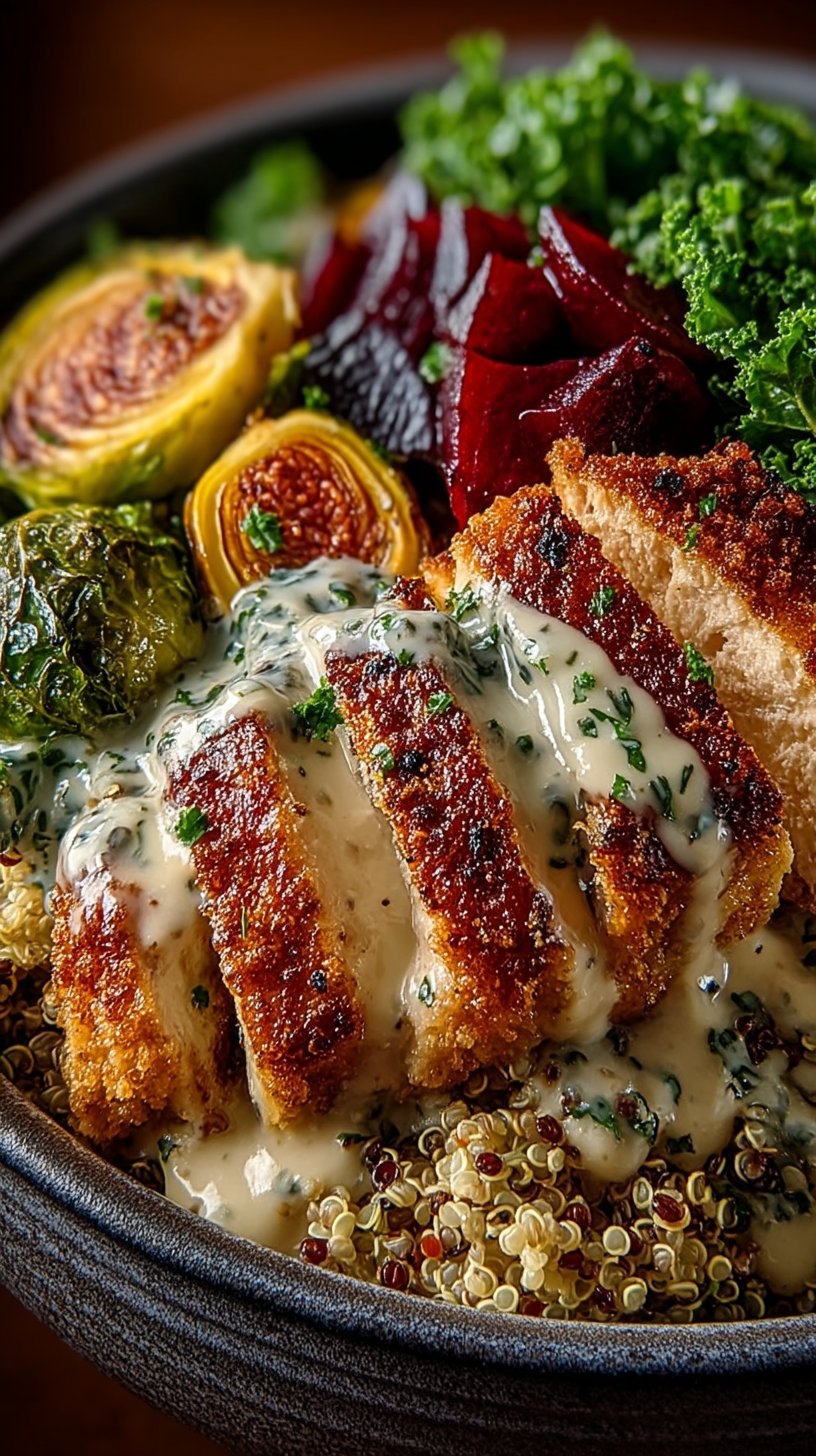
Chicken Harvest Bowl Recipe (Sweetgreen Copycat)
Chicken & Poultry
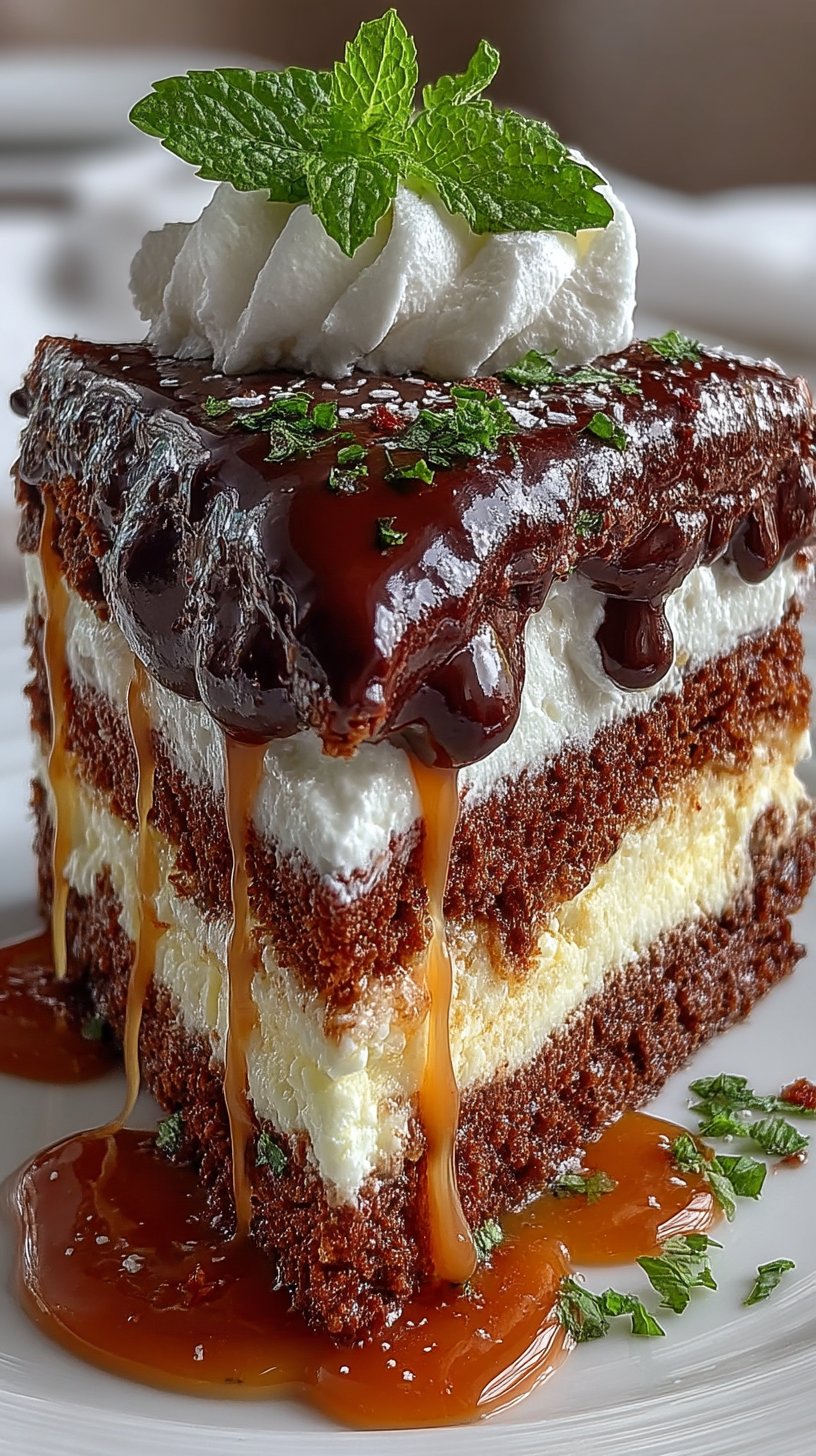
My Tuxedo Cake Rivals the Costco Version
Chicken & Poultry
The Unbelievably Delicious Chicken I Make Once a Week
Chicken & Poultry