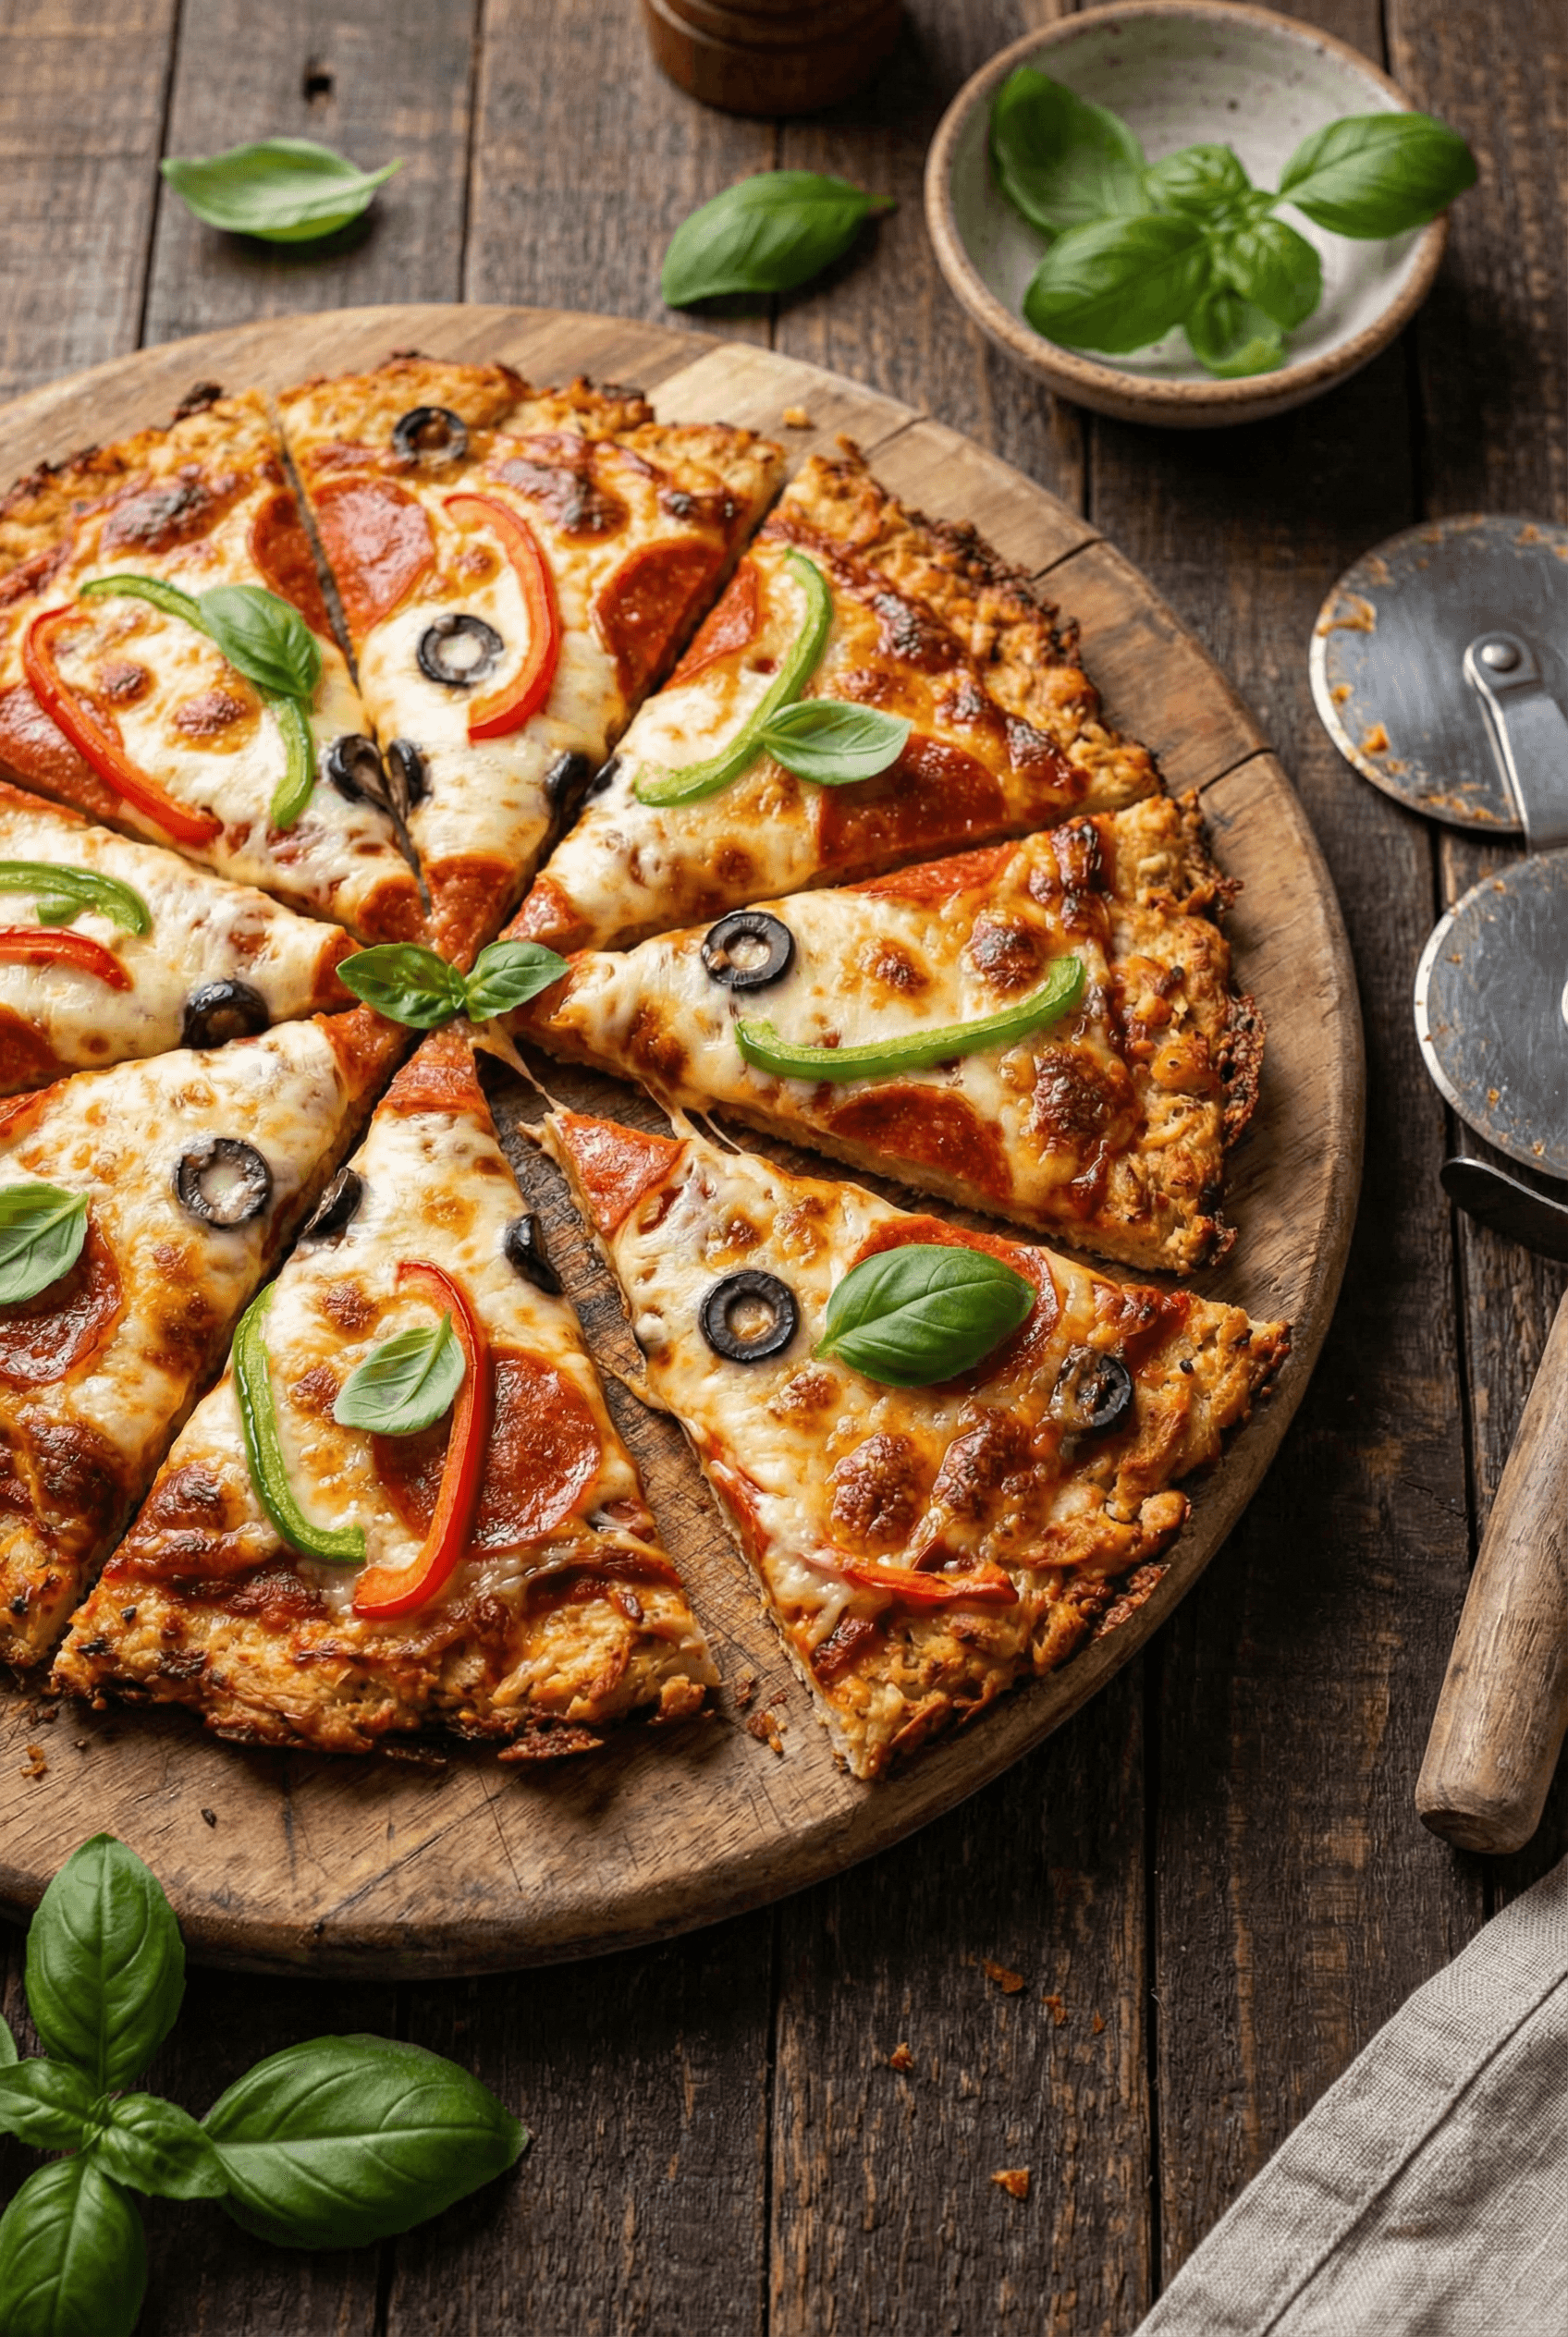
What if pizza night could be both indulgent and guilt-free? Canned chicken pizza crust makes it possible. This revolutionary low-carb crust uses simple canned chicken to deliver crispy, satisfying pizza that’s naturally gluten-free and keto-friendly. In under 30 minutes, you’ll transform pantry staples into golden perfection topped with your favorite flavors. This isn’t just pizza. It’s a game-changer for anyone watching carbs without sacrificing the foods they love.
Whether you’re meal-prepping for the week, feeding picky eaters, or impressing health-conscious guests, this canned chicken pizza crust proves that dietary restrictions don’t mean boring food. The chicken creates a surprisingly crispy base that holds toppings beautifully, while mozzarella binds everything into pizza bliss. No specialized ingredients, no complicated techniques – just smart cooking that works.
Ingredients
Quality ingredients make the difference between soggy disappointment and crispy success. Use plain canned chicken breast (not flavored varieties), and drain it thoroughly to prevent excess moisture.
For the Crust
- 2 cans (340g total / 12 oz) chicken breast in water, drained thoroughly
- 1 large egg, room temperature
- 170g (1½ cups) shredded mozzarella cheese
- 1 teaspoon Italian seasoning
- ½ teaspoon garlic powder
- ¼ teaspoon black pepper
- Pinch of salt (optional, chicken is already salted)
For the Toppings
- 120ml (½ cup) pizza sauce or marinara
- 140g (1 cup) shredded mozzarella cheese
- Your choice: pepperoni slices, bell peppers, mushrooms, olives, onions, fresh basil
Smart Substitutions
Dairy-Free: Use nutritional yeast instead of mozzarella in crust (texture will differ). No Canned Chicken: Use 340g cooked, finely shredded chicken breast. Flavor Boost: Add ¼ teaspoon red pepper flakes or 1 tablespoon grated Parmesan to crust mix. Extra Crispy: Brush crust with 1 teaspoon olive oil before pre-baking.
Timing
- Prep: 10 minutes
- Cook: 20 minutes (12 min crust + 8 min topped)
- Total: 30 minutes
- Serves: 4 (2 slices per person)
Instructions
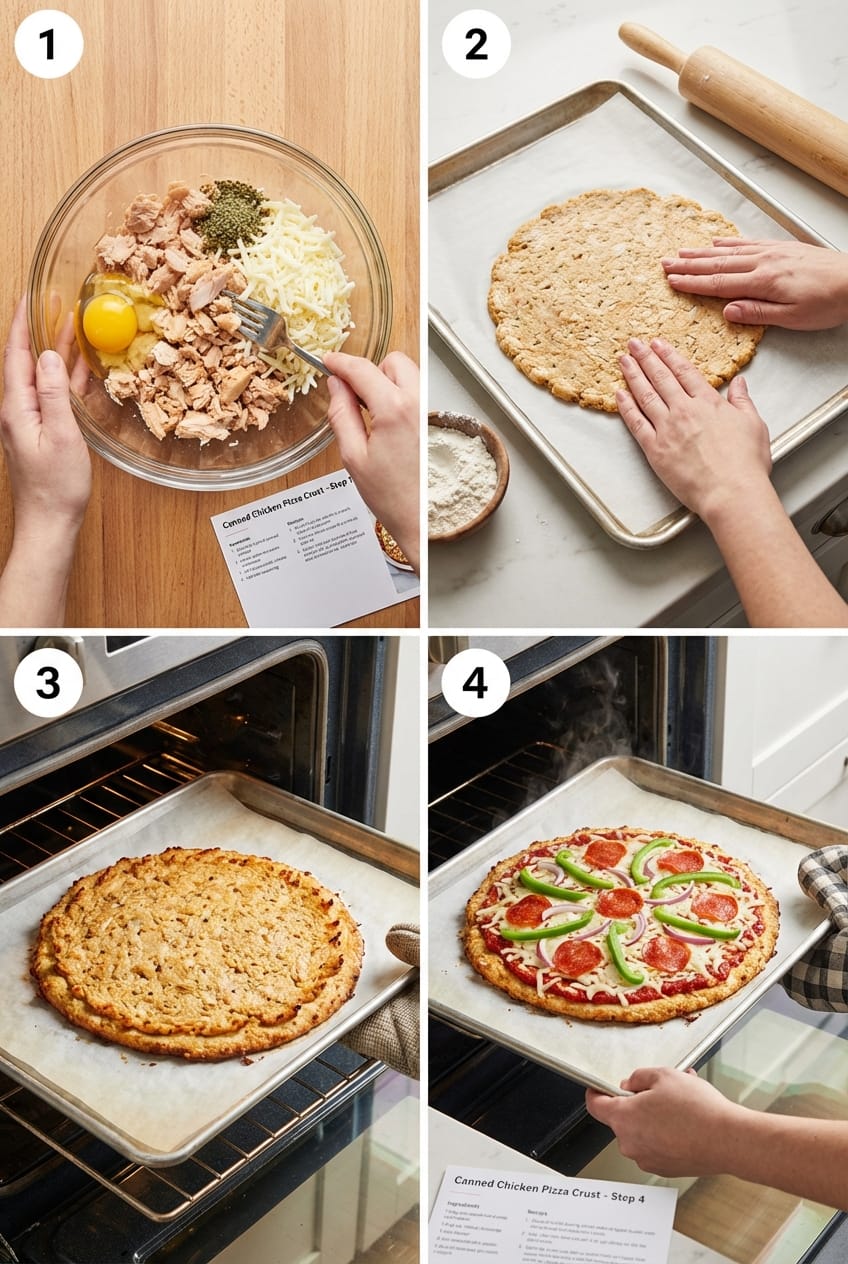
Step 1: Drain and Prepare Chicken Base
Open both cans of chicken and drain thoroughly – press the chicken against a strainer for 2-3 minutes to remove excess liquid. This step is crucial: too much moisture creates a soggy crust. Transfer drained chicken to a large mixing bowl and use a fork to shred it into fine pieces (think pulled chicken texture, not chunks). Add the egg, 170g mozzarella, Italian seasoning, garlic powder, and pepper. Mix vigorously with a fork until completely combined into a sticky, cohesive mixture. The egg binds everything while the cheese adds structure and flavor. If the mixture seems too wet, let it sit for 2 minutes – the cheese will absorb some moisture.
Step 2: Shape and Pre-Bake Crust
Preheat your oven to 425°F (220°C) and line a baking sheet with parchment paper. Transfer the chicken mixture to the center of the parchment and use your hands (lightly moistened to prevent sticking) to press it into a 10-inch circle about ¼-inch thick. Work from the center outward, creating an even thickness throughout – thicker spots won’t crisp properly. Shape the edges slightly higher to contain toppings. Bake for 12 minutes until the crust is golden and set, with edges turning crispy brown. This pre-bake creates structure before toppings add weight. The crust should feel firm when gently pressed, not jiggly.
Step 3: Add Sauce and Cheese
Remove the pre-baked crust from the oven (leave oven on). Let it cool for 1 minute – this prevents sauce from making it soggy. Spread pizza sauce evenly over the crust using the back of a spoon, leaving a ½-inch border around edges for a “crust” effect. Don’t oversaturate – aim for a thin, even layer. Sprinkle the 140g mozzarella evenly over the sauce. Why this order matters: sauce on hot crust creates steam barrier, cheese on top melts beautifully without burning. The pre-baked base is already structured, so toppings won’t weigh it down.
Step 4: Top and Finish Baking
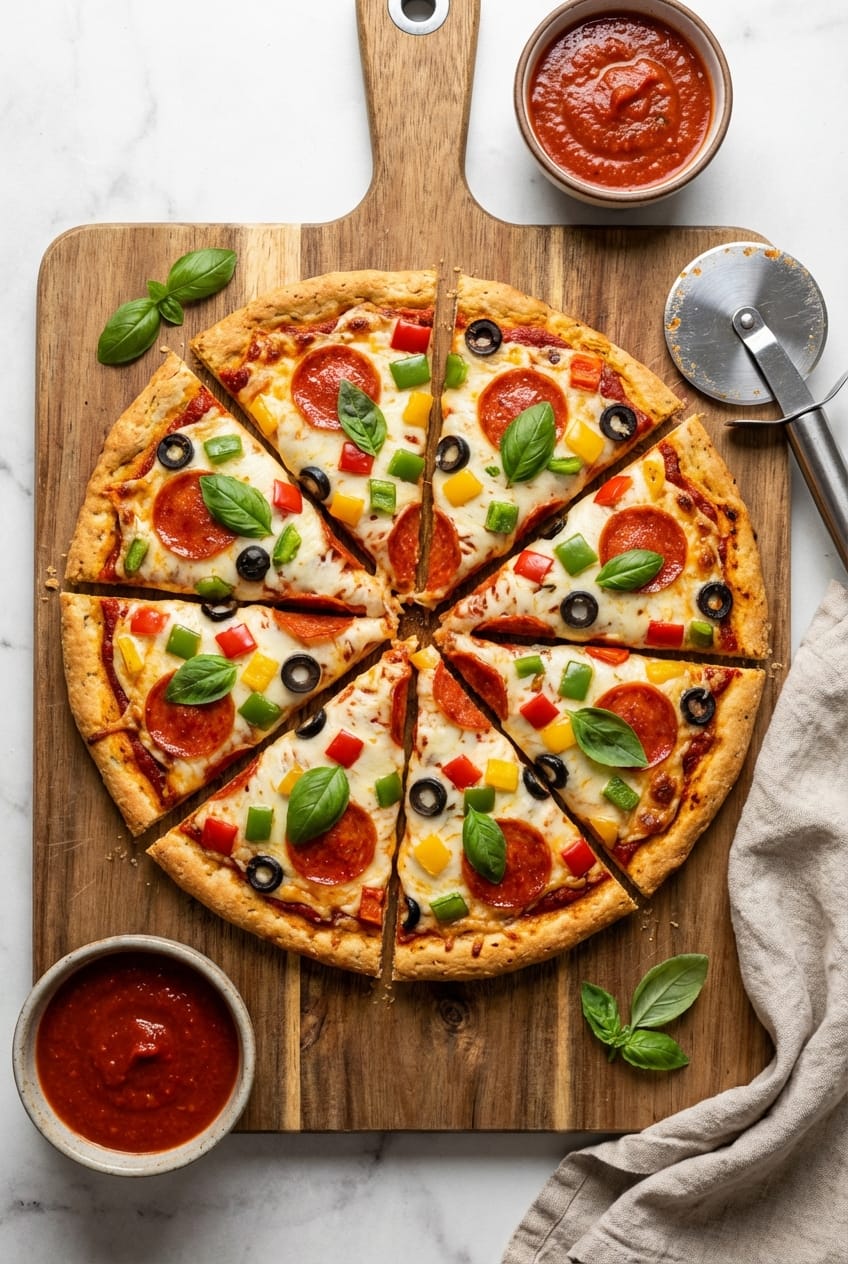
Arrange your chosen toppings over the cheese. Go classic with pepperoni, or load it with vegetables – bell peppers, mushrooms, olives, onions. Don’t overload (max 1 cup total toppings) or the crust won’t support the weight. Return to the oven for 8-10 minutes until cheese is melted, bubbly, and starting to brown in spots. The edges should be deep golden and crispy. Remove from oven and let rest for 3 minutes before slicing – this allows the cheese to set slightly, preventing a sliding mess. Garnish with fresh basil, red pepper flakes, or a drizzle of olive oil. Slice with a sharp knife or pizza cutter and serve immediately while crispy.
Nutrition Per Serving
- Calories: 285
- Protein: 32g
- Carbs: 8g
- Fat: 13g
- Fiber: 1g
- Sugar: 3g
This high-protein, low-carb pizza delivers satisfying nutrition without the blood sugar spike of traditional wheat crust. Perfect for keto, low-carb, or gluten-free diets.
Pro Tips for Success
- Drain Thoroughly: Excess moisture is the enemy of crispy crust. After draining, press chicken with paper towels to remove every drop. A wet mixture creates steam during baking, resulting in sogginess.
- Even Thickness: Use your hands to press the crust to uniform ¼-inch thickness. Thick spots stay soft, thin spots burn. Measure with a ruler if needed until you develop the feel.
- Parchment is Essential: Don’t skip this. It prevents sticking and allows easy transfer. Greasing the pan doesn’t provide the same release, and foil can tear.
- Pre-Bake Fully: Don’t underbake the first stage. The crust should be golden and firm, not pale and jiggly. This structure prevents collapse under toppings.
- Cool Before Topping: That 1-minute rest after pre-baking isn’t optional. Hot crust + cold sauce = soggy disaster. Let it breathe.
- Thin Sauce Layer: More sauce doesn’t mean more flavor – it means soggy pizza. A thin, even layer is plenty. The chicken crust is flavorful on its own.
Delicious Variations
- BBQ Chicken Pizza: Replace pizza sauce with BBQ sauce, top with cooked chicken chunks, red onion, and cilantro after baking. Sweet and tangy perfection.
- White Pizza: Skip the red sauce. Brush crust with olive oil, add mozzarella, ricotta dollops, garlic, and spinach. Finish with Parmesan and lemon zest.
- Buffalo Chicken: Mix 2 tablespoons buffalo sauce into the crust mixture, top with blue cheese, mozzarella, and celery after baking. Ranch drizzle optional.
- Mediterranean: Top with feta, sun-dried tomatoes, kalamata olives, artichoke hearts, and oregano. Drizzle with olive oil after baking.
- Breakfast Pizza: Pre-bake crust, top with scrambled eggs, bacon bits, cheddar cheese, and bake. Add avocado and hot sauce after.
- Mexican-Inspired: Add taco seasoning to crust mix, top with salsa, cheese, jalapeños, and black beans. Serve with sour cream and guacamole.
Common Mistakes to Avoid
Using Chicken Straight from Can: Undrained chicken releases liquid during baking, creating a soggy, gray crust that never crisps. Solution: Drain thoroughly, press with paper towels, and even let it sit in a strainer for 5 minutes. Drier chicken = crispier crust.
Skipping the Pre-Bake: Adding toppings to raw chicken mixture causes the crust to steam instead of bake, resulting in a rubbery texture that never sets. Solution: Always pre-bake until golden and firm (12 minutes). This creates structure that holds toppings.
Overloading Toppings: Too many toppings weigh down the crust, preventing it from crisping and making it impossible to slice neatly. Solution: Limit to ½-1 cup total toppings. Less is more – the chicken crust is the star.
Uneven Thickness: Thick spots stay soft and doughy while thin spots burn, creating an inconsistent eating experience. Solution: Use your hands to press the mixture to uniform ¼-inch thickness, checking visually from multiple angles.
Cutting Too Soon: Slicing immediately after baking causes cheese to slide off and crust to tear messily. Solution: Let the pizza rest for 3 minutes after baking. The cheese sets slightly, making clean slices possible.
Storage and Make-Ahead
Refrigeration: Store cooled pizza slices in an airtight container for up to 3 days. Stack slices with parchment paper between layers to prevent sticking. The crust may soften slightly but reheats well.
Freezing: Freeze pre-baked crusts (before topping) wrapped tightly in plastic wrap, then foil, for up to 2 months. Thaw in fridge overnight, then top and bake as directed. Fully topped pizza can be frozen for 1 month but texture may suffer.
Reheating: Best method: oven at 375°F (190°C) for 8-10 minutes until crispy and heated through. Microwave works in a pinch (1-2 minutes) but creates softer crust. Air fryer at 350°F for 5 minutes restores maximum crispness.
Make-Ahead: Prepare the chicken mixture up to 1 day ahead and store covered in the fridge. Shape and bake when ready. Pre-baked crusts can be made morning-of, stored at room temperature, and topped just before dinner.
Serving Suggestions
Classic Pairing: Serve with a crisp green salad dressed in balsamic vinaigrette to balance the richness. The acidity cuts through cheese while adding freshness. For a complete meal, try our creamy garlic butter shrimp pasta as a complementary side.
Game Day Spread: Cut into small squares for appetizer-style servings. Arrange on a platter with ranch and marinara dipping sauces, alongside veggie sticks and wings.
Meal Prep Win: Make 2-3 pizzas on Sunday, slice, and portion into containers with side salads. Grab-and-go lunches that beat any drive-through, nutritionally and flavor-wise. Pair with our cabbage dumplings for variety.
Beverage Pairing: Light beer, sparkling water with lemon, or iced tea complement without overwhelming. For wine lovers, a crisp Pinot Grigio or light Chianti works beautifully.
Why This Recipe Works
The genius lies in using protein as structure. Canned chicken’s fine texture, when combined with egg and cheese, creates a cohesive matrix that bakes into a firm base. The egg proteins coagulate during pre-baking, binding chicken shreds together. Mozzarella’s casein proteins form a network that adds stretch and prevents crumbling. Pre-baking drives out moisture before toppings add weight, ensuring the base crisps rather than steams. The high protein content means this crust holds up under toppings without the gluten network that traditional wheat dough relies on. It’s food science applied practically: protein structure + moisture control + two-stage baking = crispy low-carb success.
Conclusion
This canned chicken pizza crust isn’t just a clever substitute – it’s a revelation. In 30 minutes, you’ve created a crispy, protein-packed base that delivers genuine pizza satisfaction without carb guilt. Whether you’re committed keto, gluten-intolerant, or simply curious, this recipe proves that smart ingredient choices create delicious possibilities. Fire up that oven, raid your pantry, and discover why this canned chicken pizza is changing weeknight dinners everywhere. Your tastebuds won’t know it’s healthy, but your body will thank you.
FAQs
Can I use fresh cooked chicken instead of canned?
Absolutely. Use 340g (12 oz) cooked chicken breast, finely shredded. Make sure it’s very dry – pat with paper towels to remove excess moisture. Fresh chicken works identically but requires cooking time upfront.
Why is my crust soggy instead of crispy?
Two main causes: insufficient draining of canned chicken, or not pre-baking long enough. Always drain thoroughly, press out moisture, and pre-bake until golden and firm (12 minutes). Soggy crust = wet chicken or underbaking.
Can I make this crust ahead and freeze it?
Yes. Pre-bake the crust fully, let cool completely, wrap tightly in plastic wrap then foil, and freeze for up to 2 months. Thaw in fridge overnight, top, and bake 8-10 minutes. Perfect for meal prep.
Is this recipe truly keto-friendly?
Yes. At 8g carbs per serving (mostly from sauce and toppings), it fits standard keto macros beautifully. The high protein (32g) and moderate fat (13g) make it an excellent keto meal option.
What if I don’t have Italian seasoning?
Mix your own: combine ½ teaspoon dried basil, ¼ teaspoon oregano, ¼ teaspoon thyme, and a pinch of rosemary. Or just use garlic powder and oregano – the crust will still be delicious.
Can I use a different cheese in the crust?
Mozzarella works best due to its melting properties and mild flavor. Cheddar makes the crust too greasy, Parmesan too salty. You can do 120g mozzarella + 50g Parmesan for extra flavor, but keep mozzarella as the base.
How do I prevent the crust from sticking to the pan?
Always use parchment paper, never just a greased pan. Parchment provides non-stick release and makes transferring easy. If you skip it, the crust will tear when you try to remove it.
Can I make this in a cast iron skillet?
Yes. Press the mixture into a preheated, oiled 10-inch cast iron skillet and pre-bake 12 minutes. The skillet adds extra crispness to the bottom. Top and finish baking as directed.
Why does the recipe call for room temperature egg?
Room temperature eggs mix more easily into the chicken mixture, creating a smoother, more cohesive batter. Cold eggs don’t incorporate as well, leading to uneven texture. Let the egg sit out 20 minutes or place in warm water for 5 minutes.
So glad I found this recipe. Easy and smells great. Gonna eat it a little later. One small thing – the video uses a higher temp than the instructions on website.