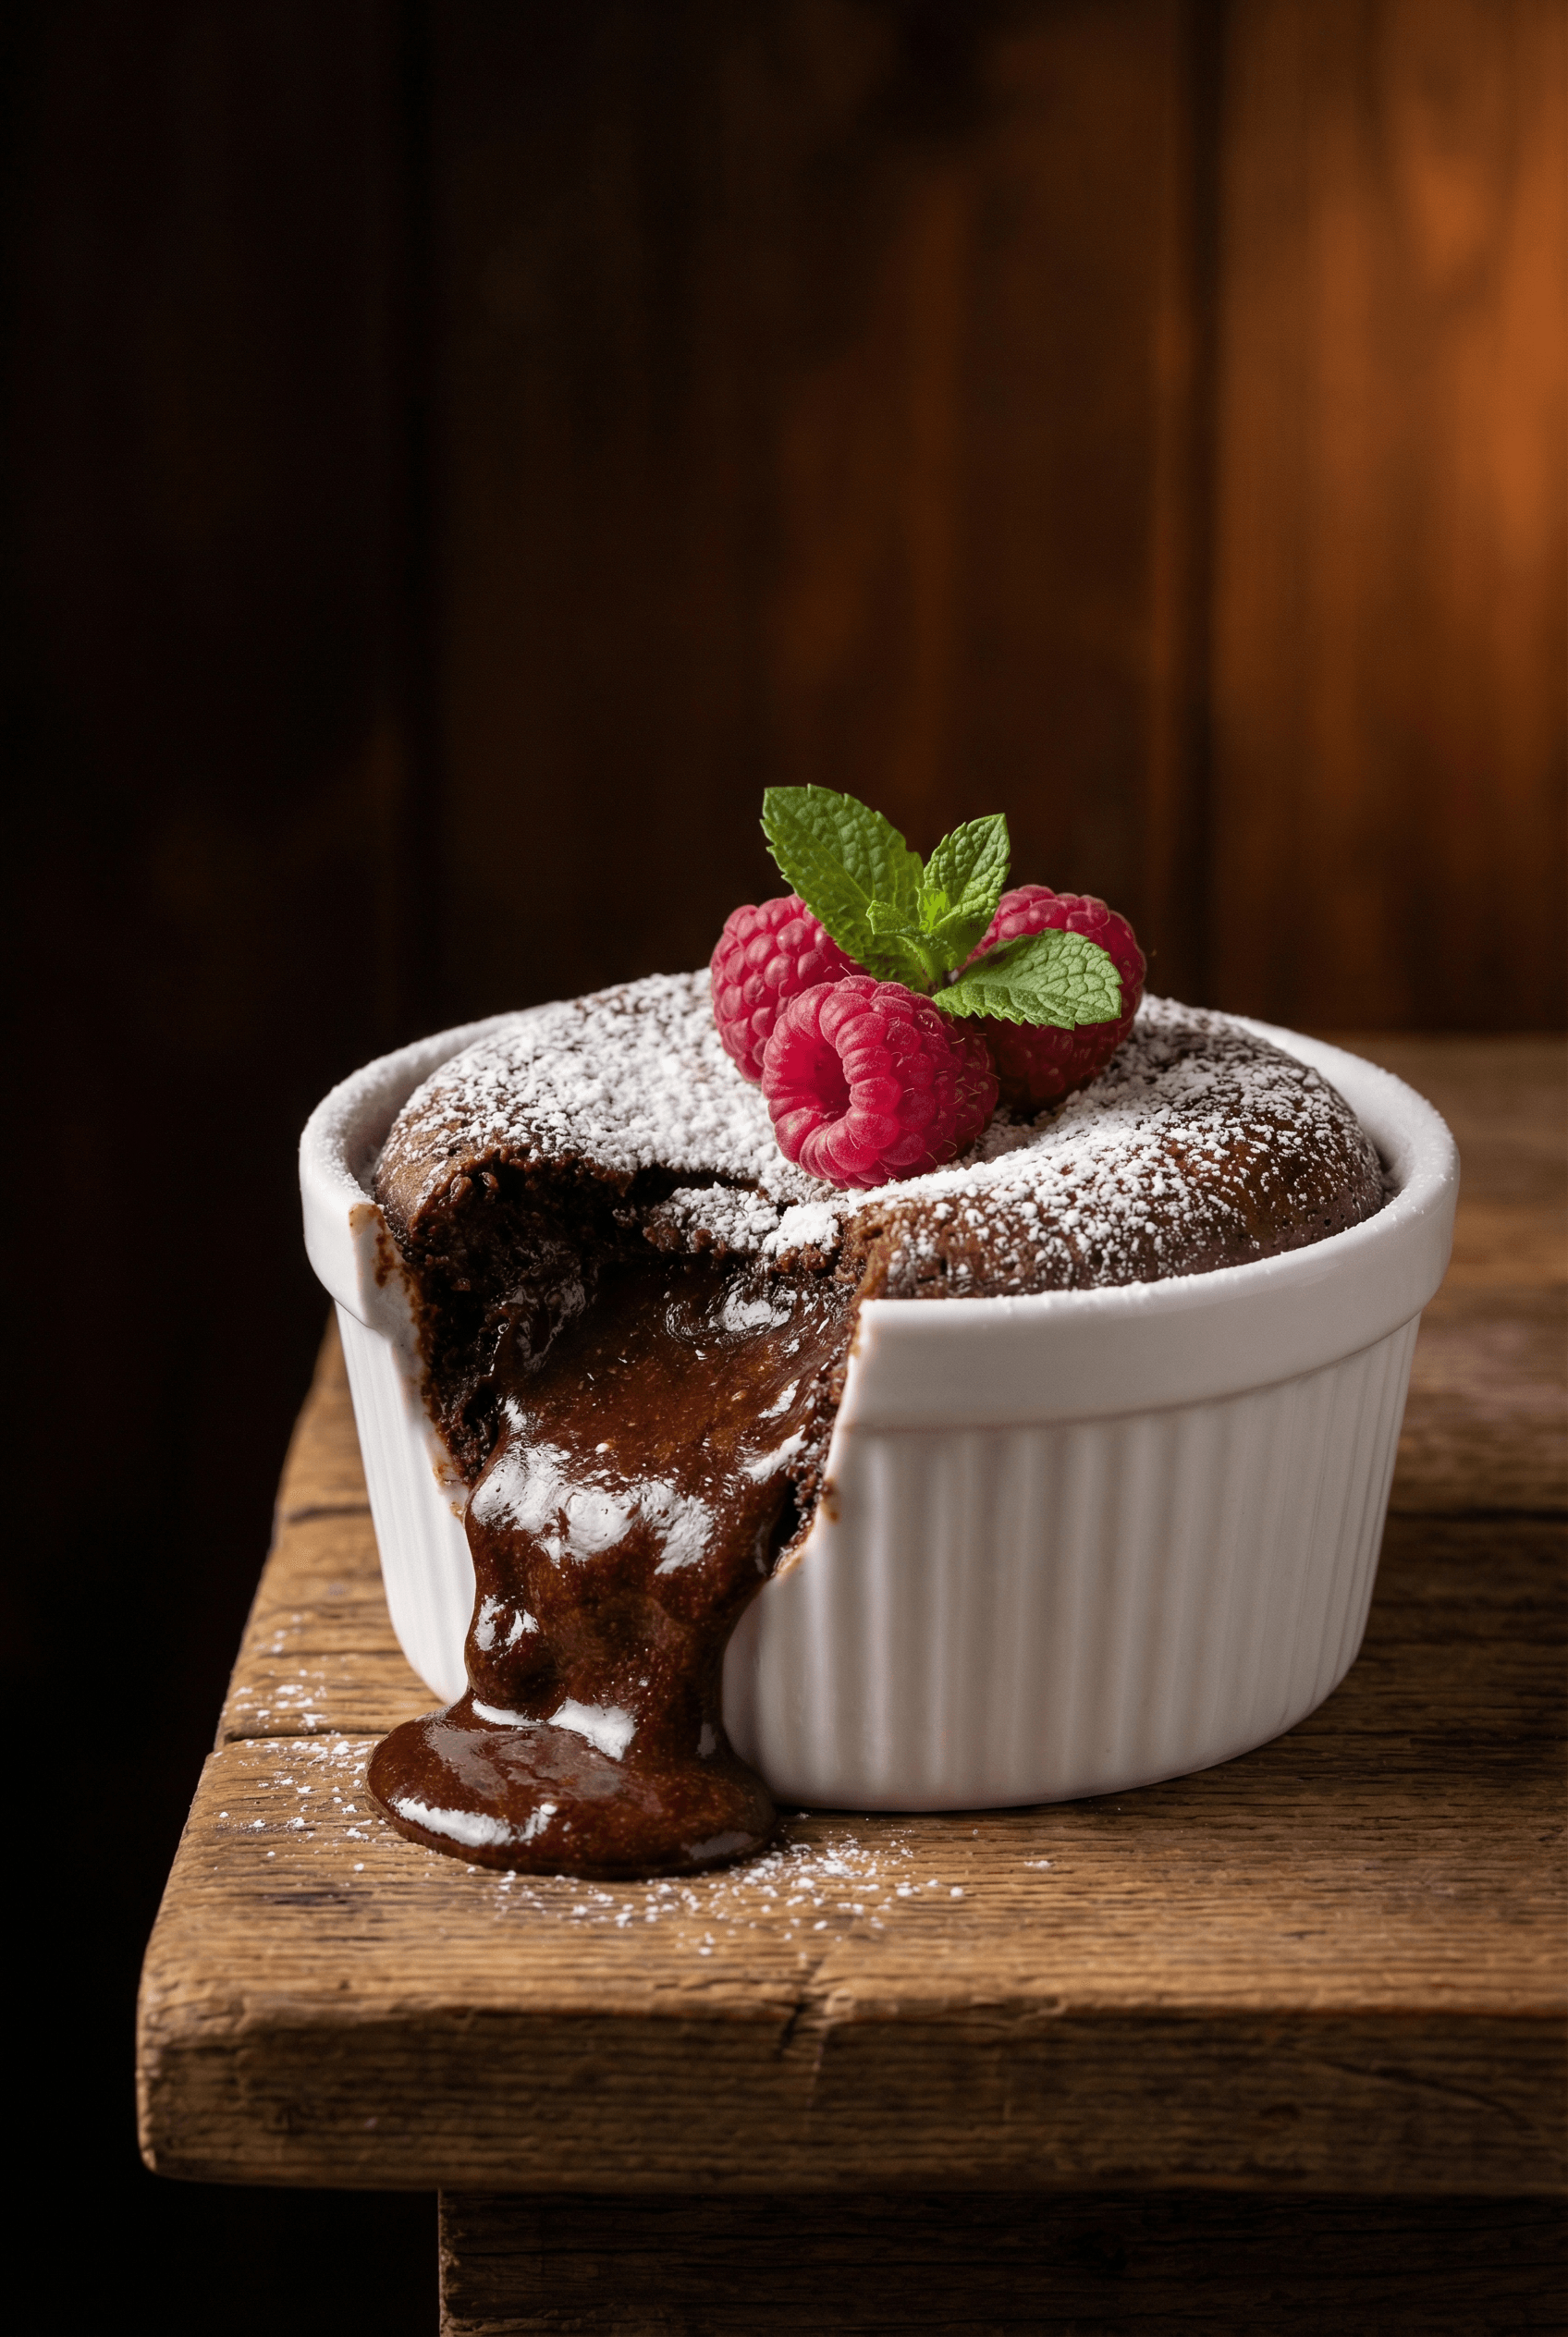
Picture this: you’re craving something truly decadent, something that makes you pause mid-bite and close your eyes in pure bliss. Chocolate lava cake delivers that moment. In just 20 minutes, you’ll transform simple pantry ingredients into molten perfection – a crisp exterior giving way to a river of warm, velvety chocolate. This isn’t just dessert. It’s the grand finale that turns any dinner into an occasion worth remembering.
Whether you’re celebrating an anniversary, impressing a first date, or simply treating yourself after a long week, this chocolate lava cake proves that restaurant-quality elegance doesn’t require pastry school training or expensive equipment. Just precision, timing, and quality chocolate.
Ingredients
Quality ingredients elevate chocolate lava cake from good to unforgettable. Each component plays a crucial role.
For the Cakes
- 6 oz high-quality dark chocolate (60-70% cacao), chopped
- 6 tablespoons unsalted butter, plus extra for greasing
- 2 large eggs plus 2 egg yolks, at room temperature
- 1/4 cup granulated sugar
- 2 tablespoons all-purpose flour
- 1/4 teaspoon vanilla extract
- Pinch of salt
- Cocoa powder for dusting ramekins
Smart Substitutions
Gluten-Free: Replace flour with almond flour or cornstarch. Lower Sugar: Reduce sugar to 3 tablespoons and use dark chocolate 70% or higher. Dairy-Free: Use coconut oil instead of butter (adds subtle tropical note).
Timing
- Prep: 10 minutes
- Bake: 12 minutes
- Total: 22 minutes
- Serves: 4
Instructions
Step 1: Prepare Ramekins and Preheat
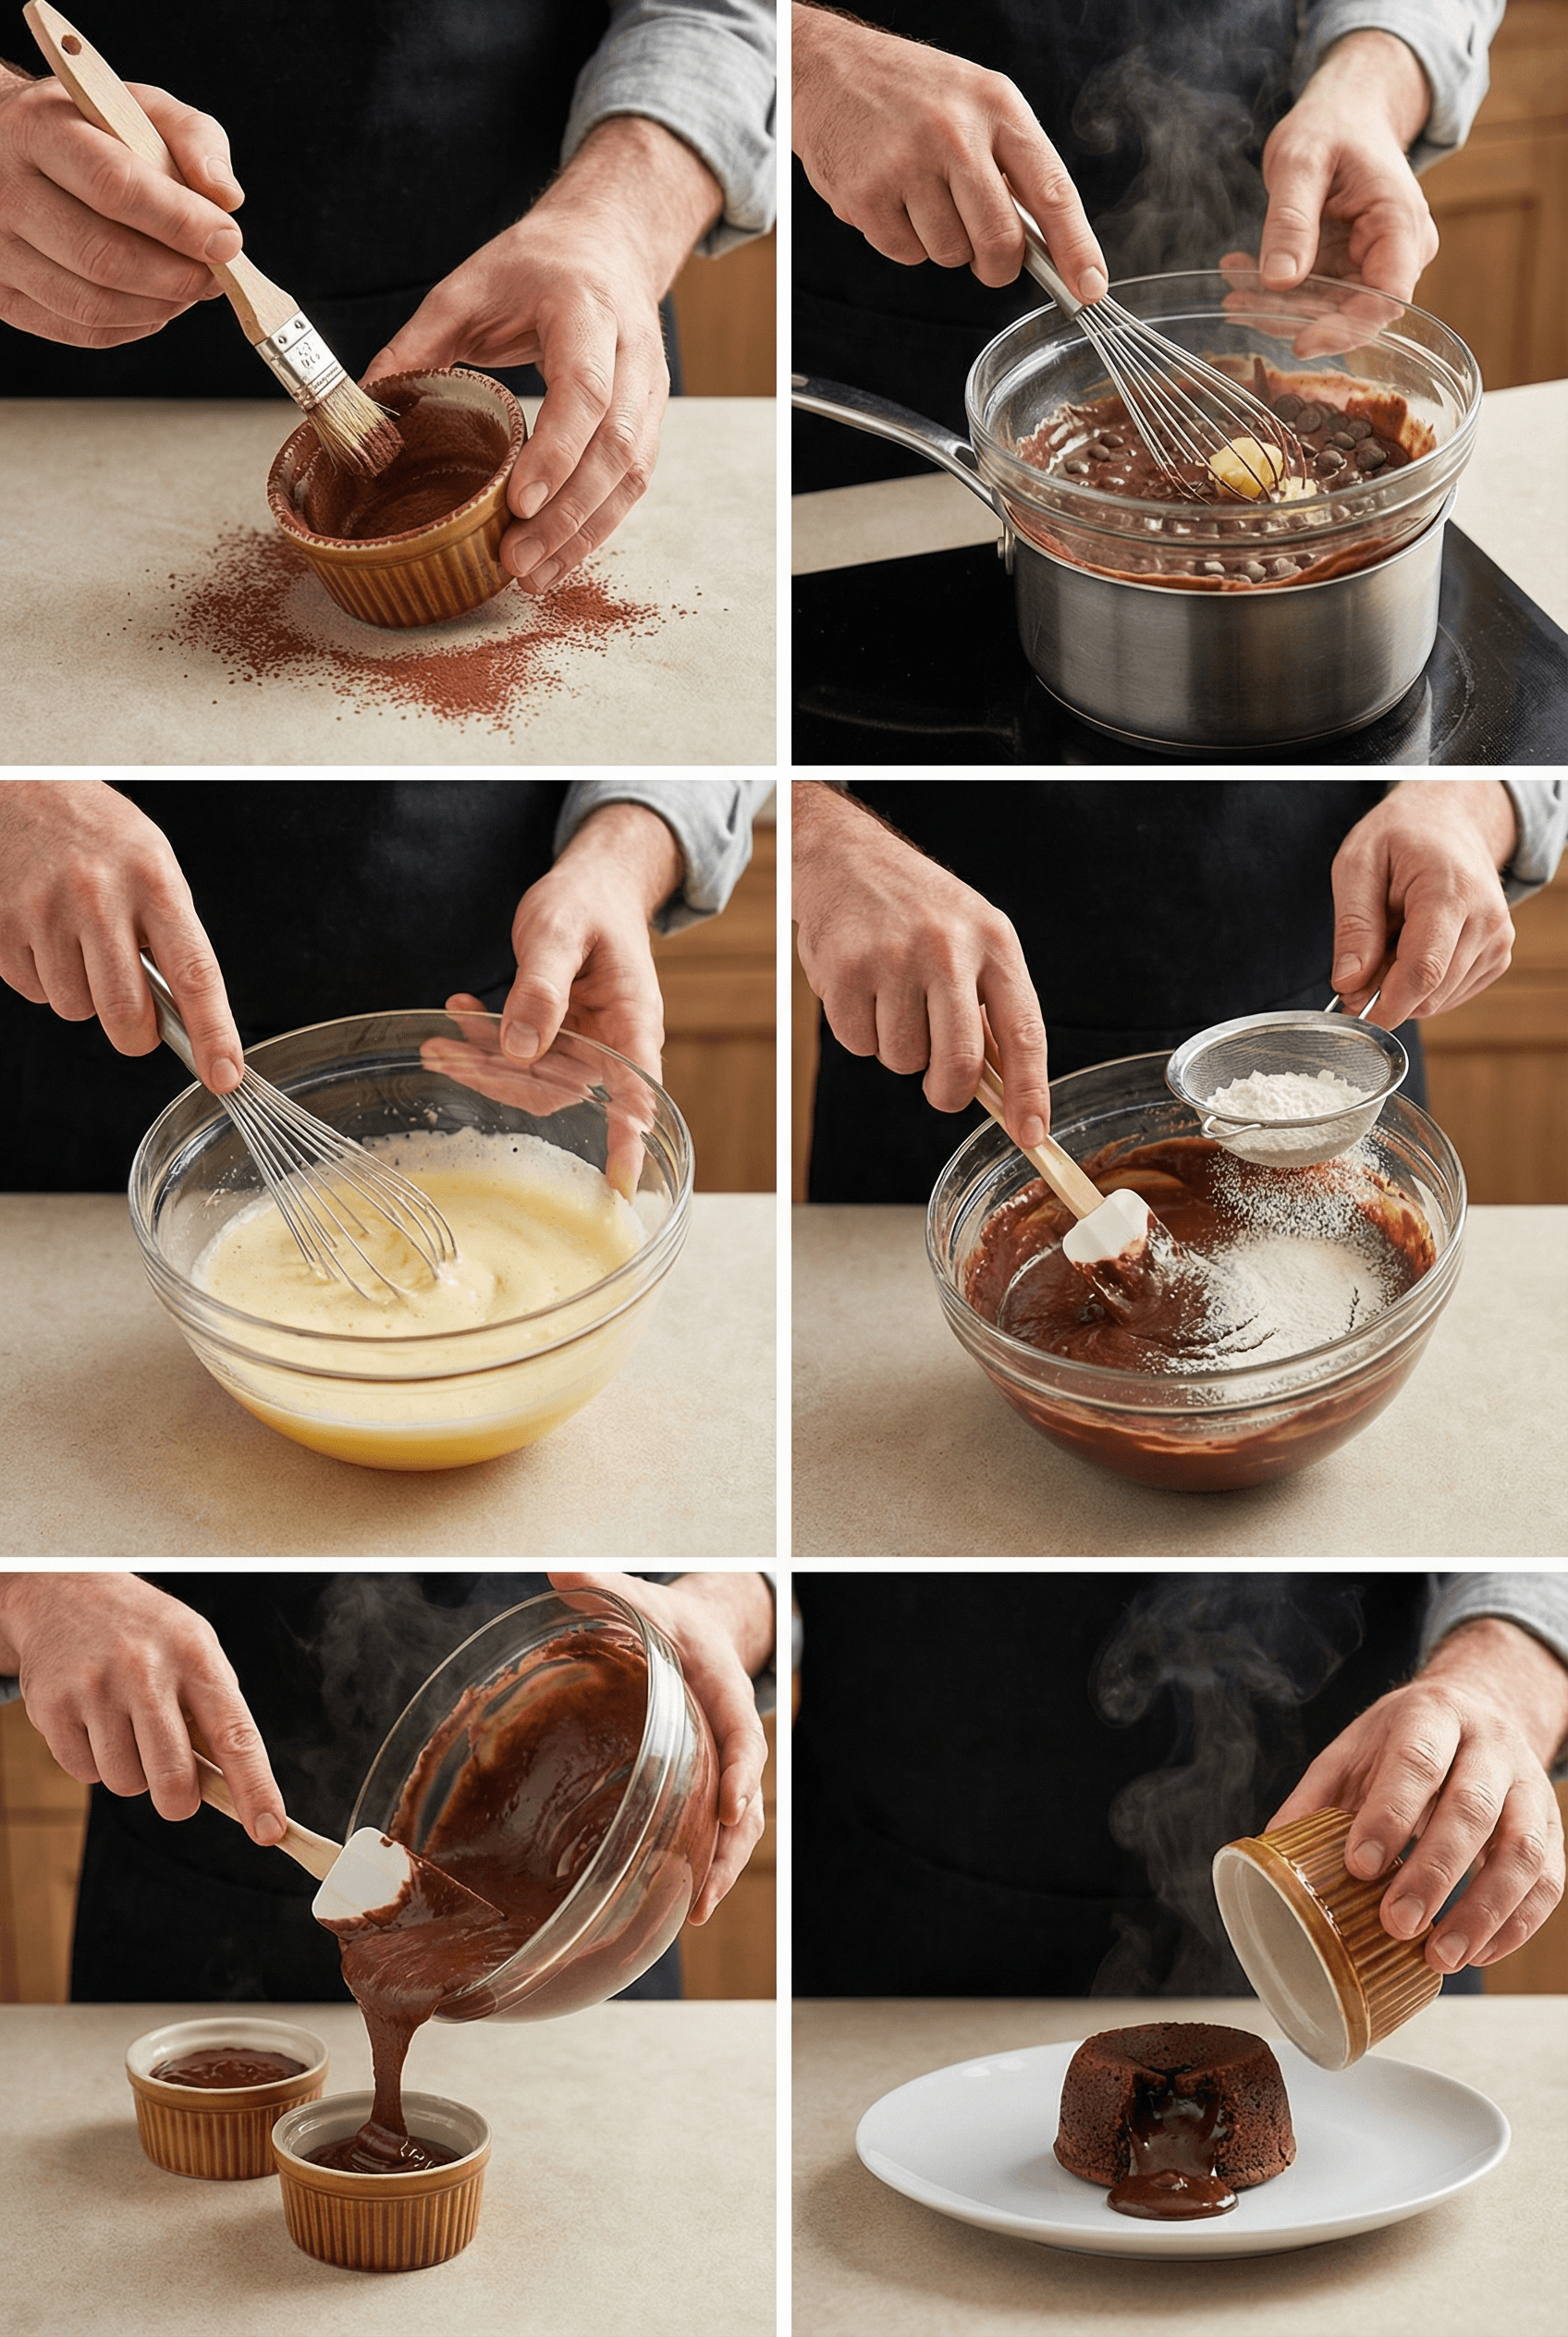
Preheat oven to 220°C (425°F). Generously butter four 180ml ramekins, making sure to coat every surface including the rim. Dust with cocoa powder, tapping out excess. This coating creates a non-stick surface that helps the cakes release cleanly. Place ramekins on a baking sheet for easy handling.
Step 2: Melt Chocolate and Butter
Chop 115g dark chocolate into small pieces. In a heatproof bowl set over simmering water, melt chocolate with 115g butter, stirring occasionally until smooth and glossy. Remove from heat and let cool slightly. The gentle heat prevents chocolate from seizing or becoming grainy.
Step 3: Whisk Eggs and Sugar
In a separate bowl, vigorously whisk 2 whole eggs and 2 egg yolks with 60g sugar for 2-3 minutes until pale, thick, and tripled in volume. The mixture should fall in ribbons when you lift the whisk. This aeration is crucial for the cakes’ light texture despite the lack of leavening.
Step 4: Combine and Add Flour
Pour the slightly cooled chocolate mixture into the eggs, folding gently but thoroughly with a spatula. Sift 30g flour over the top and fold just until no streaks remain. Don’t overmix—a few small lumps are fine. Overmixing develops gluten and makes cakes dense instead of tender.
Step 5: Fill and Bake
Divide batter evenly among prepared ramekins, filling each about 3/4 full. Bake for exactly 12-14 minutes. Edges should be set and firm while centers remain soft and slightly jiggly when gently shaken. Underbaking is better than overbaking—you want that molten center.
Step 6: Invert and Serve
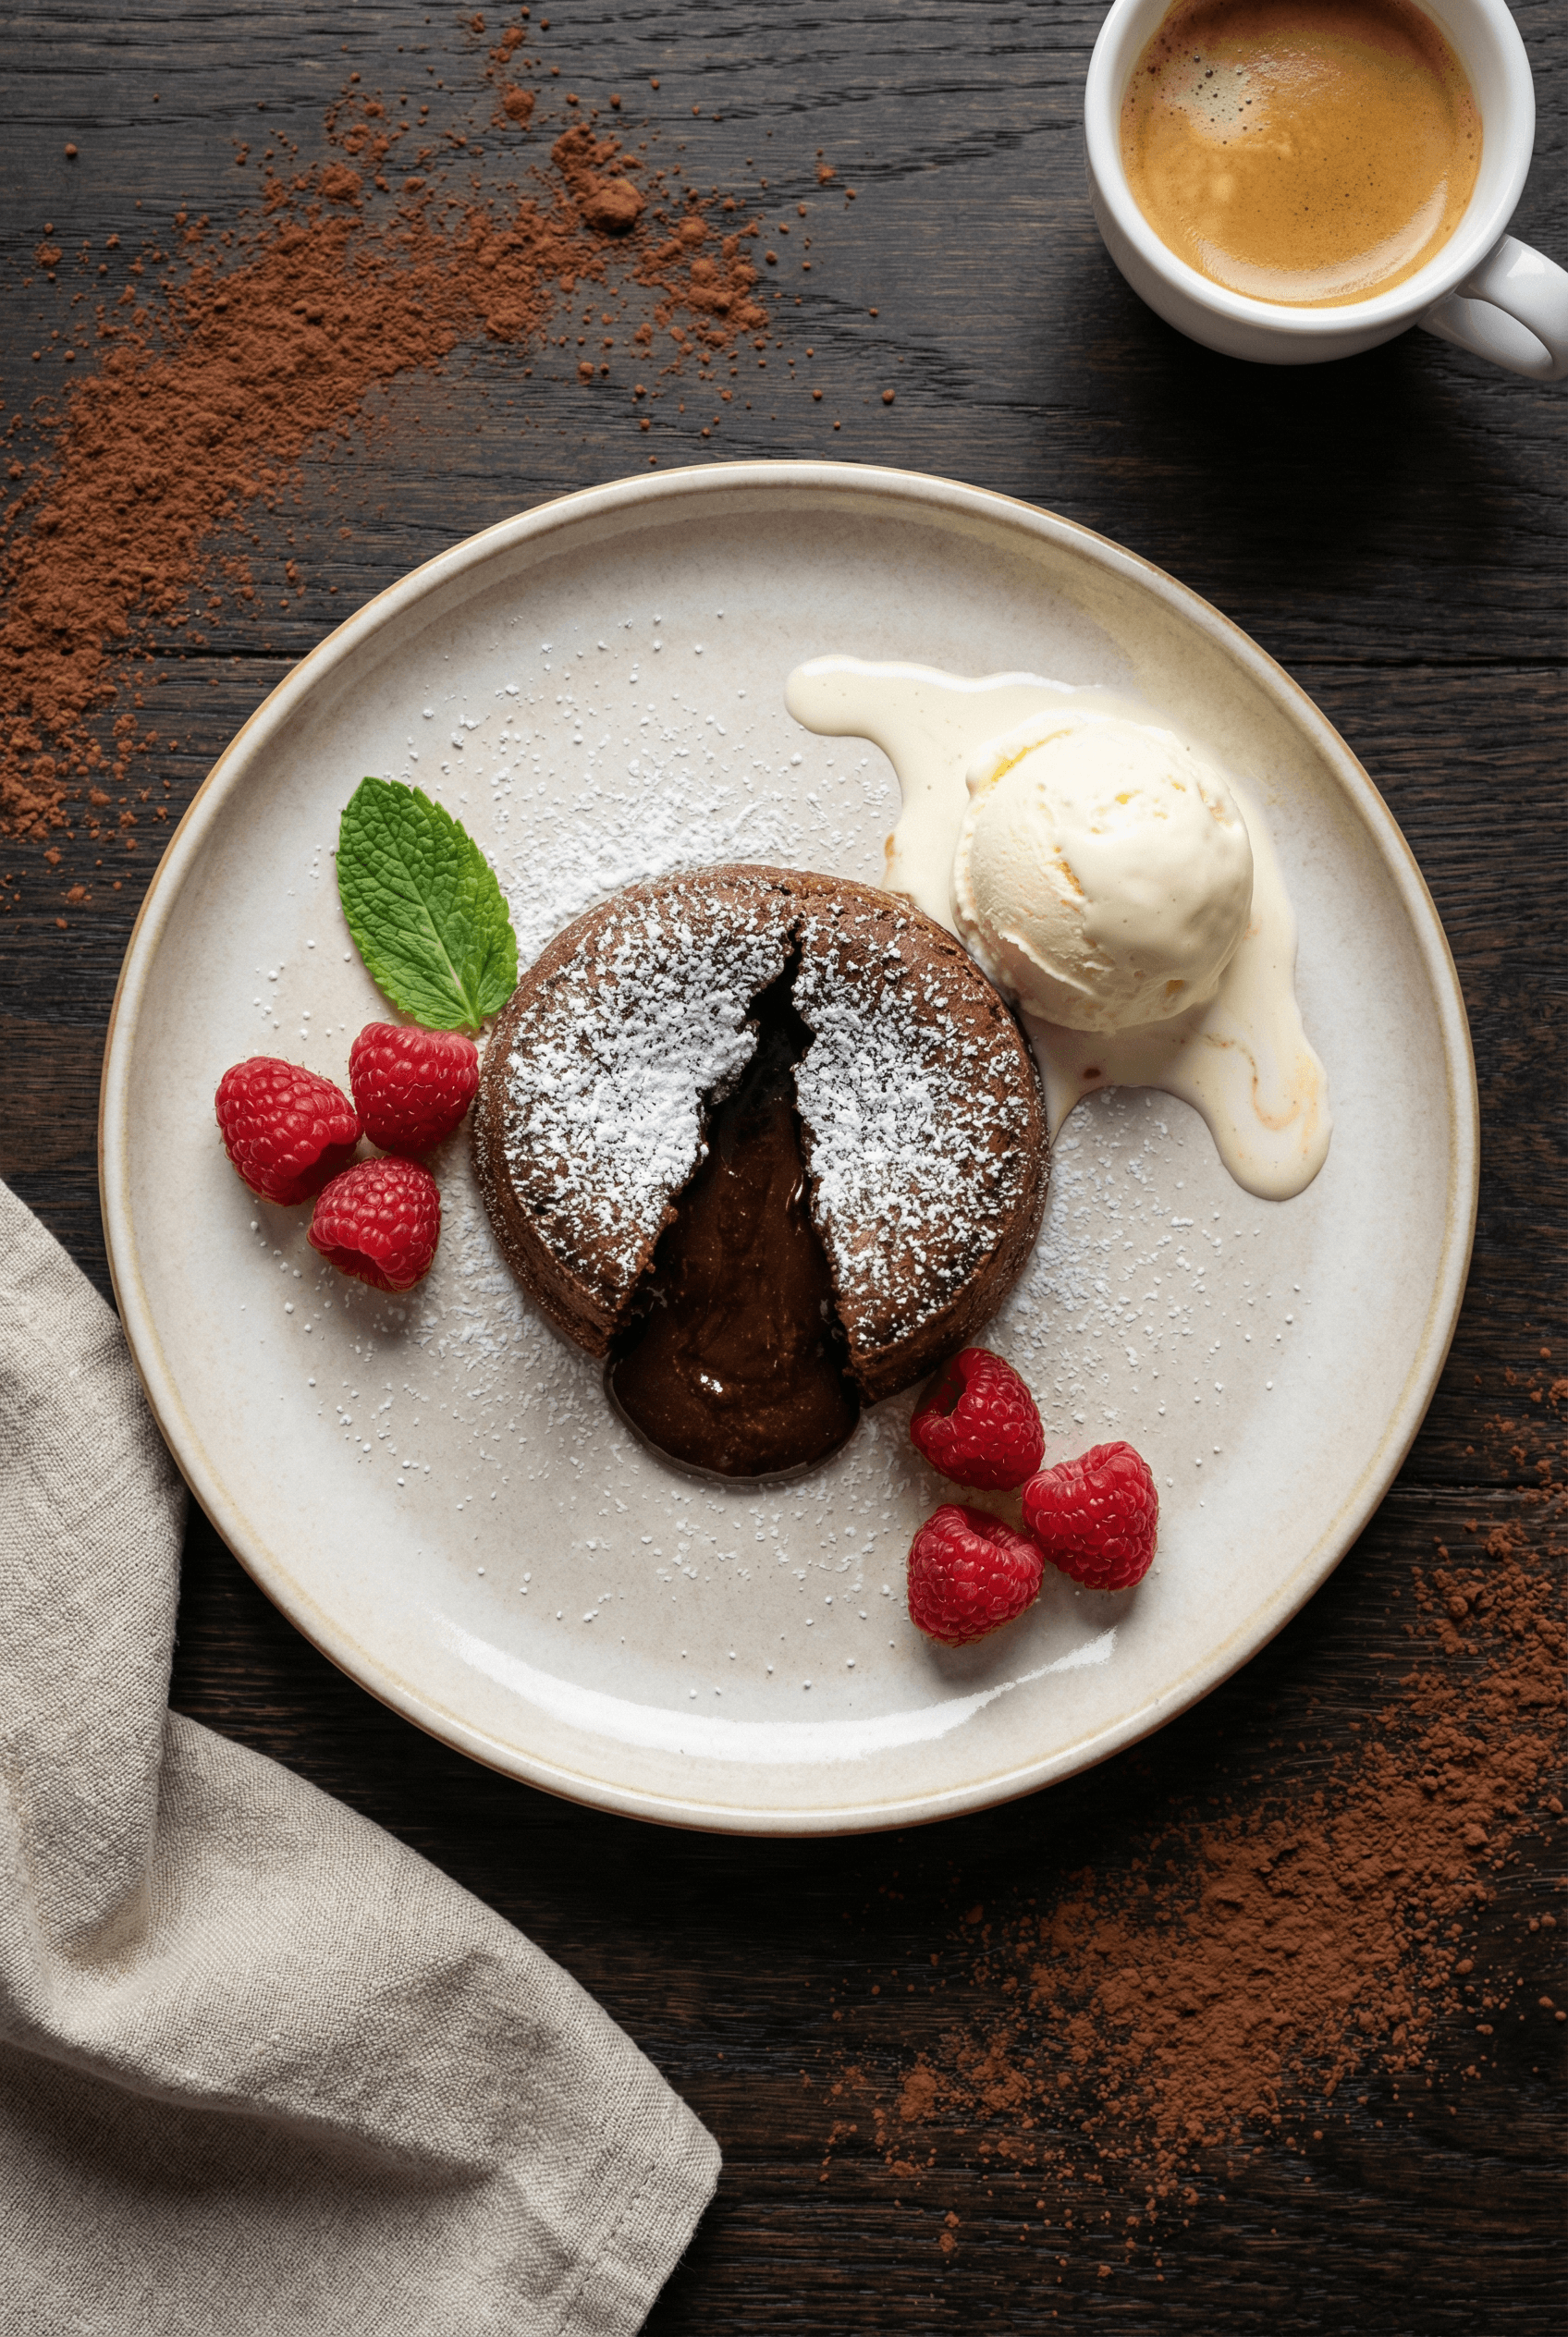
Let cakes cool in ramekins for exactly 1 minute. Run a thin knife around edges to loosen. Place a dessert plate upside down over each ramekin, then quickly flip. Give a gentle tap—the cake should release. Lift ramekin carefully. Dust with powdered sugar, add fresh berries or ice cream, and serve immediately while the center is still molten.
Nutrition Per Serving
- Calories: 420
- Protein: 8g
- Carbs: 38g
- Fat: 28g
- Fiber: 3g
- Sugar: 30g
Dark chocolate provides antioxidants and minerals including iron and magnesium. While indulgent, this dessert delivers satisfaction in a controlled portion.
Pro Tips for Success
- Temperature precision: 425F is non-negotiable – too low and centers set, too high and exteriors burn
- Quality chocolate matters: Use bars, not chips – chips contain stabilizers preventing smooth melting
- Room temperature eggs: Cold eggs create lumpy batter and uneven texture
- Don’t overbake: Centers should jiggle slightly – they continue cooking with residual heat
- Serve immediately: These wait for no one – molten centers set within 5 minutes
- Grease thoroughly: Every missed spot risks sticking and broken cakes
Delicious Variations
- Espresso Enhancement: Add 1 teaspoon instant espresso powder to chocolate mixture for depth
- Orange Zest: Mix in 1 teaspoon orange zest for classic chocolate-orange pairing
- Peppermint: Replace vanilla with peppermint extract for holiday twist
- Salted Caramel Center: Place frozen caramel cube in center before baking
- White Chocolate: Use white chocolate for blonde lava cakes (reduce bake time by 1 minute)
- Nutella Swirl: Swirl 1 teaspoon Nutella into each ramekin before baking
Common Mistakes to Avoid
Overbaking: The most common failure. Solution: Set timer for exactly 12 minutes and check for jiggle. Remember, slightly underbaked beats overbaked every time. The center continues cooking from residual heat.
Using Chocolate Chips: Stabilizers prevent smooth melting. Solution: Always use bar chocolate chopped into pieces. Quality matters – choose chocolate you’d enjoy eating plain.
Cold Ingredients: Cold eggs and butter create lumpy, separated batter. Solution: Bring all ingredients to room temperature before starting. This takes 30 minutes of planning but ensures success.
Inadequate Greasing: Cakes stick and break during unmolding. Solution: Use soft butter applied with fingers or brush, coating every surface. The cocoa dust adds insurance while contributing flavor.
Opening Oven Door: Temperature drops cause collapse. Solution: Use oven light to peek. Open door only once at the 12-minute mark to check doneness.
Storage and Make-Ahead
Make-Ahead Batter: Fill prepared ramekins, cover with plastic wrap, and refrigerate up to 24 hours. Add 2 minutes to bake time when baking directly from cold.
Freezing Unbaked: Freeze filled ramekins until solid, then wrap individually. Store up to 1 month. Bake directly from frozen, adding 3-4 minutes to original time.
Reheating Baked: Not ideal as centers set when cooled. If necessary, microwave 10-15 seconds to barely warm through.
Best Practice: Mix batter fresh when possible. The 10-minute prep time is minimal, and fresh batter creates superior texture.
Serving Suggestions
Classic Pairing: Vanilla bean ice cream melting into warm chocolate creates temperature and flavor contrast that defines dessert perfection.
Elegant Touch: Dust with powdered sugar and garnish with fresh raspberries. The tartness cuts through richness beautifully.
Whipped Cream: Lightly sweetened whipped cream provides cool, airy contrast to dense chocolate.
Berry Coulis: Drizzle raspberry or strawberry sauce around plate for restaurant presentation and flavor complement.
Coffee Service: Serve alongside espresso or strong coffee. The bitter notes enhance chocolate while cleansing the palate.
Why This Recipe Works
The magic lies in controlled underbaking. High temperature sets the protein structure quickly, creating firm walls while the center remains liquid. The precise egg-to-chocolate ratio provides just enough structure without setting completely. Minimal flour keeps texture tender rather than cakey. The sugar not only sweetens but lowers the temperature at which proteins coagulate, extending the window for perfect molten centers. Room temperature ingredients combine smoothly, preventing lumps that would create uneven texture. Finally, the butter-cocoa coating creates a non-stick surface while adding flavor dimension.
Conclusion
This chocolate lava cake proves that impressive doesn’t mean complicated. With proper technique and timing, you’ll consistently create desserts that make people pause mid-conversation and ask for your secret. The combination of contrasting textures – crisp exterior yielding to molten chocolate – creates an experience that transcends ordinary dessert.
Ready to master the ultimate chocolate indulgence? Gather your ingredients and discover how easy it is to create restaurant-quality magic at home. Share your results and creative variations – we love seeing your molten masterpieces.
FAQs
Can I use milk chocolate instead of dark?
Yes, but reduce sugar to 2 tablespoons as milk chocolate is sweeter. Dark chocolate 60-70% creates better balance between sweet and bitter notes.
What size ramekins work best?
6-ounce ramekins are ideal. Smaller ones require reduced bake time, larger ones need more time and may not create proper molten centers.
Why did my centers set completely?
Overbaking is the culprit. Reduce time by 1 minute next batch. Ovens vary – use the jiggle test as your guide rather than timer alone.
Can I make these without ramekins?
Muffin tins work in a pinch. Grease and dust thoroughly. Reduce bake time to 10 minutes and watch carefully.
How do I know when they’re done?
Edges should be set and pulling slightly from sides while centers still jiggle when gently shaken. This jiggle indicates molten perfection.
Can I double the recipe?
Absolutely. The recipe scales perfectly. Mix batter in batches if your bowl is small, ensuring proper aeration when whisking eggs.
What if I don’t have a double boiler?
Microwave chocolate and butter in 20-second intervals, stirring between each, until just melted. Watch carefully to prevent burning.
Why use both eggs and yolks?
Whole eggs provide structure while extra yolks add richness and create smoother, more custard-like centers. This ratio is key to perfect texture.
Can I make these dairy-free?
Yes. Use dairy-free chocolate and replace butter with coconut oil. The texture will be slightly different but still delicious with molten centers.