Chicken & Poultry
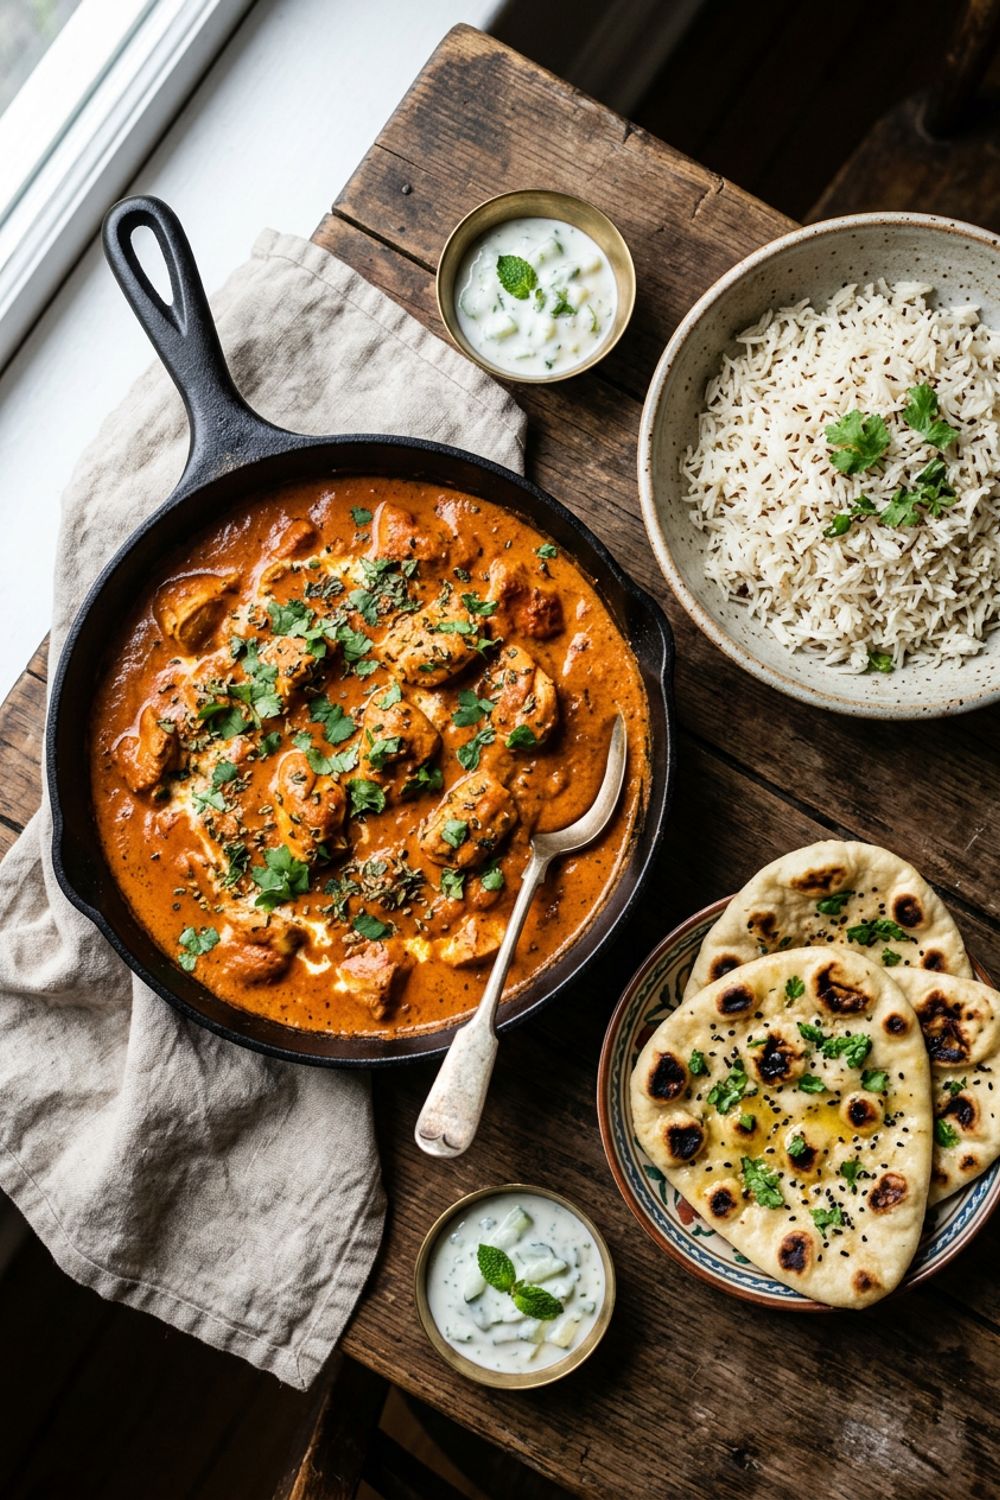
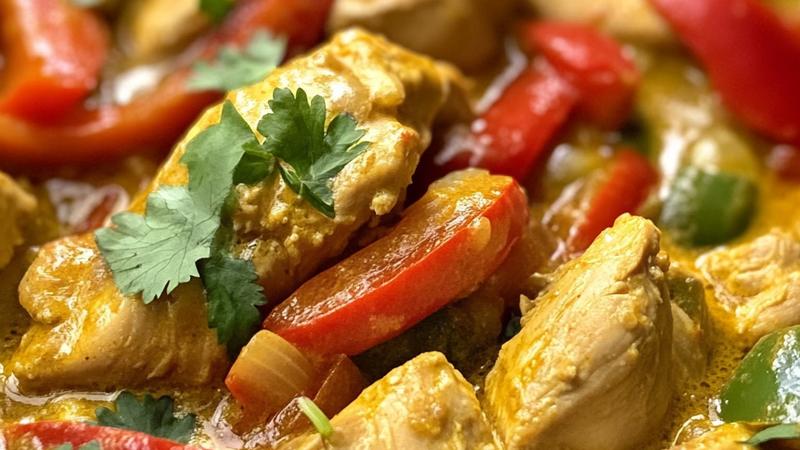
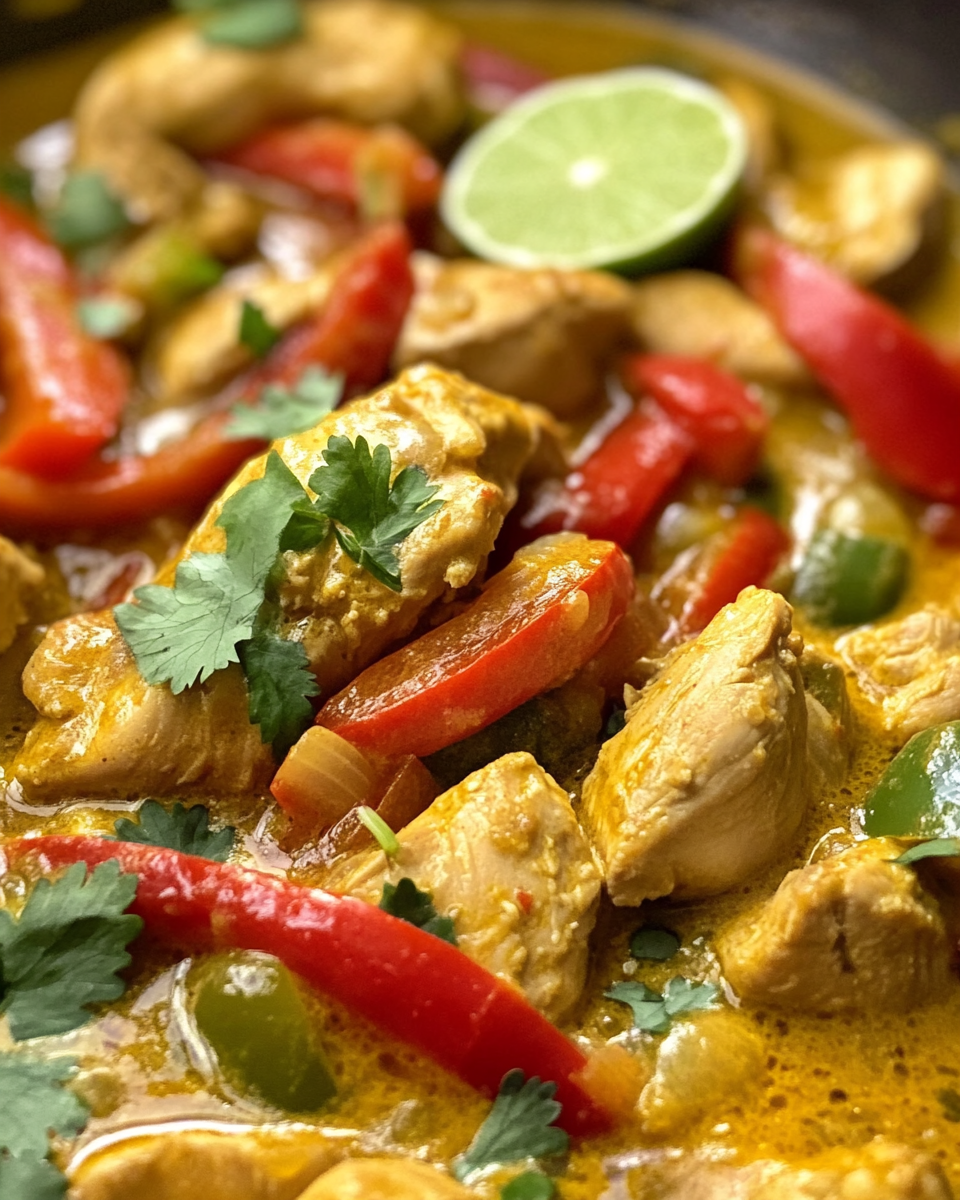
Creamy Coconut Chicken Curry
Learn how to make authentic coconut chicken curry at home. Tender chicken in a rich, creamy coconut sauce with aromatic spices. Ready in 45 minutes!
Why I Love Making Coconut Chicken Curry at Home
I discovered my passion for coconut chicken curry during a backpacking trip through Thailand about five years ago. I was sitting in a small family-run restaurant in Bangkok, watching the cook move effortlessly between pots, and I realized that this wasn’t just food—it was an art form. The way the coconut milk transformed into a silky sauce, how the spices danced together, and the balance of sweet, spicy, salty, and sour flavors all working in harmony absolutely mesmerized me. When I came home, I was determined to recreate that magic in my own kitchen. What I’ve learned is that making coconut chicken curry at home is not only possible but incredibly rewarding. You get to control every element, adjust the spices to your preference, and create something that tastes even better than restaurant versions because it’s made with love and intention. This recipe has become one of my go-to dishes when I want to impress guests or simply treat myself to something special on a weeknight.
The Secret to Restaurant-Quality Curry
The key to achieving that restaurant-quality taste at home lies in a few fundamental techniques. First, don’t skip the searing step with the chicken. This creates a flavorful crust that adds depth to your final dish. Second, toast your curry paste in the aromatics before adding the liquid—this blooms the spices and releases their essential oils, intensifying the flavor profile. Third, use full-fat coconut milk, not the light version. The richness is essential to the dish’s character. Fourth, balance your flavors as you cook. Taste frequently and adjust the lime juice, fish sauce, and sugar to create that perfect harmony. Finally, don’t rush the simmering process. Allowing the curry to gently bubble away gives all the flavors time to meld and develop. I’ve found that patience truly is a virtue in curry-making.
Ingredient Spotlight: Understanding Curry Paste
Red curry paste is the backbone of this dish, and understanding what goes into it has deepened my appreciation for this recipe. Traditional Thai red curry paste is made from red chilies, garlic, shallots, lemongrass, galangal, and shrimp paste, all ground together into an aromatic paste. When you buy it at the store, you’re getting all these complex flavors in one convenient ingredient. I always recommend buying quality curry paste from Asian markets or the international section of your grocery store. The flavor difference between brands can be significant. Some pastes are spicier than others, and some have more pronounced lemongrass notes. I encourage you to try a few different brands to find your favorite. Once you find one you love, stick with it for consistency. You can also make your own curry paste from scratch if you’re feeling adventurous, but I find the store-bought versions are convenient and deliver excellent results.
Customizing Your Curry: Vegetables and Variations
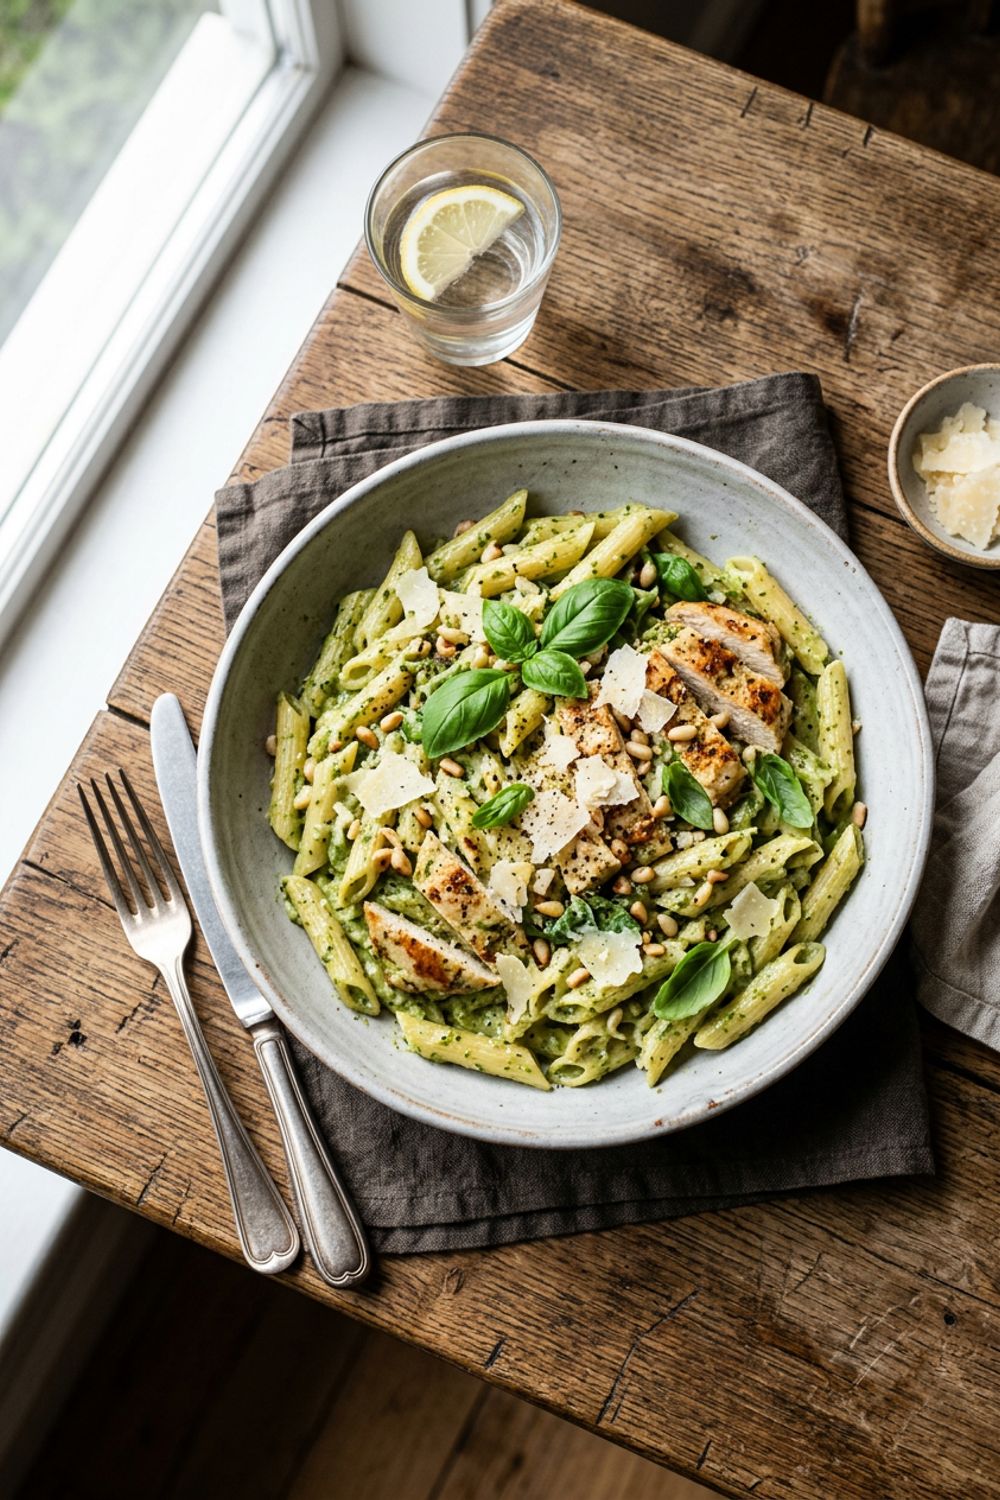
One of the beautiful things about curry is its flexibility. While I’ve included bell peppers, snap peas, and pineapple in this recipe, you can absolutely customize it based on what you have on hand or what you prefer. I’ve made versions with broccoli, carrots, zucchini, mushrooms, and baby corn. Each vegetable brings its own texture and flavor to the dish. If you want to add more protein, consider including shrimp alongside the chicken, or substitute the chicken entirely with tofu for a vegetarian version. The cooking time might adjust slightly depending on your additions. I also love experimenting with different types of curry paste—green curry paste is spicier and more herbaceous, yellow curry paste is milder and slightly sweeter, and panang curry paste creates a thicker, more peanut-forward sauce. Each variation offers a completely different experience while maintaining that creamy, comforting essence that makes curry so satisfying.
Serving Suggestions and Pairing Ideas
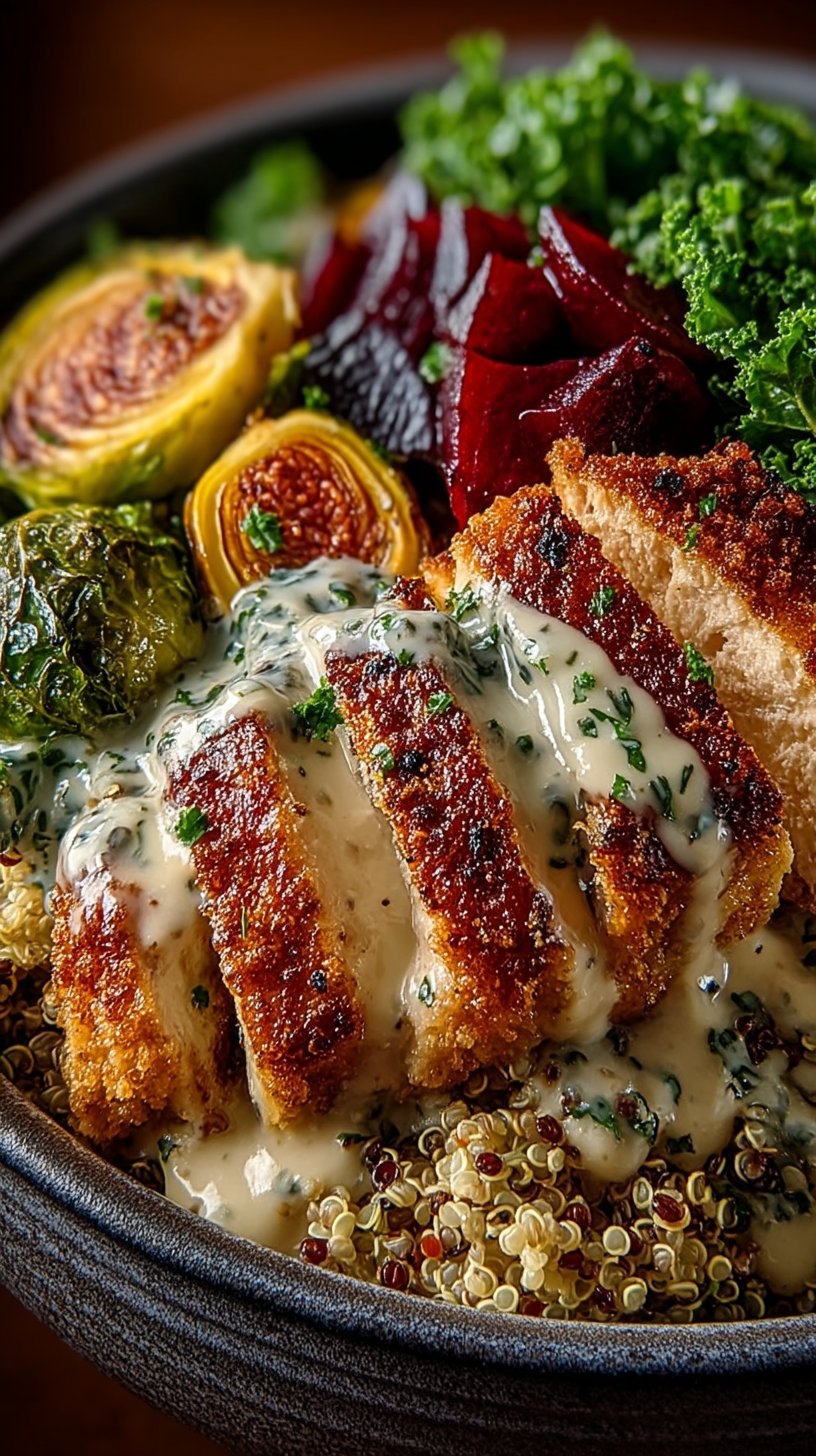
The way you serve your coconut chicken curry can completely transform the dining experience. Jasmine rice is the classic choice, and for good reason—its delicate floral notes complement the curry beautifully. Brown rice offers a nuttier flavor and more fiber if you prefer. Basmati rice is another excellent option with its long, fragrant grains. If you want something different, try serving it with warm naan bread for dipping and scooping, or over cauliflower rice for a lower-carb option. I’ve even served it over quinoa for a protein boost. For beverages, I recommend pairing your curry with something cool and refreshing—a crisp white wine like Sauvignon Blanc, a light lager beer, or simply iced Thai iced tea. The coolness and slight sweetness balance the spices perfectly. For a complete meal, add a simple cucumber salad or a fresh papaya salad on the side. These light, refreshing sides provide a nice contrast to the rich, creamy curry.
Make-Ahead and Meal Prep Tips
I’m a big advocate for meal prepping, and coconut chicken curry is one of my favorite dishes to make ahead. You can prepare the entire curry up to 4 days in advance and simply reheat it when you’re ready to eat. In fact, I find that the flavors deepen and become even more delicious after sitting for a day or two. For meal prep, I like to store the curry and rice separately so the rice doesn’t get soggy. You can also freeze the curry for up to 3 months. Just thaw it overnight in the refrigerator and reheat gently on the stovetop. If you want to prep partially, you can do all your chopping and measuring the night before, keeping everything in separate containers. Then on cooking day, you just need to execute the recipe, which takes about 45 minutes from start to finish. This makes it perfect for busy weeknights when you want something homemade and delicious without spending hours in the kitchen.
Ingredients
Protein & Base
Curry Sauce
Vegetables & Garnish
Instructions
Prepare Your Ingredients
I always start by gathering everything I need because curry comes together quickly once you begin cooking. Cut your chicken breasts into uniform 1-inch cubes so they cook evenly. Dice your onion, mince your garlic, and grate your fresh ginger. Slice your bell peppers and snap peas into bite-sized pieces. Having everything prepped and ready makes the cooking process so much smoother and less stressful. This is what I call mise en place, and it's a game-changer when you're working with multiple ingredients.
Sear the Chicken
Heat your coconut oil in a large, heavy-bottomed pot or Dutch oven over medium-high heat. Once the oil is shimmering, add the chicken cubes in a single layer. Don't crowd the pan—if needed, work in batches. Let the chicken sear for 3-4 minutes on each side until it develops a golden-brown crust. This creates incredible flavor through the Maillard reaction. You're not cooking the chicken through at this point; you're just building that delicious foundation. Transfer the seared chicken to a plate and set aside.
Build the Aromatic Base
In the same pot, add your diced onion and sauté for 2-3 minutes until it becomes translucent and fragrant. Add the minced garlic and grated ginger, stirring constantly for about 1 minute. This is when your kitchen starts smelling absolutely incredible—that's when I know I'm on the right track. The aromatics are the soul of any curry, and taking time to develop these flavors properly makes all the difference in the final dish.
Create the Curry Sauce
Add the red curry paste to the pot and stir it into the aromatics for about 1-2 minutes, allowing it to toast slightly and release its essential oils. Pour in the coconut milk slowly, stirring to combine it with the curry paste until you have a smooth, creamy base. Add the chicken broth, fish sauce, lime juice, brown sugar, turmeric, and ground coriander. Stir everything together until well combined. This is where the magic happens—the sauce becomes rich, aromatic, and deeply flavorful. Taste it and adjust the seasonings to your preference.
Simmer with Chicken and Vegetables
Return the seared chicken to the pot, nestling it into the creamy sauce. Bring the curry to a gentle simmer over medium heat. Let it cook for 10 minutes, allowing the chicken to finish cooking through and absorb the flavors. Add your bell peppers and snap peas, stirring gently. Continue simmering for another 5-7 minutes until the vegetables are tender-crisp and the chicken is cooked through completely. Add the pineapple chunks in the last 2 minutes just to warm them through. The pineapple adds a subtle sweetness that balances the spices beautifully.
Finish and Garnish
Remove the pot from heat and taste your curry one final time. Add more lime juice if you want brightness, more fish sauce for depth, or a touch more brown sugar if you prefer it sweeter. Ladle the curry into serving bowls and garnish generously with fresh Thai basil or cilantro, sliced green onions, sesame seeds, and red chili slices if you like heat. I love how the fresh herbs brighten up the rich, creamy curry.
Serve and Enjoy
Serve your coconut chicken curry over jasmine rice, brown rice, or with warm naan bread. The rice soaks up all that incredible sauce, making every bite pure comfort. This curry actually tastes even better the next day as the flavors continue to meld together, so don't hesitate to make it ahead for meal prep. I often double the recipe and freeze half for busy weeknights.
Nutrition Information
Per serving (serves 4). Values are approximate.
| Calories | 385 calories |
| Total Fat | 18g |
| Saturated Fat | 12g |
| Carbohydrates | 28g |
| Sugar | 8g |
| Protein | 32g |
| Sodium | 620mg |
| Fiber | 4g |
* Percent Daily Values are based on a 2,000 calorie diet. Your daily values may be higher or lower depending on your calorie needs. Nutritional information is an estimate and may vary.
Never Miss a Recipe
Join 5,000+ home cooks and get new recipes straight to your inbox.
Frequently Asked Questions
Can I use chicken thighs instead of breasts?
Absolutely! I actually prefer using chicken thighs for curry because they stay more moist and tender during cooking. They have more fat content, which makes them forgiving if you cook them a bit longer. Just increase the cooking time slightly since thighs are thicker. The richer flavor of thighs pairs beautifully with the creamy coconut sauce.
Is this curry spicy?
The heat level depends on the red curry paste you choose and how much you use. Most red curry pastes are moderately spicy but not overwhelming. If you're sensitive to heat, start with 2 tablespoons of paste instead of 3, or use a milder curry paste. You can always add more heat with fresh chili slices at the end. I like to let people customize their own spice level at the table.
What can I substitute for fish sauce?
Fish sauce adds an umami depth that's hard to replicate, but if you don't have it or prefer not to use it, you can substitute with soy sauce or tamari in equal amounts. The flavor will be slightly different but still delicious. Some people use a bit of miso paste dissolved in water as well. Experiment and find what works best for your palate.
Can I make this dairy-free?
This recipe is already dairy-free! Coconut milk is naturally creamy and rich without any dairy products. Just make sure your curry paste and other ingredients don't contain hidden dairy. This makes it perfect for anyone following a vegan or dairy-free diet while still being incredibly satisfying and flavorful.
How do I store and reheat leftovers?
Store your curry in an airtight container in the refrigerator for up to 4 days. The flavors actually deepen as it sits. To reheat, gently warm it on the stovetop over medium heat, stirring occasionally. You can also reheat it in the microwave, though stovetop is gentler on the ingredients. If the sauce seems too thick after refrigeration, add a splash of chicken broth or coconut milk to loosen it up.

Hi, I'm Lisa!
I create simple, tested recipes from around the world that anyone can make at home.
Learn More →Reader Reviews
Based on 322 reviews