Chicken & Poultry
My Tuxedo Cake Rivals the Costco Version
Master this stunning Tuxedo Cake recipe that rivals Costco's version. Elegant chocolate and vanilla layers with creamy filling. Perfect for celebrations!
Why I Became Obsessed with Making Tuxedo Cake at Home
Let me be honest—I’ve been standing in the Costco bakery section more times than I’d like to admit, eyeing their Tuxedo Cake. It’s stunning, elegant, and honestly? It looks almost too professional to be real. But one day, I decided I was tired of paying premium prices for something I could absolutely make at home. I started researching recipes, testing techniques, and experimenting with layer combinations. What I discovered completely changed my approach to home baking.
The beautiful thing about making Tuxedo Cake at home is that you get to control every single ingredient. Want to use higher-quality chocolate? Go for it. Prefer a less-sweet filling? Adjust the powdered sugar to your taste. The Costco version is delicious, don’t get me wrong, but there’s something incredibly satisfying about creating something equally stunning—or better—in your own kitchen. Plus, the smell of fresh chocolate and vanilla cake baking beats any bakery experience for me.
Understanding the Tuxedo Cake Concept
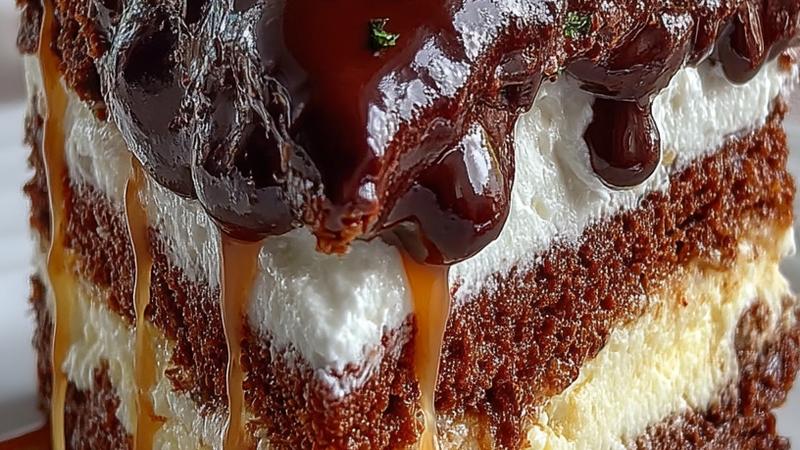
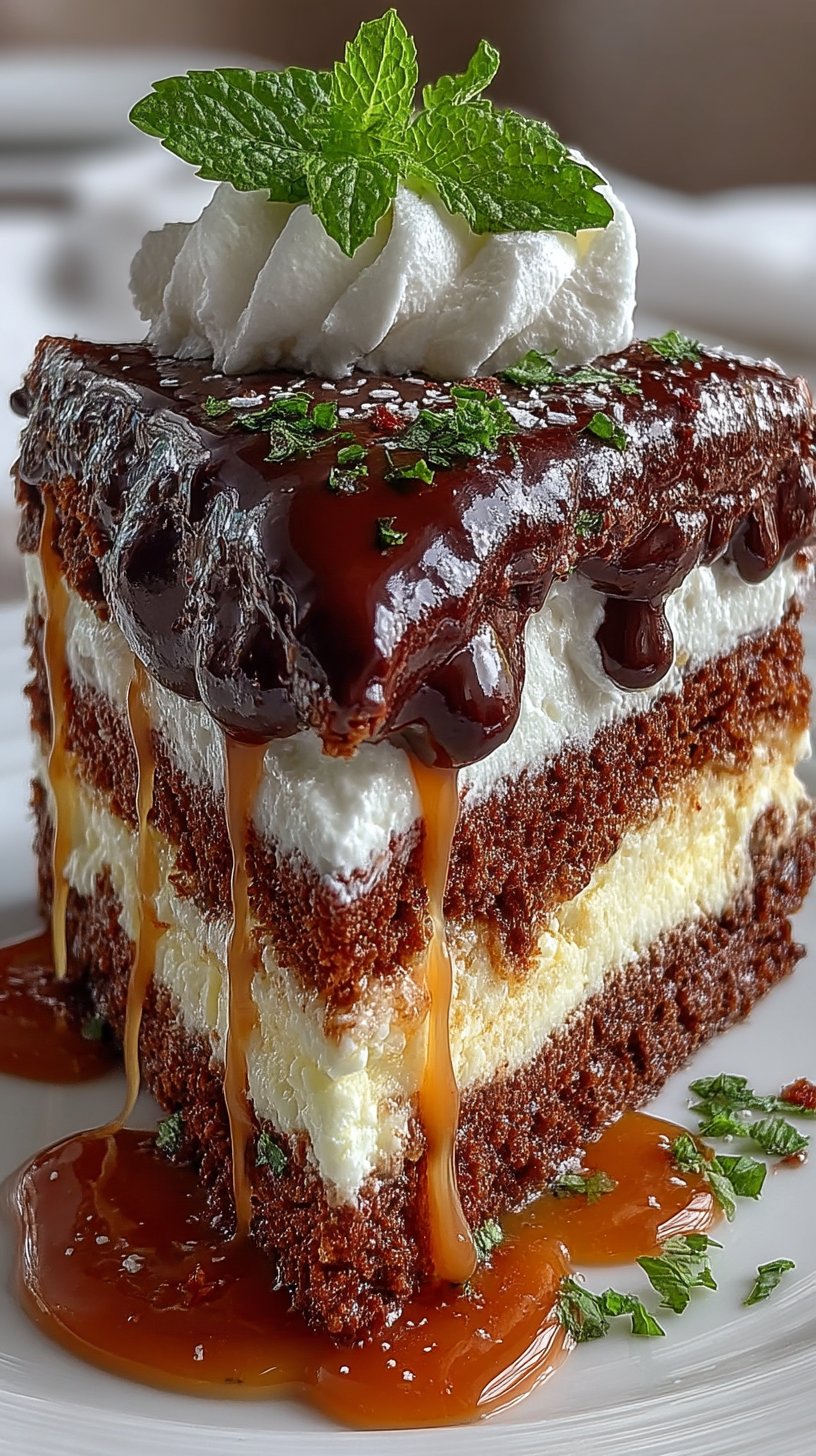
The Tuxedo Cake gets its name from the elegant black and white color combination—like a formal tuxedo! It features alternating layers of rich chocolate cake and smooth vanilla cake, separated by fluffy whipped cream filling, all topped with a silky chocolate ganache. It’s the kind of cake that looks like it took hours to make (and honestly, it does take some time), but the impressive payoff is totally worth it.
What I love most about this design is how visually striking it is when you cut into it. Those clean lines of alternating chocolate and vanilla layers create this sophisticated presentation that makes people actually gasp when you serve it. I’ve brought this cake to dinner parties and potlucks, and it’s become my signature dessert—everyone asks for the recipe, which I’m always happy to share now that I’ve perfected it.
The key to a great Tuxedo Cake is balance. The chocolate layers need to be intensely flavored but not overpowering, the vanilla layers should taste pure and buttery, and the whipped cream filling needs to be fluffy and light enough to let both cake flavors shine. The ganache topping brings everything together with its silky, luxurious finish.
My Secret Ingredients for Superior Flavor
Over my baking journey, I’ve discovered a few game-changing ingredients that elevate homemade cake beyond what you typically find in commercial versions. For the chocolate layers, I use strong brewed coffee—and this is crucial. It sounds unusual, but coffee doesn’t make the cake taste like coffee. Instead, it amplifies and deepens the chocolate flavor, making it taste richer and more complex. This is why bakery chocolate cakes taste so good—they often have coffee as a secret ingredient!
For the vanilla layers, I always use real vanilla extract, never imitation. The difference is noticeable, especially in a cake where vanilla is supposed to shine as a primary flavor. I also make sure my butter is at room temperature for the vanilla layers because this affects the structure and crumb of the cake—cold butter doesn’t cream properly and can result in a denser cake.
For the whipped cream filling, I use heavy whipping cream (not whipped cream that already has stabilizers) and whip it myself. Fresh whipped cream has a delicate, pure flavor that complements both the chocolate and vanilla without competing with them. Finally, for the ganache, I use a combination of semi-sweet chocolate (not too dark, not too sweet) with added butter and corn syrup. The butter adds richness, and the corn syrup creates that glossy, professional finish that makes the cake look bakery-quality.
Temperature and Timing: The Real Secrets to Success
I’ve learned that temperature control is absolutely critical when making Tuxedo Cake. Cold ingredients behave differently than room temperature ingredients, and this affects your final cake. For the vanilla layers, I always make sure my butter, eggs, and milk are at room temperature before I start mixing. This creates an emulsion that results in a more tender crumb and better rise.
For the chocolate layers, I use hot water in the batter—this might seem odd, but it activates the cocoa powder and creates a more intense chocolate flavor while also ensuring the cake stays incredibly moist. By the time the batter is mixed, the water has cooled enough that it doesn’t scramble the eggs, but it’s still warm enough to make a significant difference in texture and flavor.
Timing-wise, I’ve found that letting the cakes cool completely before assembly is non-negotiable. Even if they’re just slightly warm, the whipped cream will begin to melt and the structure becomes unstable. I usually bake my cakes in the morning and assemble them in the evening, giving them maximum cooling time. This also means the cake structure is set and stable before adding the heavier ganache topping.
Assembly Techniques That Create Professional Results
The assembly stage is where your Tuxedo Cake really transforms from good to stunning. I start by using a cake leveler or serrated knife to make sure my cake layers are flat and even. This creates a stable base for stacking and ensures each layer is the same thickness, which looks more professional when you cut into it.
I always use a cake turntable or lazy Susan during assembly—it makes everything so much easier. I place my first chocolate layer on the turntable, secure it with a small dab of whipped cream, then pipe a thin, even ring of whipped cream around the edge and fill the center. I use an offset spatula to smooth it slightly, creating a level surface for the next layer. This technique prevents the filling from squishing out and makes stacking much more stable.
When I place each new layer on top, I use gentle downward pressure, rotating as I go to ensure even weight distribution. I repeat this process until all four layers are stacked, then I create a beautiful border of piped whipped cream rosettes around the top edge. This serves two purposes: it looks gorgeous, and it contains the ganache so it doesn’t slide off. Once the ganache is poured and set, those rosettes frame it perfectly and create the final elegant touch.
Why This Homemade Version Actually Surpasses Store-Bought
Here’s my honest take on why making Tuxedo Cake at home beats buying it from even the best bakeries: freshness, customization, and pride. When you make it at home, every component is made with care and served at peak freshness. The whipped cream filling is made hours before serving, not days before. The ganache is applied on the same day you’re serving it, so it maintains that perfect glossy finish.
You can also customize everything. Want a darker chocolate flavor? Use darker chocolate in your cake and ganache. Prefer a less sweet cake? Reduce the sugar slightly (though be careful with baking as sugar affects structure). Want to add a hint of almond extract to the vanilla layers? Go for it. These kinds of personal touches are impossible when buying commercially.
But honestly? The biggest advantage is the satisfaction that comes from creating something this beautiful and delicious with your own hands. That first time someone tastes your homemade Tuxedo Cake and their eyes go wide—that moment is absolutely priceless. You’ll forever have the confidence knowing you can create impressive, restaurant-quality desserts whenever you want. And that’s something that never gets old.
Ingredients
For the Chocolate Cake Layers
For the Vanilla Cake Layers
For the Whipped Cream Filling
For the Chocolate Ganache Topping
For Assembly and Decoration
Instructions
Prepare Your Pans and Preheat Oven
I always start by preheating my oven to 350°F (175°C). While it's warming up, I grease and flour two 9-inch (23cm) round cake pans, then line the bottoms with parchment paper circles. This triple-layer protection ensures my cakes release perfectly every time. Trust me, there's nothing worse than a stuck cake! I also gather all my ingredients and mise en place them—it makes the process feel less overwhelming and keeps everything flowing smoothly.
Make the Chocolate Cake Layers
In a large mixing bowl, I whisk together the flour, sugar, cocoa powder, baking soda, baking powder, and salt. This dry ingredient combo is the foundation of that rich chocolate flavor I'm after. In another bowl, I beat the eggs, then add the cooled coffee, oil, and vanilla extract. The coffee is my secret weapon—it deepens the chocolate flavor without tasting like coffee. I pour the wet ingredients into the dry mixture and stir until just combined, then carefully add the hot water, which makes the batter thin but so incredibly moist. I pour half the batter into each prepared pan.
Make the Vanilla Cake Layers
For the vanilla layers, I cream together the softened butter and sugar in a stand mixer for about 3 minutes until light and fluffy. This is crucial for volume! I add eggs one at a time, beating well after each addition, then alternate adding the flour mixture and milk, starting and ending with flour. I divide this batter between two more greased and floured 9-inch pans. Now I have two chocolate and two vanilla pans ready to go into the oven.
Bake All Four Layers
I place all four pans in the oven simultaneously—two on the upper rack, two on the lower rack, rotating their positions halfway through. The chocolate layers bake for 30-32 minutes, while the vanilla layers need about 33-35 minutes. Each cake is done when a toothpick inserted in the center comes out clean or with just a few moist crumbs. The smell during baking is absolutely incredible. I remove them from the oven and let them cool in their pans for 10 minutes, then turn them out onto wire racks to cool completely. This step takes patience but is absolutely necessary—trying to assemble warm cake is a recipe for disaster!
Prepare the Whipped Cream Filling
Once the cakes are completely cooled, I make my filling. I pour the heavy cream into a chilled bowl and whip it with an electric mixer on high speed. When soft peaks form, I add the powdered sugar and vanilla extract, continuing to beat until stiff peaks form. I love using fresh whipped cream instead of frosting—it tastes so much lighter and more elegant, making this cake feel less heavy despite its impressive appearance. I transfer it to a piping bag fitted with a large open star tip for beautiful presentation later.
Create the Chocolate Ganache
For the silky ganache topping, I place my chopped chocolate in a heatproof bowl. I heat the heavy cream until it just begins to steam (don't let it boil), then pour it over the chocolate and let it sit for 30 seconds. I stir gently until smooth, then add the butter and corn syrup, stirring until everything is glossy and combined. The corn syrup is another secret—it gives the ganache that professional, shiny finish. I let it cool to room temperature while I assemble the cake layers.
Stack and Fill Your Tuxedo Cake
Now comes the fun part! I place my first chocolate layer on a cake stand or serving plate. I pipe whipped cream in a thin, even layer over the top, then place a vanilla layer on top. I repeat this alternating pattern: chocolate layer with whipped cream, vanilla layer with whipped cream, ending with a chocolate layer on top. This creates that gorgeous striped effect when you slice into it. I pipe a ring of whipped cream rosettes around the top edge for decoration—this is where it really starts looking like that fancy Costco cake!
Add the Ganache and Final Touches
Once my ganache has cooled to that perfect, pourable consistency, I pour it over the top of the cake, letting it cascade slightly down the sides for that elegant look. I dust the ganache with a bit of cocoa powder while it's still wet—it adds the final touch of sophistication. If I'm feeling fancy, I add chocolate shavings or even edible gold leaf. I let the ganache set for at least 30 minutes at room temperature (or chill for 15 minutes) before slicing and serving. The contrast between the fluffy whipped cream, moist cake layers, and glossy chocolate topping is absolutely stunning, and honestly? It rivals—and I'd argue surpasses—that Costco version every single time.
Nutrition Information
Per serving (serves 12). Values are approximate.
| Calories | 385 calories |
| Total Fat | 18g |
| Saturated Fat | 10g |
| Carbohydrates | 52g |
| Sugar | 40g |
| Protein | 5g |
| Sodium | 420mg |
| Fiber | 1g |
* Percent Daily Values are based on a 2,000 calorie diet. Your daily values may be higher or lower depending on your calorie needs. Nutritional information is an estimate and may vary.
Never Miss a Recipe
Join 5,000+ home cooks and get new recipes straight to your inbox.
Frequently Asked Questions
Can I make this cake a day ahead?
Absolutely! I actually prefer making this cake the day before. You can bake all the layers, cool them completely, wrap each one individually in plastic wrap, and store them at room temperature. The next day, I assemble it with fresh whipped cream and ganache. The cake layers taste better after a day anyway—the flavors meld beautifully. Just add the ganache no more than a few hours before serving so it stays glossy and fresh-looking.
What if I don't have four cake pans?
No problem! You can bake in batches. Bake the chocolate layers first, cool them completely, then bake the vanilla layers using the same pans. Just make sure to grease and flour between batches. This adds some time to the process, but it works perfectly well. I've done this many times when I'm short on baking pans.
Can I use store-bought cake layers to speed this up?
I understand the temptation, but honestly, that's where the homemade advantage really shines! Homemade cakes have so much more flavor and moisture than store-bought. However, if you're truly pressed for time, you could use high-quality bakery cakes and focus on making the fresh whipped cream filling and ganache from scratch—those are what really make this special.
How should I store leftovers?
Store any leftover cake in an airtight container in the refrigerator for up to 3 days. The whipped cream filling keeps it fresh-tasting longer than traditional frosting would. You can also freeze the unfrosted, unfilled cake layers for up to a month—just wrap them well in plastic wrap and foil. This is actually a great trick if you want to make the layers ahead and assemble closer to serving time.
Why is my ganache too thick or too thin?
The chocolate-to-cream ratio is key! If your ganache is too thick, gently reheat it and add a tablespoon more cream at a time until you reach the right consistency. If it's too thin, it probably needs to cool longer—let it sit at room temperature for 10-15 minutes and it should thicken up. The temperature really matters here, so patience is your friend.

Hi, I'm Lisa!
I create simple, tested recipes from around the world that anyone can make at home.
Learn More →Reader Reviews
Based on 356 reviews
Leave a Review
You Might Also Like
Chicken & Poultry
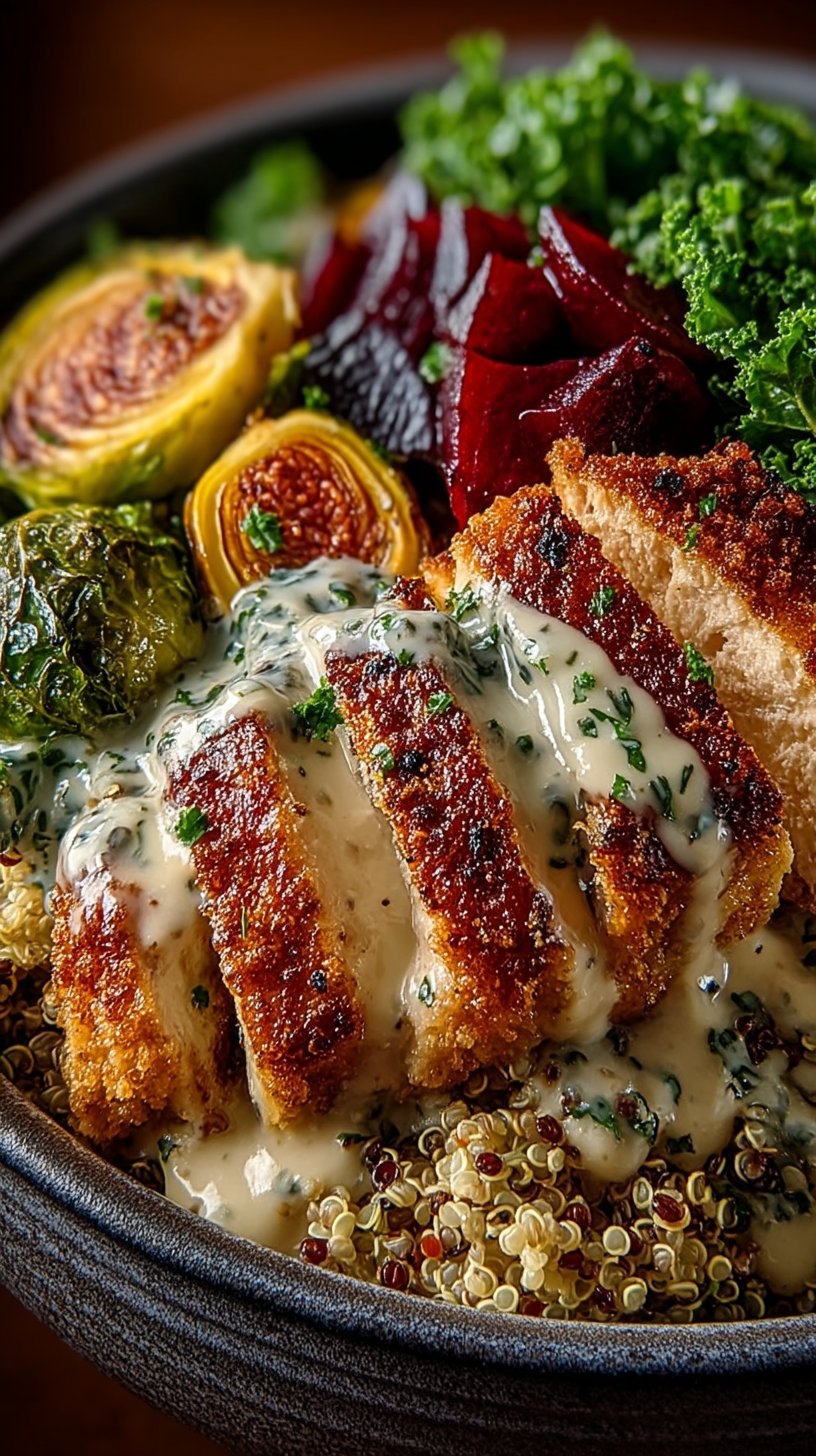
Chicken Harvest Bowl Recipe (Sweetgreen Copycat)
Chicken & Poultry
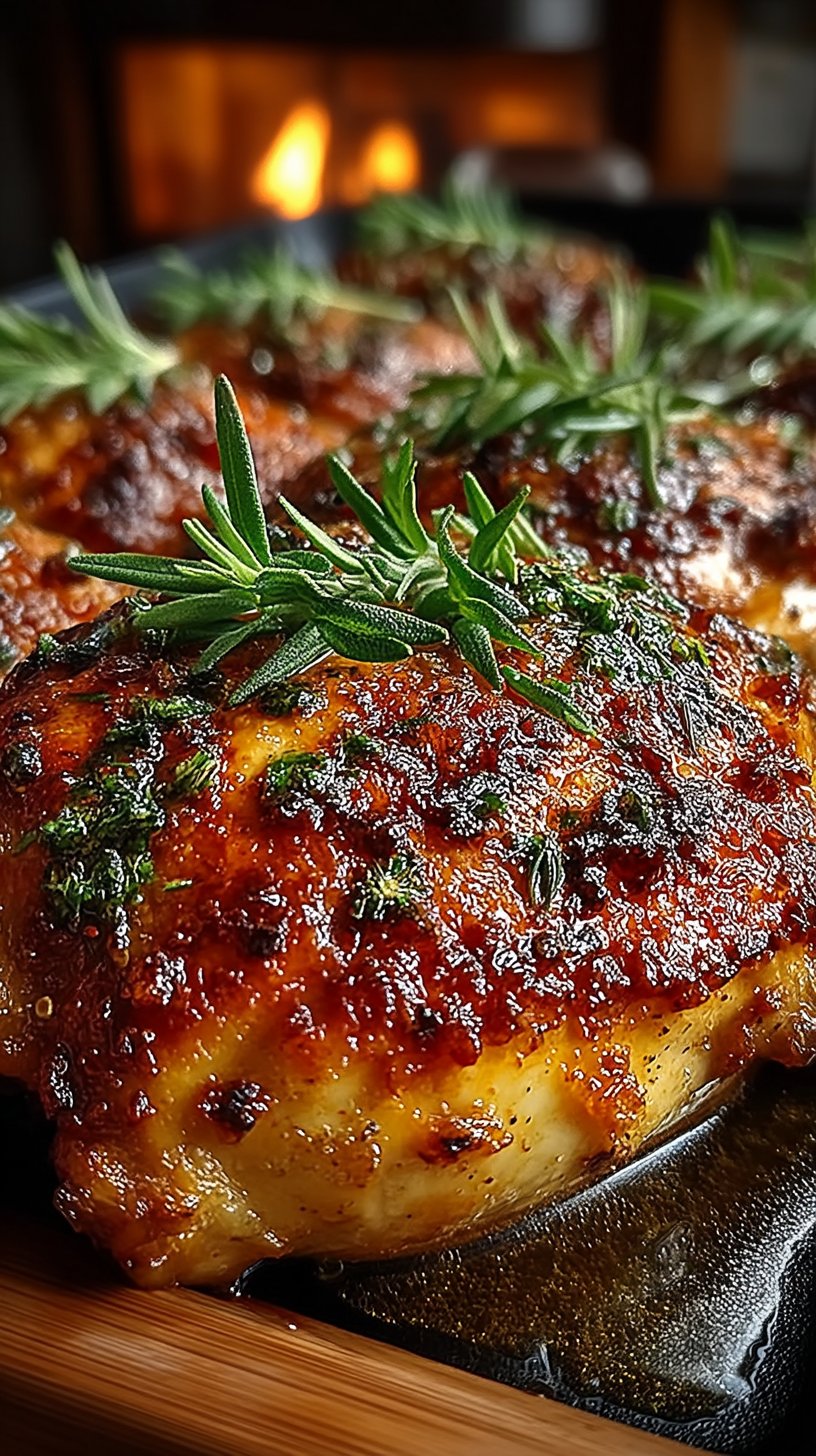
Buttermilk Whole Roasted Chicken Recipe
Chicken & Poultry
The Unbelievably Delicious Chicken I Make Once a Week
Chicken & Poultry