World Cuisine
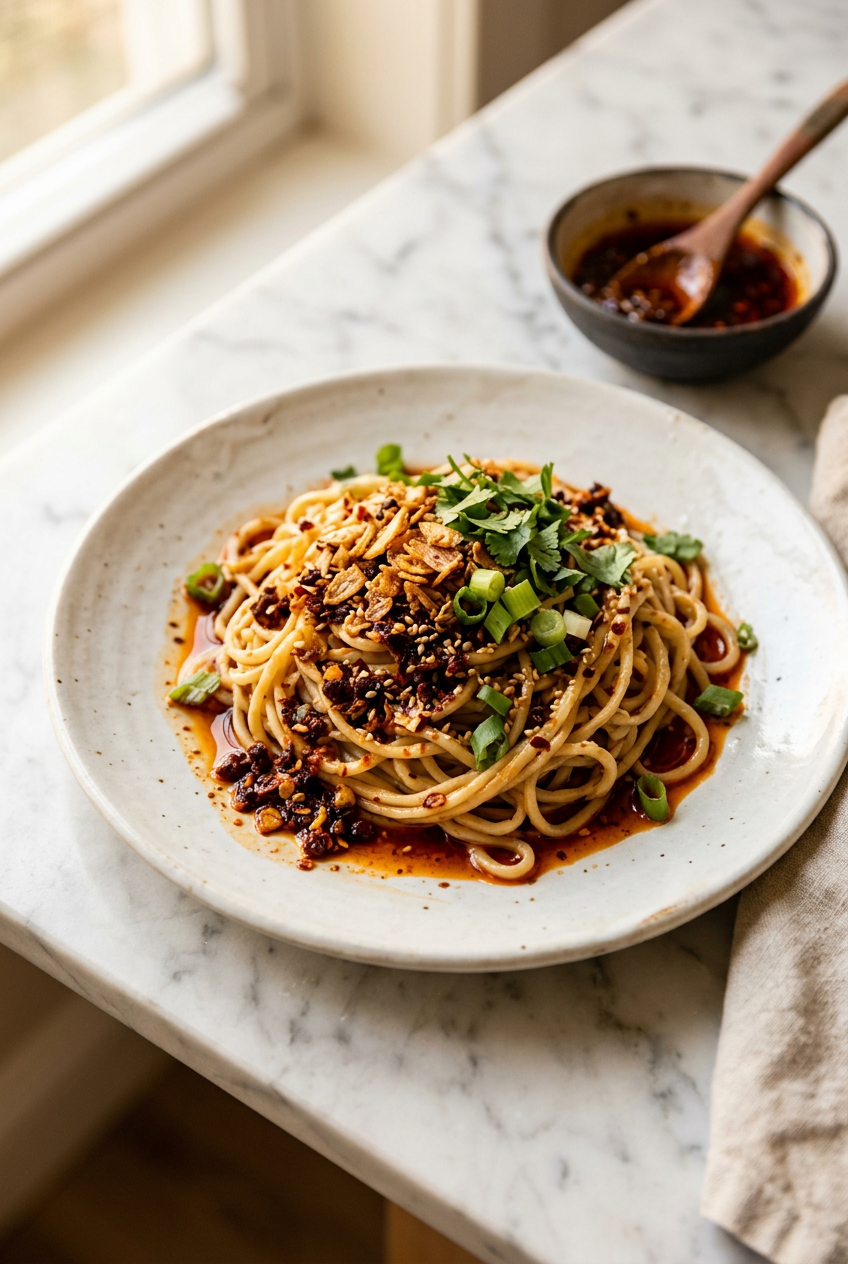
Easy Chilli Crisp Recipe: Homemade in 15 Minutes
Why I’m Obsessed with Making Chilli Crisp at Home
When I first discovered chilli crisp, I was immediately captivated by its versatility and bold flavor. I started buying it from specialty stores, but the price point and limited ingredient transparency bothered me. That’s when I decided to create my own easy chilli crisp recipe at home, and honestly, I’ve never looked back. Homemade chilli crisp is not only more affordable, but you also have complete control over the ingredients, heat level, and flavor profile. I can adjust it based on what I’m cooking that week, and I know exactly what’s going into my condiment—no mystery ingredients or preservatives. The process is surprisingly simple, taking just 25 minutes from start to finish, yet the results taste like they came from a high-end restaurant. There’s something deeply satisfying about creating such a versatile condiment in your own kitchen. Once you make it once, you’ll understand why I keep a jar on my counter at all times.
The Secret to Perfect Crispy Texture
The key to achieving that signature crispy texture in chilli crisp lies in understanding how oil and heat interact with dried chilies. When you heat the oil to the right temperature—warm but not smoking—and add your dried chilies, the heat causes the moisture in the chilies to evaporate while the oils infuse into the liquid oil. This creates those beautiful crispy bits that make chilli crisp so addictive. I’ve learned through experimentation that medium heat is crucial; too high and your chilies burn and taste bitter, too low and they don’t crisp up properly. The sesame seeds also contribute to the texture, toasting slightly and adding a delightful crunch. I always make sure to include all those crispy bits when transferring to jars—that’s where the magic is. Some people strain their chilli crisp, but I prefer keeping all the solids because they’re packed with flavor and provide that satisfying textural contrast.
Ingredient Spotlight: Choosing Quality Chilies
The foundation of any great easy chilli crisp recipe is quality dried chilies. I’ve tried numerous varieties, and each brings something unique to the table. Dried red chilies are the classic choice and what I use most often—they provide a balanced heat with subtle fruity notes. Thai bird’s eye chilies are smaller and significantly hotter, perfect if you love intense heat. Guajillo chilies offer a milder, slightly sweet profile that’s wonderful if you prefer less spice. Ancho chilies are earthy and complex, adding depth to the overall flavor. When selecting dried chilies, look for ones that are still pliable and fragrant, not brittle or dusty. Store them in an airtight container away from light and heat to maintain their quality. I usually buy mine from Asian markets or specialty spice shops where there’s higher turnover, ensuring freshness. The quality of your chilies directly impacts the final product, so this is one area where I never compromise.
Beyond the Basic Recipe: Creative Variations
Once you’ve mastered the basic easy chilli crisp recipe, the fun really begins! I love experimenting with different flavor combinations based on my mood and what I’m cooking. For an Italian-inspired version, I add dried oregano and a pinch of red pepper flakes along with the traditional ingredients. For an Asian twist, I include star anise, Sichuan peppercorns, and a touch of five-spice powder. I’ve created a garlic-forward version by doubling the garlic and adding a bit of garlic powder for extra depth. For those who love umami, I add a teaspoon of soy sauce or a sprinkle of nutritional yeast. I’ve even made a smoky version by using smoked paprika and chipotle powder. The beauty of making your own is that you can tailor it to your preferences and the cuisines you love cooking. I keep notes on which variations I enjoy most so I can recreate them. Some of my best kitchen discoveries have come from these creative experiments.
Gifting Your Homemade Chilli Crisp
One of my favorite things about making easy chilli crisp at home is that it makes an absolutely stunning gift. I’ve given jars to friends, family, and colleagues, and everyone is always impressed. There’s something special about receiving a homemade condiment made with care and quality ingredients. I like to use beautiful glass jars with decorative labels that I design myself. I include a little note about the ingredients and suggest some of my favorite ways to use it. For the holidays, I often make several batches in different variations and create a little gift set. It’s thoughtful, personal, and significantly more affordable than buying specialty condiments. I’ve had friends tell me they’ve made their own batches after receiving mine, which makes me so happy. If you’re looking for a unique, impressive gift for the food lovers in your life, homemade chilli crisp is absolutely the way to go.
Pairing Chilli Crisp with Global Cuisines
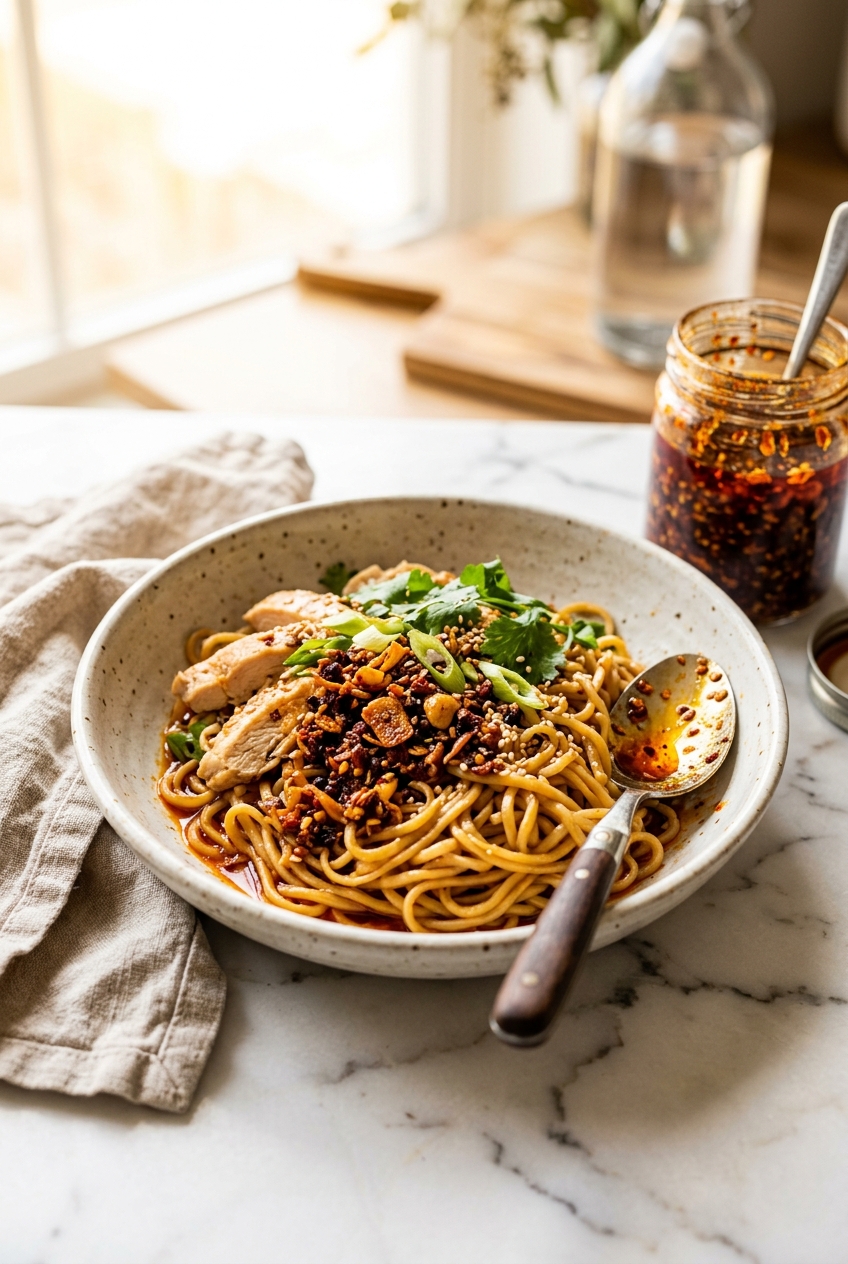
What I love most about chilli crisp is its incredible versatility across different cuisines. In Asian cooking, it’s a natural fit—I drizzle it over noodle soups, fried rice, and dumplings. In Mediterranean cuisine, I’ve discovered it’s amazing on hummus, labneh, and grilled vegetables. For Mexican-inspired dishes, it adds a different dimension to tacos, enchiladas, and bean dishes. I’ve even started using it on Italian pasta, where it adds an unexpected kick that elevates simple dishes like cacio e pepe or aglio e olio. For breakfast, it’s phenomenal on eggs, avocado toast, and breakfast burritos. I’ve served it alongside charcuterie boards, mixed into cream cheese for appetizers, and even drizzled over desserts like vanilla ice cream for a sweet-and-spicy contrast. The beauty of this easy chilli crisp recipe is that it doesn’t belong to any single cuisine—it’s a global condiment that enhances flavors across cultures. Once you start using it, you’ll find yourself reaching for it constantly.
Ingredients
Main Ingredients
Optional Aromatics
Instructions
Prepare Your Ingredients
I always start by gathering everything I need because this recipe moves quickly once you begin. Deseed your dried red chilies and chop them into small, uniform pieces—this helps them infuse evenly into the oil. Mince your garlic finely and crush your Sichuan peppercorns using a mortar and pestle. Having everything prepped and ready is what makes this easy chilli crisp recipe so manageable. I like to arrange my ingredients in small bowls so I can work efficiently without scrambling mid-cooking.
Toast the Aromatics
Pour your neutral oil into a small saucepan and heat it over medium heat. Once warm, add the crushed Sichuan peppercorns and dried star anise (if using) and let them toast for about 1-2 minutes. You'll notice the oil becoming fragrant—this is exactly what you want. The toasting process releases the essential oils from these aromatics, creating a deeper, more complex flavor foundation. I find this step transforms the entire condiment from basic to restaurant-quality.
Add the Garlic and Chilies
Carefully add your minced garlic to the warm oil, stirring constantly for about 30 seconds. The garlic should become fragrant but not brown—we're looking for that golden, toasted quality. Immediately follow with your chopped dried chilies. Stir everything together and let it cook for another 1-2 minutes. This is where the magic happens! The heat from the oil will begin extracting all those beautiful chilli flavors and creating that signature crispy texture we're after.
Season and Toast the Sesame Seeds
Add your sesame seeds, salt, sugar, and white pepper to the pan. Stir everything together thoroughly, making sure the seasonings are evenly distributed throughout the oil and chilli mixture. Let this cook for another minute, allowing the sesame seeds to toast slightly and become more fragrant. The sugar helps balance the heat with a subtle sweetness, while the white pepper adds a gentle warmth that complements the chilies beautifully. I love how these simple seasonings create such a well-rounded flavor profile.
Cool and Infuse
Remove the pan from heat and let it cool for about 2-3 minutes. If you're using green onions or crushed peanuts, add them now while the oil is still warm but not piping hot. This prevents them from cooking too much while still allowing them to infuse into the oil. The cooling period is crucial—it allows all those flavors to meld together beautifully. I often stir occasionally during this time to ensure even distribution of all the ingredients.
Transfer to Storage Jars
Once cooled to room temperature, carefully pour your easy chilli crisp into clean glass jars. I prefer using mason jars because they're airtight and make beautiful gifts. Make sure to include all those delicious crispy bits and oil—that's where all the flavor lives! Leave about ½ inch of headspace at the top. The chilli crisp will continue to infuse and develop flavor as it sits, so it actually tastes even better after a day or two.
Store and Enjoy
Store your homemade chilli crisp in a cool, dark place or in the refrigerator. It will keep for up to 3 weeks at room temperature and up to 2 months refrigerated. The oil may solidify slightly when cold, which is completely normal—just let it come to room temperature before using. I keep a jar on my kitchen counter because I use it on everything: eggs, avocado toast, soups, noodles, and even pizza. It's become my secret weapon for adding instant depth and heat to any dish.
Nutrition Information
Per serving (serves 8). Values are approximate.
| Calories | 120 calories |
| Total Fat | 14g |
| Saturated Fat | 2g |
| Carbohydrates | 3g |
| Sugar | 1g |
| Protein | 1g |
| Sodium | 290mg |
| Fiber | 0.5g |
* Percent Daily Values are based on a 2,000 calorie diet. Your daily values may be higher or lower depending on your calorie needs. Nutritional information is an estimate and may vary.
Never Miss a Recipe
Join 5,000+ home cooks and get new recipes straight to your inbox.
Frequently Asked Questions
Can I use fresh chilies instead of dried ones?
Absolutely! I've experimented with both, and while fresh chilies work, dried ones give you that authentic crispy texture that makes this condiment so special. If you prefer fresh, use about 8-10 medium red chilies, slice them thinly, and follow the same process. Just note that fresh chilies contain more moisture, so your chilli crisp might be slightly less crispy. You can pat them dry with paper towels first to help with this.
What's the best way to use chilli crisp?
I use it on practically everything! Drizzle it over scrambled eggs, avocado toast, soups, noodles, rice bowls, roasted vegetables, and even pizza. It's incredible on grilled cheese sandwiches, mixed into cream cheese for a spicy dip, or spooned over hummus. The possibilities are endless. The beauty of homemade chilli crisp is that you control the heat level, so you can make it as mild or as fiery as you like.
How long does homemade chilli crisp last?
When stored properly in an airtight glass jar, your easy chilli crisp will last up to 3 weeks at room temperature and up to 2 months in the refrigerator. I always store mine in the fridge to be safe, especially since I make it without any preservatives. The oil may solidify when cold, which is completely normal. Just let it sit at room temperature for a few minutes before using, and it'll return to its pourable consistency.
Can I adjust the heat level?
Definitely! This is one of my favorite things about making chilli crisp at home. For a milder version, use fewer chilies or remove more of the seeds before chopping. For extra heat, add more chilies or include some of the seeds. You can also experiment with different chilli varieties—Thai chilies are hotter, while guajillo or ancho chilies are milder and slightly sweet. Start with the recipe as written and adjust to your preference next time.
Is this recipe vegan and gluten-free?
Yes! This easy chilli crisp recipe is naturally both vegan and gluten-free, making it perfect for various dietary preferences. All the ingredients are plant-based and contain no gluten. It's a wonderful condiment to have on hand if you're cooking for guests with different dietary needs, and honestly, everyone loves it regardless of their dietary restrictions.

Hi, I'm Lisa!
I create simple, tested recipes from around the world that anyone can make at home.
Learn More →Reader Reviews
Based on 342 reviews
Leave a Review
You Might Also Like
World Cuisine
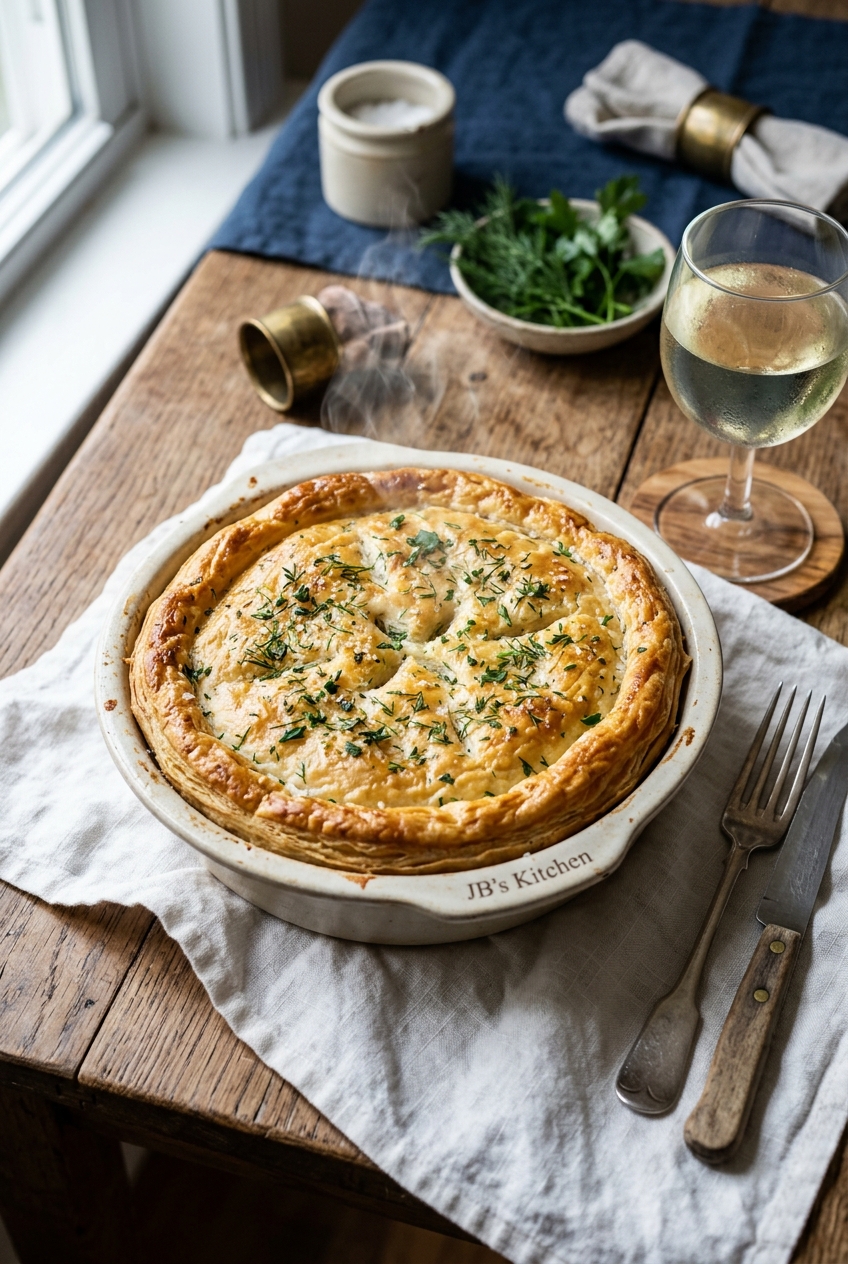
JB's French Fish Pie Recipe - Crispy Golden Crust & Creamy Seafood

World Cuisine
JB's French Mushroom Tart - Rustic Tarte aux Champignons
World Cuisine
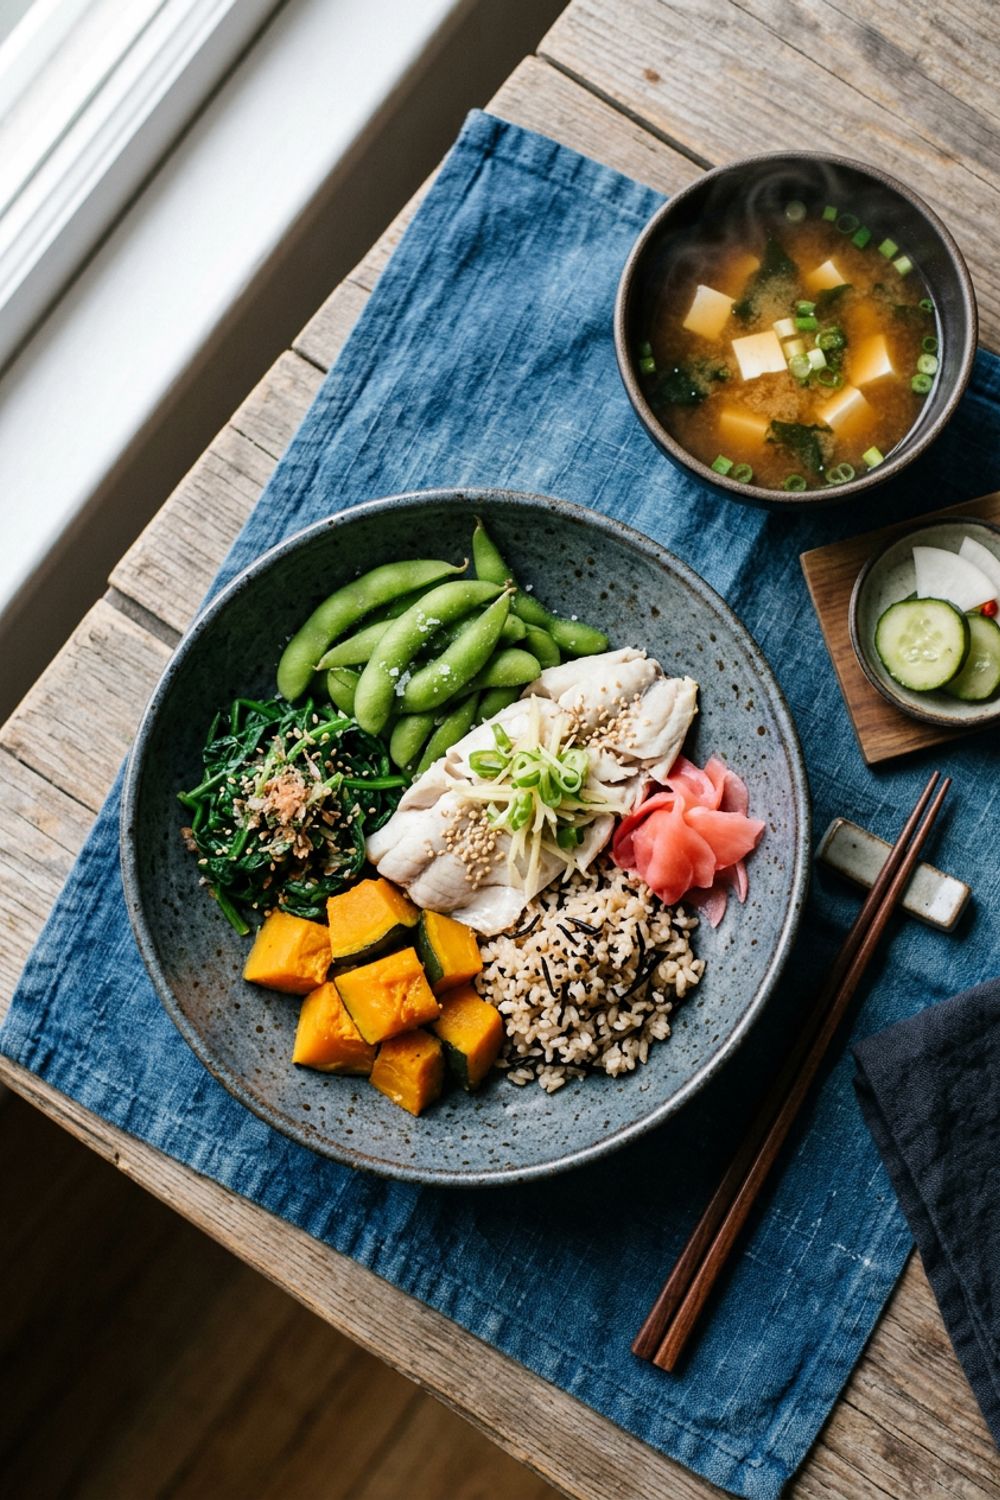
Japanese-Inspired Balanced Meal Bowl
World Cuisine