Chicken & Poultry
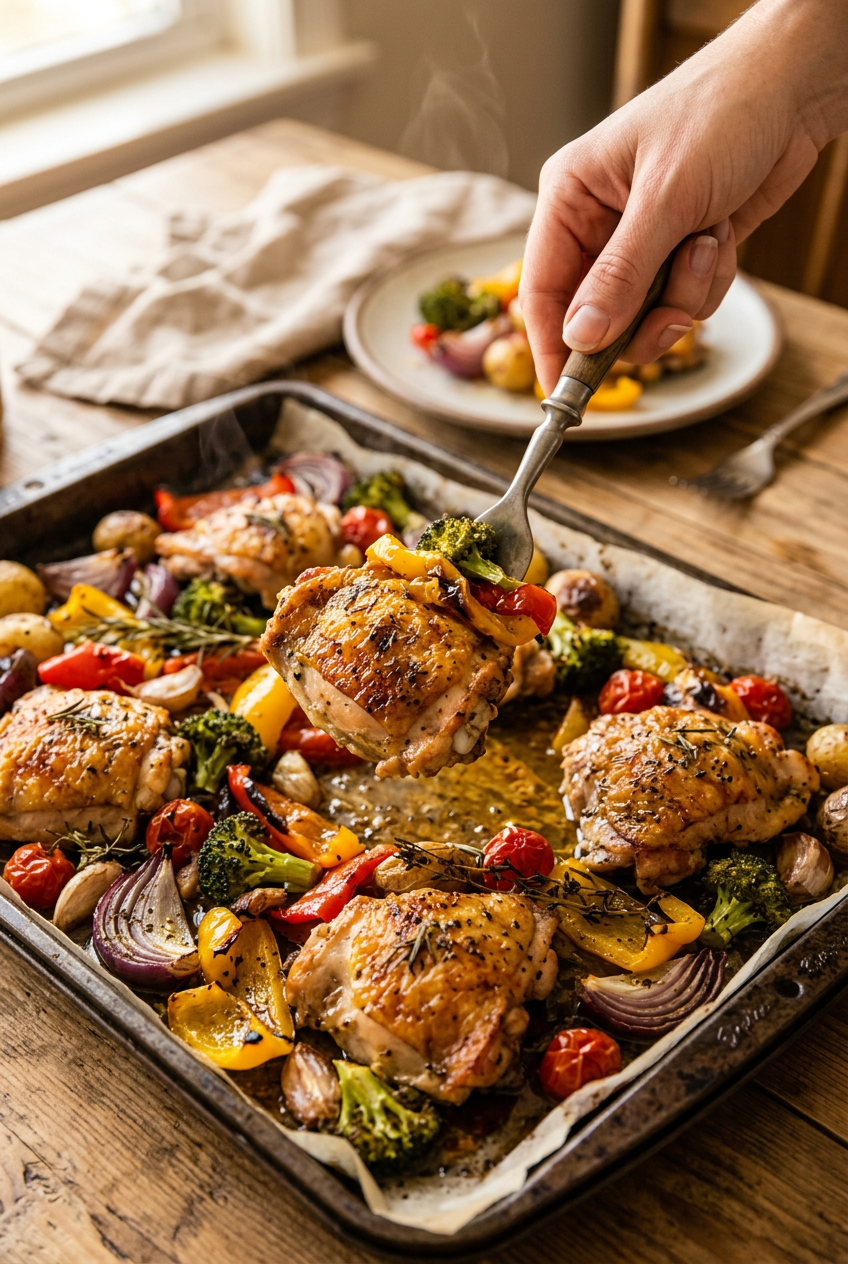
Easy Sheet Pan Chicken Dinner with Roasted Vegetables
Why I Love Sheet Pan Dinners
You know what I discovered when I first started cooking? Sheet pan dinners are absolute game-changers. I remember being so overwhelmed by the idea of cooking multiple components—the chicken on one burner, vegetables on another, and then trying to time everything perfectly. It was stressful! But then I discovered the magic of sheet pan cooking, and honestly, it changed my weeknight dinner routine forever. There’s something so satisfying about throwing everything on one pan and letting the oven do the work. Plus, the cleanup is minimal, which means more time to relax after dinner. This easy sheet pan chicken dinner has become a staple in my kitchen because it’s foolproof, delicious, and requires almost no special skills.
The Science Behind Perfect Roasting
I’ve learned that roasting at 425°F (220°C) is the sweet spot for this recipe. At this temperature, the chicken cooks through while the vegetables get beautifully caramelized and develop those delicious crispy edges. The high heat creates what’s called the Maillard reaction—that’s the chemical process that creates all those wonderful flavors and golden-brown colors. I used to cook at lower temperatures, but I found that the vegetables didn’t brown properly and everything tasted a bit bland. Once I bumped up the temperature, everything changed! The key is making sure your oven is fully preheated before you put the pan in. I always give mine at least 15 minutes to reach temperature.
Customizing Your Sheet Pan Dinner
One of my favorite things about this recipe is how adaptable it is. I’ve made it with different vegetables depending on what’s in season or what I have in my fridge. In summer, I add zucchini and cherry tomatoes. In fall, I use Brussels sprouts and butternut squash. In winter, I stick with heartier vegetables like root vegetables and broccoli. The beauty of sheet pan cooking is that you can really make it your own. I also love experimenting with different seasonings—sometimes I go Italian with oregano and basil, other times I use cumin and chili powder for a more Southwestern vibe. The chicken is a blank canvas, and the vegetables are your palette. Have fun with it!
Making This Meal Even Easier
I’m all about making cooking as simple as possible, especially on busy weeknights. Here are my favorite shortcuts: First, I buy pre-cut vegetables when I’m really pressed for time. Yes, they’re slightly more expensive, but the time saved is worth it to me. Second, I use a meat thermometer—it takes the guesswork out of knowing when the chicken is done. Third, I prep my spice mixture the night before in a small container, so I just grab it and go. Fourth, I use parchment paper on my sheet pan, which makes cleanup literally just throwing away the paper. These small shortcuts add up and make the whole process feel less overwhelming. Cooking should be enjoyable, not stressful!
Serving Suggestions and Pairings
While this sheet pan chicken dinner is delicious on its own, I love pairing it with other dishes to create a complete meal. A simple green salad with a lemon vinaigrette is my go-to—it adds freshness and balances the richness of the roasted chicken and vegetables. I also love serving it with crusty bread or garlic bread to soak up any pan juices. Sometimes I’ll make a simple rice pilaf or quinoa on the side for extra substance. For a lighter meal, I skip the starch and just do the salad. The beauty of this dish is that it’s versatile enough to work with almost any side dish. I’ve even served it over pasta before, and it was amazing! The pan juices make a wonderful light sauce.
Tips for Success Every Time
After making this recipe dozens of times, I’ve picked up some tricks that ensure it turns out perfectly every single time. First, make sure your chicken breasts are roughly the same thickness—if some are much thicker than others, pound them out to an even thickness. This ensures they cook at the same rate. Second, don’t skip patting the chicken dry—moisture is the enemy of browning. Third, arrange your vegetables in a single layer and don’t overcrowd the pan. If everything is piled on top of each other, it steams instead of roasts. Fourth, use a meat thermometer—it’s the most reliable way to know when your chicken is done. Fifth, let everything rest for a few minutes after cooking. This is when the magic happens, and the juices redistribute throughout the meat. Finally, taste and adjust seasonings before serving. Sometimes I add a squeeze of lemon juice or a sprinkle of sea salt at the end.
Ingredients
Chicken & Protein
Vegetables
Finishing Touches
Instructions
Prepare Your Sheet Pan and Preheat
I always start by preheating my oven to 425°F (220°C). While it's heating up, I line a large sheet pan (about 18x13 inches) with parchment paper or aluminum foil. This makes cleanup so much easier, and honestly, it's one of my favorite shortcuts. Pat your chicken breasts dry with paper towels—this helps them cook more evenly and get a nice golden exterior. Trust me, this small step makes a big difference in the final result.
Season the Chicken
In a small bowl, I combine the garlic powder, paprika, dried thyme, salt, and black pepper. I rub about 2 tablespoons of olive oil all over the chicken breasts, then generously coat them with my spice mixture. I make sure to season both sides really well—this is where all the flavor comes from! Place the seasoned chicken breasts on one side of your prepared sheet pan, leaving plenty of room for the vegetables.
Prepare and Arrange the Vegetables
Now for my favorite part—the vegetables! In a large bowl, I toss together the halved potatoes, broccoli florets, bell pepper chunks, red onion wedges, and baby carrots. I drizzle them with 2 tablespoons of olive oil, then sprinkle with Italian seasoning, garlic powder, salt, and pepper. I love using my hands to toss everything together—it's more fun and ensures every piece gets coated. Arrange the vegetables around the chicken on the sheet pan, making sure they're in a single layer. The potatoes should be cut-side down so they get nice and crispy.
Roast Everything Together
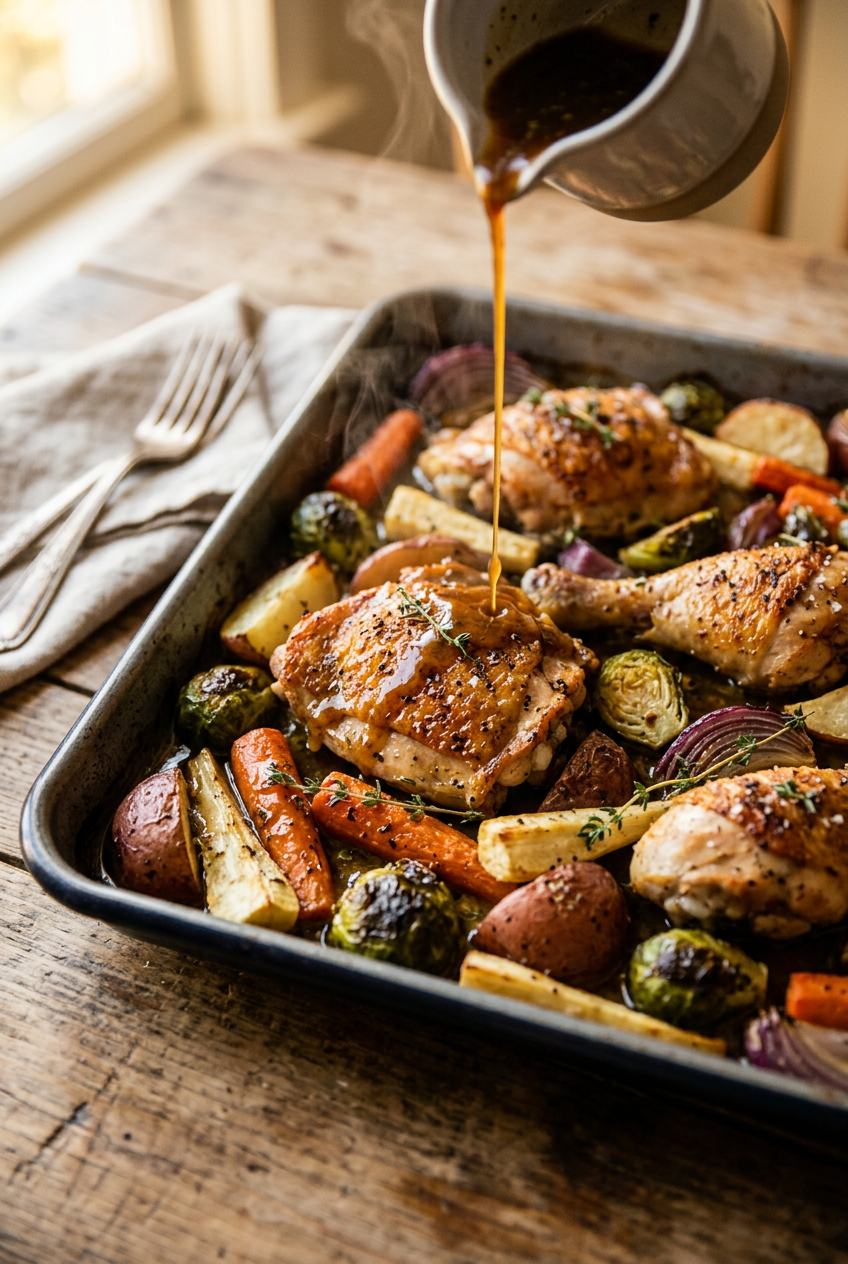
Pop the sheet pan into your preheated 425°F (220°C) oven. I set a timer for 30 minutes. About halfway through, around the 15-minute mark, I give the vegetables a quick stir and rotate the pan if my oven has hot spots (most do!). The chicken is done when it reaches an internal temperature of 165°F (74°C) when measured with a meat thermometer in the thickest part. The vegetables should be tender and slightly caramelized at the edges—that's when you know everything is perfectly cooked.
Add Fresh Garlic and Final Touches
While the sheet pan is finishing up in the oven, I mince my fresh garlic. In the last 2 minutes of cooking, I sprinkle the minced garlic over the vegetables—this adds such a wonderful fresh element without overpowering the dish. When everything comes out of the oven, it should be beautifully golden and aromatic.
Rest and Garnish
Let the sheet pan rest for about 5 minutes before serving. This allows the chicken to retain its juices and stay incredibly moist. I then sprinkle fresh chopped parsley over everything for a pop of color and freshness. The parsley adds a brightness that really elevates this simple dish. Serve with lemon wedges on the side—a squeeze of fresh lemon juice over the chicken and vegetables is absolutely delicious and adds a nice acidic balance.
Serve and Enjoy
Transfer everything to serving plates or keep it family-style on the sheet pan if you're feeling casual. I love serving this with a simple green salad or crusty bread to soak up any delicious pan juices. This meal is perfect for weeknight dinners because it's ready in under 45 minutes, requires minimal cleanup, and tastes like you spent way more time on it than you actually did!
Nutrition Information
Per serving (serves 4). Values are approximate.
| Calories | 385 calories |
| Total Fat | 12g |
| Saturated Fat | 2.5g |
| Carbohydrates | 32g |
| Sugar | 6g |
| Protein | 38g |
| Sodium | 480mg |
| Fiber | 5g |
* Percent Daily Values are based on a 2,000 calorie diet. Your daily values may be higher or lower depending on your calorie needs. Nutritional information is an estimate and may vary.
Never Miss a Recipe
Join 5,000+ home cooks and get new recipes straight to your inbox.
Frequently Asked Questions
Can I use chicken thighs instead of breasts?
Absolutely! I actually love using chicken thighs for this recipe because they stay incredibly moist and juicy. They have more flavor too, which I really appreciate. Just note that thighs might take a few extra minutes to cook—aim for that 165°F (74°C) internal temperature. The cooking time might extend to 35-40 minutes depending on their size.
What vegetables can I substitute?
This is where I get creative! I've made this with zucchini, asparagus, Brussels sprouts, green beans, and even sweet potatoes. The key is to cut everything into similar-sized pieces so they cook evenly. Harder vegetables like potatoes and carrots should be cut smaller than softer ones like zucchini. Feel free to use whatever you have on hand or what's in season!
How do I store leftovers?
I store leftovers in an airtight container in the refrigerator for up to 3 days. This meal actually reheats beautifully! I either reheat it in a 350°F (175°C) oven for about 10 minutes or in the microwave. You can also enjoy it cold the next day as a delicious lunch—it's honestly just as good!
Can I prep this ahead of time?
Yes! I love prepping this in the morning. Season your chicken and chop all your vegetables, then store them separately in the fridge. When you're ready to cook, just arrange everything on the sheet pan and pop it in the oven. This makes weeknight dinners even easier. I wouldn't recommend assembling the full pan more than a few hours ahead since the vegetables can release moisture.
What's the best way to ensure moist chicken?
The key is not to overcook it! Use a meat thermometer and pull the chicken out when it reaches 165°F (74°C)—not higher. I also like to pound my chicken breasts to an even thickness before cooking, which helps them cook more uniformly. Letting it rest for 5 minutes after cooking also helps retain the juices.

Hi, I'm Lisa!
I create simple, tested recipes from around the world that anyone can make at home.
Learn More →Reader Reviews
Based on 287 reviews
Leave a Review
You Might Also Like
Chicken & Poultry
Authentic Charcoal Chicken Shop Chicken Skewers
Chicken & Poultry
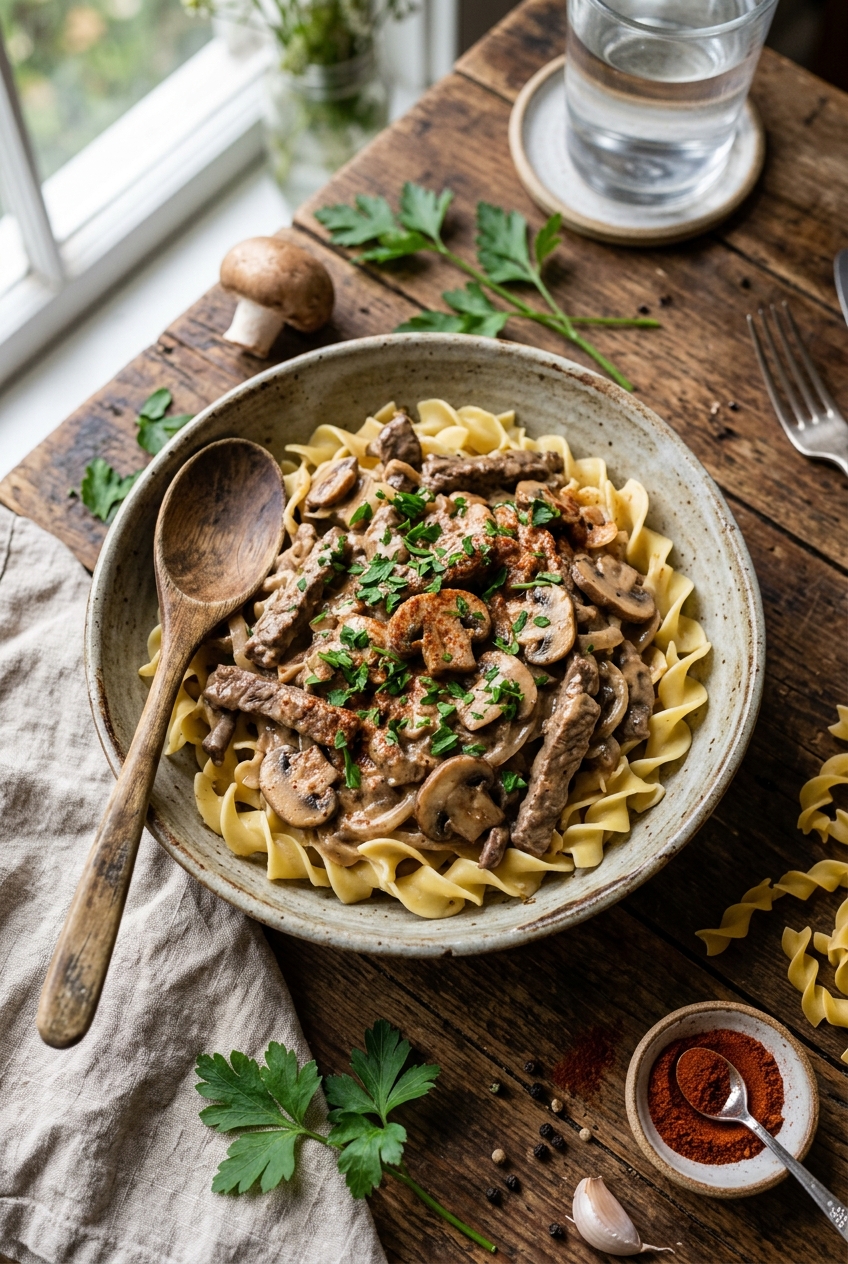
Classic Beef Stroganoff Recipe - Creamy Russian Comfort Food
Chicken & Poultry
Easy Beef Stroganoff Recipe - Creamy Comfort in 30 Minutes
Chicken & Poultry