Desserts & Baking
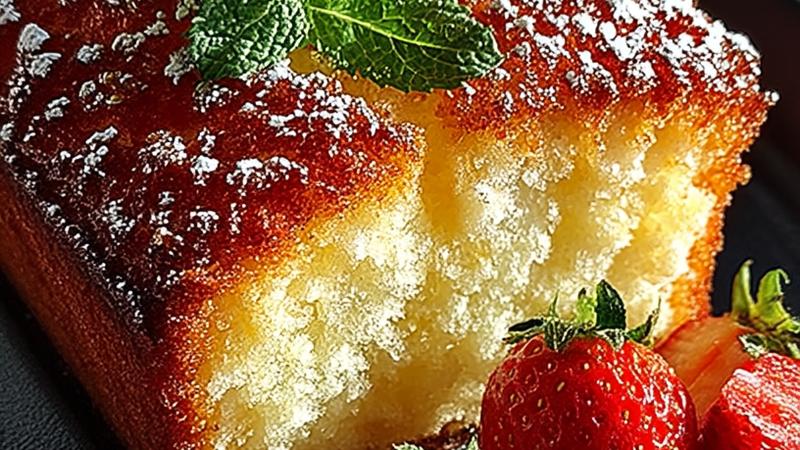
Classic Angel Food Loaf Cake Recipe – Light, Fluffy & Heavenly
Learn how to make a stunning Angel Food Loaf Cake with this easy recipe. Light, airy, and perfectly sweet – ideal for desserts.
What Makes Angel Food Cake So Special?
I absolutely love angel food cake – it’s been a beloved American dessert since the 1870s, and for good reason. There’s something almost ethereal about biting into a slice and watching it dissolve on your tongue with barely any effort. What makes this cake so magical is its simplicity: just egg whites, sugar, flour, and vanilla. No butter, no yolks, no oil. It’s the very definition of ‘less is more.’
The beautiful thing about angel food cake is that it represents pure technique. You’re not hiding behind butter or chocolate – it’s all about mastering the art of whipping egg whites and folding. When I first tried making this years ago, I was intimidated. But once I understood the ‘why’ behind each step, everything clicked. The cake became this delicious metaphor for how precision and patience create something truly special.
This loaf version is my favorite because it’s more practical for everyday baking than the traditional tall round cake, yet it maintains all that heavenly texture. Plus, a loaf shape looks absolutely stunning on a dessert table, and it’s perfect for serving alongside coffee or tea.
Ingredient Spotlight: Why Each One Matters
Let me break down why I choose each ingredient so carefully. The cake flour is essential – it has less protein than all-purpose flour, which means it won’t develop gluten and toughen your cake. I always sift it multiple times because those air pockets are crucial.
The cream of tartar is magical. This acidic ingredient stabilizes egg white foam, helping it reach maximum volume and hold its structure. Without it, your whites would be fragile and collapse easily during folding. It’s a tiny addition with outsized importance.
Room-temperature egg whites are non-negotiable. Cold eggs won’t whip properly, and you’ll lose volume. I actually separate my eggs about 30 minutes before starting, letting them sit on the counter. It makes a noticeable difference in how quickly they reach stiff peaks.
The sugar serves dual purposes: it sweetens and helps stabilize the meringue. I add it gradually during beating so it dissolves completely, creating that glossy, thick foam. You’ll know you’ve reached the right consistency when you lift the beaters and form stiff peaks that stand straight up.
Vanilla extract is my choice for traditional flavor, but honestly, you can customize this. Almond extract adds a subtle sophistication. Some bakers add lemon zest, cinnamon, or even coconut extract. The beauty of angel food is how versatile it is while remaining true to its roots.
The Science Behind the Fluff
I find the science of angel food cake absolutely fascinating. When you whip egg whites, you’re essentially beating air into them, surrounding each bubble with a thin film of protein. The cream of tartar lowers the pH, making proteins denature more uniformly and creating finer, more stable bubbles. This is why you get that incredible, fine crumb structure.
When you fold in the flour, you’re relying on those bubbles to stay intact – they’re what give the cake its lift. The flour is just there to set and support the structure; it’s actually the egg whites doing the heavy lifting. As the cake bakes, the proteins in the egg whites set, the sugar caramelizes slightly (giving that gorgeous golden color), and the air bubbles expand in the heat, creating that characteristic light, fluffy texture.
The inverted cooling is crucial because gravity wants to deflate your cake. By keeping it upside down, you’re fighting that tendency and allowing the structure to set completely while still under slight tension. Once fully cool, the structure is stable enough to flip right-side up without collapsing.
I love explaining this to friends because it shows how baking is really applied chemistry. Once you understand the ‘why,’ you can troubleshoot problems and even create variations with confidence.
Serving Suggestions & Flavor Pairings
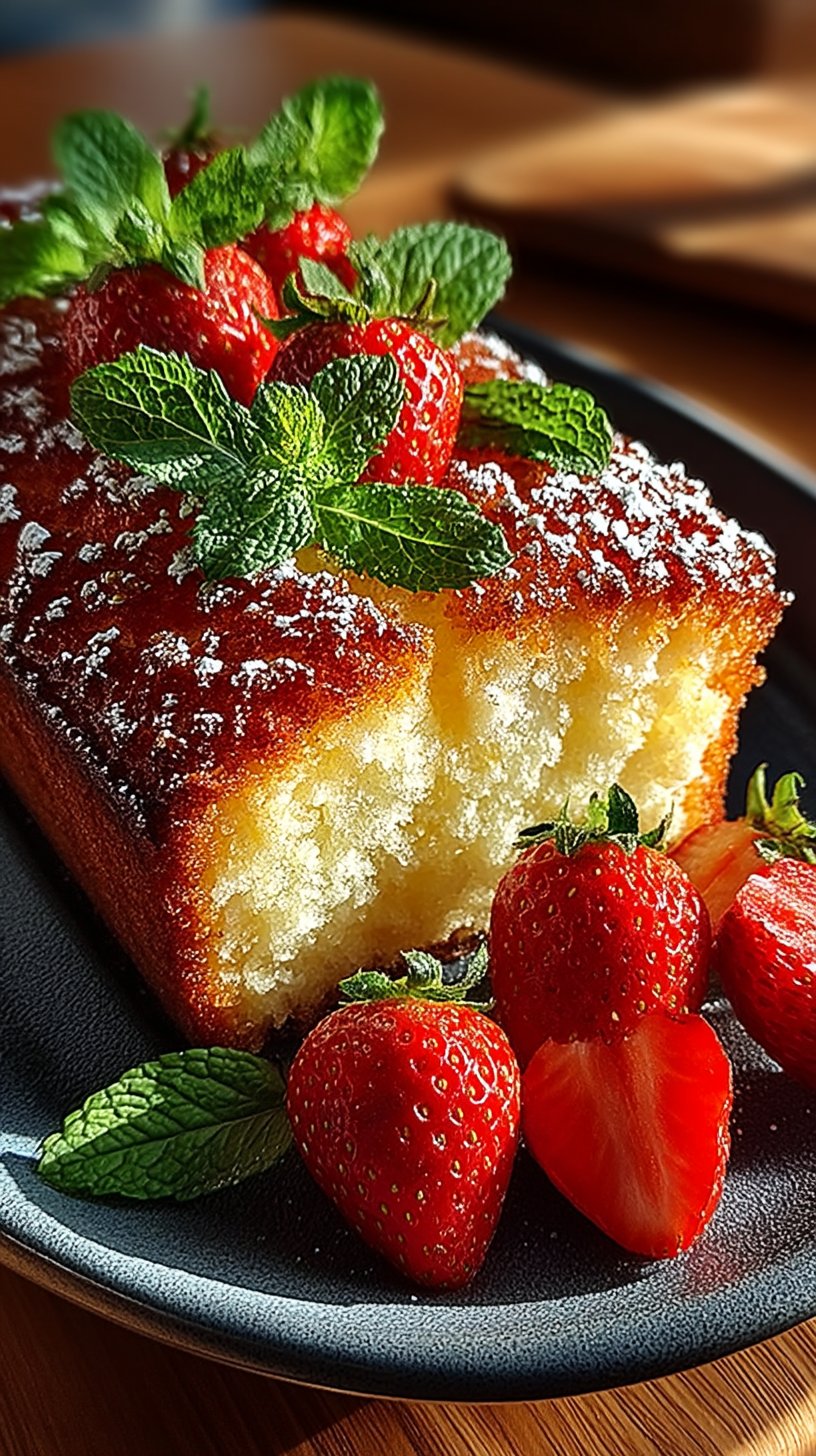
While angel food cake is perfect on its own – seriously, sometimes I just eat a slice plain with coffee – there are so many delicious ways to elevate it. Fresh berries are my go-to: strawberries, raspberries, or blueberries add color and brightness without overwhelming the delicate cake flavor. A dollop of whipped cream makes it feel more indulgent without being heavy.
For something more elegant, I like serving it with a light fruit compote. Strawberry sauce, raspberry coulis, or even a fresh lemon curd would be stunning. These bright, tangy sauces complement the cake’s subtle sweetness perfectly. You could also drizzle with a simple glaze – just powdered sugar mixed with a little milk or lemon juice.
I’ve also had wonderful success pairing slices with vanilla ice cream on the side, or even a light mascarpone cream. During summer, I love serving it at picnics because it’s light enough that nobody feels stuffed, even after a big meal. It’s the perfect ‘everyday special’ dessert.
For gift-giving, a loaf of angel food cake is absolutely elegant. Wrap it in parchment paper and tie it with twine – it looks homemade and thoughtful. It travels well too, so it’s perfect for potlucks or sharing with neighbors.
Troubleshooting Your Angel Food Journey
I want to be honest about the potential challenges because they’re real, but totally manageable once you know what to look for. If your cake turns out dense or doesn’t rise, the most common culprit is either greasy equipment or not beating the whites long enough. Take the extra time to whip them – you should see stiff, glossy peaks that don’t collapse.
If the top cracks significantly, that’s usually from oven temperature being too high or the cake baking too quickly. A lower, gentler temperature like 325°F gives you better results. The cracks don’t affect taste, but they do affect presentation.
Sometimes angel food cakes develop a slightly rubbery layer on the edges. This happens when the oven runs hot. Try lowering the temperature by 15-25°F and checking for doneness a few minutes earlier.
If the cake sticks to the pan after inverting cooling, make sure your pan is truly ungreased. Also, use a thin, flexible knife – not a thick one – to trace around the edges. Run it along the long sides and short sides, then gently tap and twist.
Remember, even ‘imperfect’ angel food cakes taste amazing. The taste is what matters most, and the delicate structure of this cake guarantees that. Each attempt teaches you something, and soon you’ll be making perfect loaves every time.
Ingredients
Dry Ingredients
Wet Ingredients
For Serving (Optional)
Instructions
Prepare Your Pan & Preheat Oven
I always start by preheating my oven to 325°F (163°C). Here's the important part – do NOT grease your loaf pan! Angel food cakes need that friction to climb the sides as they rise. Use a 9x5-inch (23x13cm) loaf pan. Make sure your oven rack is positioned in the lower third. This gentle heat is crucial for achieving that signature tender crumb without browning too quickly.
Sift Together Dry Ingredients
In a medium bowl, combine the sifted cake flour, ¾ cup (150g) of the sugar, and salt. Sift this mixture together 4-5 times into a separate bowl. I know it seems like extra work, but this aerates the flour and removes lumps, which is absolutely essential for that ethereal texture we're chasing. Set this aside while you work on the egg whites – they're the real star here.
Whip Egg Whites to Stiff Peaks
This step requires patience and clean equipment – any trace of yolk or grease will prevent proper volume. Using an electric mixer on medium speed, beat the room-temperature egg whites with cream of tartar until foamy (about 1 minute). Gradually increase speed to medium-high and slowly add the remaining ¾ cup (150g) sugar, one tablespoon at a time. Continue beating until stiff, glossy peaks form when you lift the beaters – this typically takes 8-10 minutes total. The transformation is magical! Add vanilla and almond extracts, plus water, and beat for another 30 seconds just to combine.
Fold in Dry Ingredients Gently
Here's where finesse matters more than speed. Using a rubber spatula, sprinkle about ¼ of the flour mixture over the meringue and gently fold it in using a cutting and folding motion – not stirring! Rotate the bowl as you work. Repeat this process three more times with the remaining flour mixture. After the final addition, fold gently until you see no visible flour streaks. Over-mixing will deflate all those beautiful air bubbles you've created, so be patient and deliberate with each fold.
Pour and Bake
Gently pour the batter into your ungreased loaf pan, smoothing the top slightly with the spatula. Place it in the preheated 325°F (163°C) oven on the lower rack. Bake for 32-37 minutes, until a toothpick inserted in the center comes out clean and the top is golden and springy to the touch. The cake should rise slightly above the pan edges and have a beautiful tan color. You'll know it's done when it smells absolutely divine – that vanilla-scented aroma wafting through your kitchen is my favorite part!
Cool Completely Inverted
This step is non-negotiable for angel food cakes. Immediately remove the cake from the oven and invert it onto a cooling rack or bottle neck (I use a wine bottle!). The cake needs to cool completely upside down – this prevents it from deflating. Let it hang out this way for at least 2-3 hours, preferably overnight. I know it looks odd, but trust me, this is what gives you that perfect, feathery crumb structure.
Remove from Pan & Finish
Once completely cooled, run a thin knife around the edges of the pan and gently turn it right-side up. Tap the bottom of the pan and slide the cake out onto a serving plate. Dust lightly with powdered sugar if desired, or keep it plain to showcase that gorgeous golden exterior. Slice with a serrated knife using a gentle sawing motion rather than pressing down – this preserves the airy structure.
Nutrition Information
Per serving (serves 10). Values are approximate.
| Calories | 145 calories |
| Total Fat | 0g |
| Saturated Fat | 0g |
| Carbohydrates | 32g |
| Sugar | 28g |
| Protein | 3g |
| Sodium | 85mg |
| Fiber | 0g |
* Percent Daily Values are based on a 2,000 calorie diet. Your daily values may be higher or lower depending on your calorie needs. Nutritional information is an estimate and may vary.
Never Miss a Recipe
Join 5,000+ home cooks and get new recipes straight to your inbox.
Frequently Asked Questions
Why won't my angel food cake rise properly?
The most common culprit is grease in your pan or on your beaters. Even a tiny bit of oil prevents egg whites from reaching full volume. Also, make sure your egg whites are truly room temperature – cold eggs don't whip as effectively. Finally, over-folding the batter deflates those precious air bubbles. Fold gently and stop as soon as you see no flour streaks.
Can I make this cake a day ahead?
Absolutely! Angel food cakes actually taste better the next day as the flavors meld and the crumb continues to set. Store it in an airtight container at room temperature for up to 3 days. Don't refrigerate it, as this can dry it out. If you want to freeze it, wrap it well and freeze for up to 3 months – it thaws beautifully at room temperature.
What's the difference between angel food cake and sponge cake?
Great question! Angel food uses only egg whites, while sponge cake includes egg yolks for richness. Angel food has zero fat, making it lighter and more delicate, while sponge is slightly more moist and tender. Angel food also traditionally uses cream of tartar to stabilize the whites. Both are gorgeous, but angel food is the true featherweight champion of cakes!
Can I use a different size pan?
The loaf pan size is important here because it creates that beautiful rectangular shape. If you only have a 9-inch round pan, your baking time will be about the same, but the cake will be shorter. A bundt pan works too and looks stunning! Just check for doneness at the minimum time since cake depth affects baking. Whatever pan you use, don't grease it – that's non-negotiable for angel food success.
How do I slice this cake without destroying it?
Use a serrated bread knife and a gentle sawing motion – pressure from a regular knife compresses the delicate crumb. Some bakers recommend using a hot, wet knife, wiping it clean between slices. Electric knives also work beautifully if you have one. Let the cake cool completely before slicing, and take your time – this cake is too beautiful to rush!

Hi, I'm Lisa!
I create simple, tested recipes from around the world that anyone can make at home.
Learn More →Reader Reviews
Based on 364 reviews
Leave a Review
You Might Also Like
Desserts & Baking
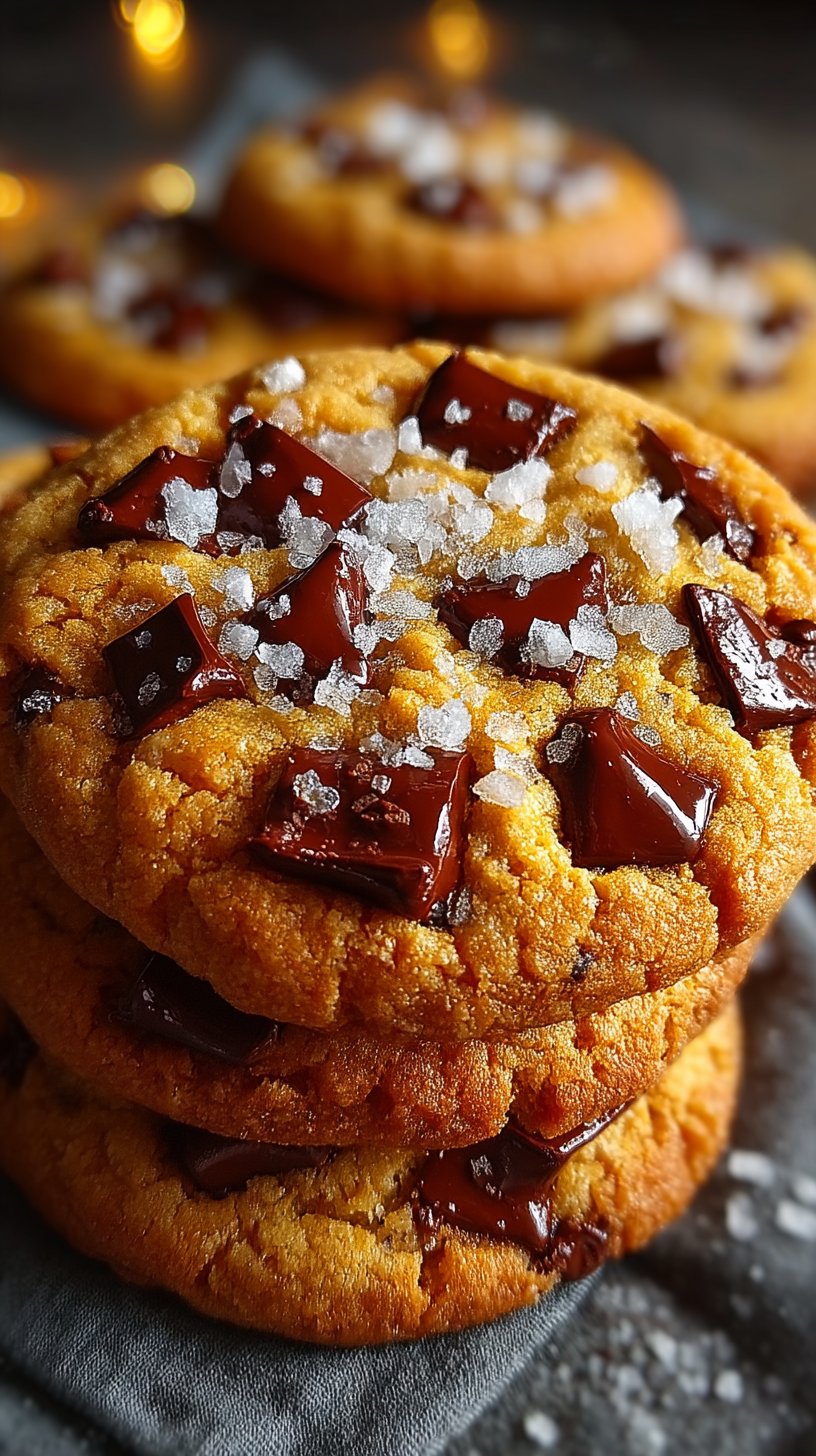
Scoopable Brown Butter Chocolate Chip Cookies
Desserts & Baking
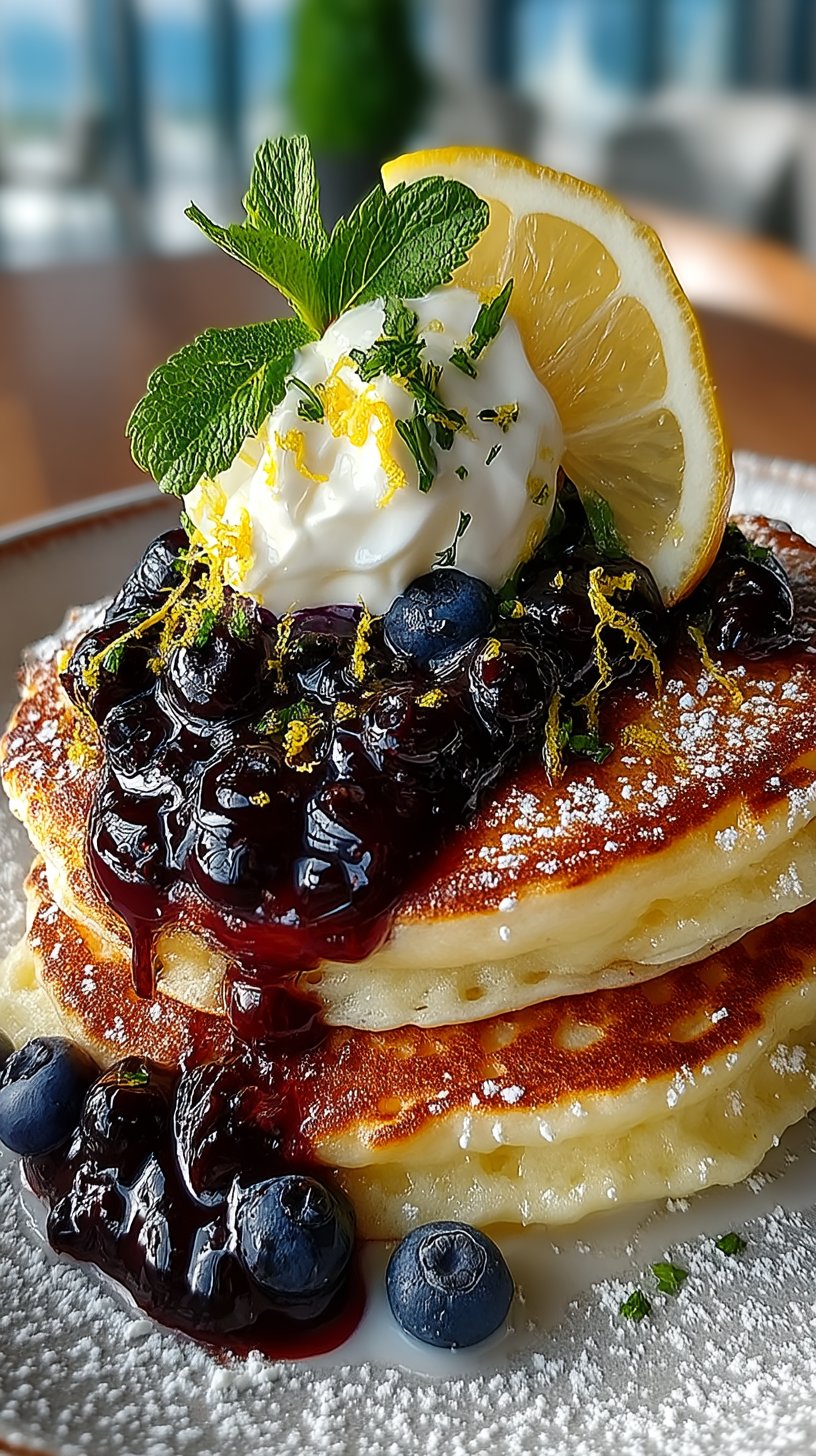
Lemon Ricotta Pancakes with Blueberry Sauce
Desserts & Baking
Brown Butter Strawberry Baked Oatmeal Recipe

Desserts & Baking