Desserts & Baking
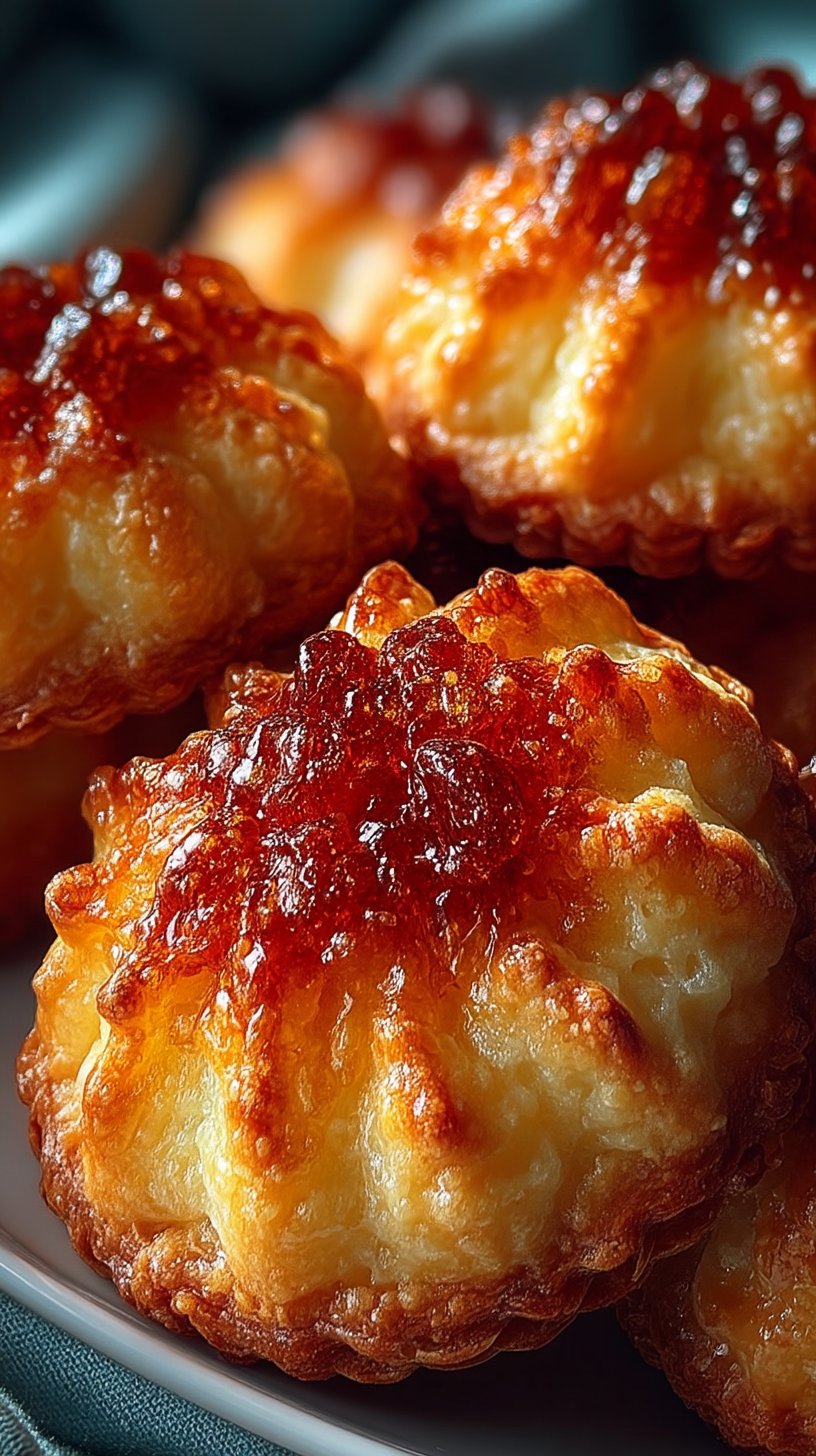
Galettes Bretonnes: Crispy Breton Butter Biscuits
Master the art of making authentic Galettes Bretonnes—buttery Breton biscuits with crispy edges and tender centers. A French classic.

Why I’m Obsessed with Galettes Bretonnes
There’s something absolutely magical about Galettes Bretonnes that first drew me in during my culinary journey through Brittany. These aren’t just any butter biscuits—they’re a cherished regional treasure from the northwestern coast of France, and once you taste one, you’ll understand why they’ve been beloved for generations. I remember sitting in a charming café in Rennes, my fingers sticky with butter, completely mesmerized by how such simple ingredients could create something so extraordinarily delicious.
What makes these biscuits so special is the quality of the butter. In Brittany, they take their butter seriously—it’s golden, rich, and distinctly salted. This is non-negotiable in an authentic Galettes Breton. When I first tried to make these at home, I experimented with unsalted butter, thinking I could just add salt myself. Big mistake! The salted butter is crucial to the flavor profile—it creates this perfect balance between sweet and savory that makes these biscuits absolutely addictive.
These biscuits are incredibly versatile too. I’ve served them at afternoon tea, packed them in lunch boxes, given them as hostess gifts, and even crumbled them to use as a base for cheesecake. They’re elegant enough for a dinner party but humble enough for a casual Tuesday afternoon snack with coffee. Every bite offers a delicate crunch that gives way to a buttery, melt-in-your-mouth center that’s simply perfection.
Understanding the Traditional Method
When I first learned to make Galettes Bretonnes from a Breton baker named Margot, I was surprised at how straightforward the process actually was. There’s no complex technique or fancy equipment required—just quality ingredients and patience. The traditional method relies on the creaming technique, which aerates the butter and sugar to create lightness and volume.
The key to success is understanding that each step matters. The butter needs to be soft enough to incorporate air but not so warm that it becomes greasy. The eggs need to be added slowly so they emulsify properly. The flour needs to be folded in gently to avoid overdeveloping gluten, which would make the biscuits tough instead of tender. These aren’t strict rules meant to intimidate—they’re guidelines that have been refined over centuries because they work.
What I love about this recipe is how forgiving it actually is once you understand the principles. I’ve made hundreds of batches now, sometimes with slight variations, and they consistently come out delicious. The beauty of French baking is that it teaches you fundamentals that apply across many recipes. Once you master the creaming technique here, you’ll find it invaluable for other butter-based treats.
Choosing Your Ingredients Wisely
I cannot stress enough how important ingredient quality is for this recipe. Since Galettes Bretonnes contain so few ingredients, each one really shines through. You’re essentially tasting butter, sugar, eggs, and flour—there’s nowhere to hide mediocrity.
For the butter, I always choose a good-quality European-style salted butter with at least 82% butterfat. Brands like Kerrygold or Normandy butter work beautifully. The extra fat content creates a richer, more tender cookie. Some people worry about using salted butter, but honestly, it’s essential here. The salt enhances the butter flavor and creates that distinctive salty-sweet balance that makes these biscuits memorable.
For flour, I use unbleached all-purpose flour. It’s more flavorful than bleached flour and creates a more tender crumb. Store your flour in an airtight container away from light and heat, as flour can go rancid if stored improperly.
The eggs should be fresh—ideally from pasture-raised hens if you can get them. Fresh eggs have richer, more flavorful yolks, which is crucial when yolks are a main ingredient. The sugar should be granulated white sugar, which dissolves more easily and creates a finer texture than other types of sugar.
For toppings, if you’re using them, candied angelica is traditional but can be hard to find. I often substitute with candied citrus peel, whole blanched almonds, or pearl sugar. Each creates a beautiful presentation while complementing the buttery base.
Tips for Perfect Results Every Time
Through my experiments in the kitchen, I’ve discovered several tricks that guarantee beautiful, delicious Galettes Bretonnes. First, always measure your ingredients by weight rather than volume. Baking is chemistry, and weight measurement is infinitely more accurate than cups, which can vary based on how you pack the flour.
Second, don’t skip the chilling step. I know it’s tempting to bake immediately, but that 30-minute chill in the refrigerator is what prevents your biscuits from spreading too much and losing their shape. The cold dough also bakes more evenly, creating those crispy edges and tender centers we’re after.
Third, invest in a good pastry bag. The fluted tip that creates those characteristic ridges isn’t just for looks—it’s part of the traditional presentation that makes these cookies instantly recognizable as Galettes Bretonnes. A pastry bag costs under ten dollars and will transform your homemade biscuits into something that looks professionally made.
Fourth, watch your oven temperature carefully. Oven temperatures can vary, so if you notice your first batch is browning too quickly on the edges, lower the temperature by 25°F (about 14°C) on your next batch. Conversely, if they’re not browning adequately, increase it slightly. The goal is a light golden-brown color, not dark brown.
Finally, let them cool completely before storing. This allows the structure to set properly, ensuring maximum crispiness. If you store them while still warm, they’ll trap steam and become soft and chewy—still delicious, but not the authentic texture you’re aiming for.
Serving and Pairing Suggestions
There’s an elegant simplicity to how these biscuits should be served. In Brittany, they’re traditionally enjoyed with tea or coffee as an afternoon treat—a moment of indulgence in the middle of a busy day. I love serving them on a simple white plate with fresh raspberries or strawberries alongside. The tartness of the berries complements the buttery richness perfectly.
For afternoon tea, I arrange them on tiered cake stands with other small pastries, creating an elegant spread. They pair beautifully with Earl Grey tea, chamomile, or even a simple black tea. The butter in the biscuits carries the delicate flavors of the tea, creating a harmonious tasting experience.
If you’re serving them at a dinner party, they work wonderfully with dessert wine. A Muscadet from the Loire Valley (also in France, not far from Brittany!) or a light Riesling creates an absolutely divine pairing. The wine’s acidity cuts through the richness of the butter while complementing its flavor.
I’ve also found that these biscuits work beautifully in a charcuterie spread. Alongside French cheeses, cured meats, jams, and honey, they create an impressive board that looks far more complicated to prepare than it actually is. The neutral flavor of the biscuits allows them to shine alongside both sweet and savory companions.
For gifts, package them in a pretty box or tin lined with parchment paper. They keep for a week at room temperature, making them perfect for bringing to friends, coworkers, or family gatherings. I like to include a little handwritten note explaining that these are homemade Galettes Bretonnes—people absolutely love receiving homemade baked goods, and it adds such a personal touch.
Variations to Explore
Once you’ve mastered the basic Galettes Bretonnes recipe, there’s so much room for creativity. I love experimenting with different variations while maintaining the integrity of the traditional cookie.
One of my favorite variations is a lemon version, where I substitute 2 tablespoons of the flour with finely grated lemon zest. This adds brightness and complexity without overpowering the butter. Sometimes I also add 1/2 teaspoon of lemon extract instead of vanilla for even more flavor.
Another beautiful variation is chocolate. I melt 2 ounces of high-quality dark chocolate and brush it on the bottom of each cooled biscuit. This creates an elegant presentation and adds richness that plays beautifully against the buttery base. For a more adventurous version, try dipping the edges in melted chocolate.
For special occasions, I make a lavender version by infusing the butter with dried culinary lavender before creaming. Simply heat the butter gently with 1 teaspoon of dried lavender, let it cool, strain out the flowers, and proceed with the recipe. The floral note is subtle and incredibly sophisticated.
I’ve also experimented with different toppings beyond the traditional candied angelica. Crushed pistachios create a beautiful green topping and add a lovely nutty flavor. Toasted sesame seeds work wonderfully for an Asian-inspired twist. Even a simple sprinkle of sea salt before baking adds a lovely visual element.
These variations keep the recipe exciting while respecting the foundational technique. Each one teaches you something new about how ingredients interact and how small changes can create entirely different flavor profiles.
Ingredients
Instructions
Cream the Butter and Sugar
I always start by letting my butter sit out for about 30 minutes—this is the secret to achieving that perfect creamy texture. In a large mixing bowl, whisk together the softened salted butter and granulated sugar until the mixture becomes pale, fluffy, and light. This usually takes about 3-4 minutes of beating with an electric mixer. This creaming process is crucial because it incorporates air into the dough, creating those wonderfully delicate, crispy textures that make Galettes Bretonnes so irresistible. The butter should look almost cloud-like when you're done.
Incorporate the Egg Yolks
Reduce your mixer speed to low and add the egg yolks one at a time, beating well after each addition. Then add the vanilla extract and mix until everything is fully incorporated. The mixture should still look smooth and creamy. This step is what gives these biscuits their signature rich, buttery flavor and helps bind all the ingredients together. Be patient here—rushing through this step can result in a less cohesive dough.
Combine Dry Ingredients
In a separate bowl, whisk together the all-purpose flour and sea salt. I use sea salt here because it enhances the buttery flavor more subtly than table salt. Once mixed, gradually add the dry ingredients to your wet mixture, folding gently with a wooden spoon or using your mixer on the lowest speed. Mix just until the dough comes together—you don't want to overwork it, as this can make the biscuits tough rather than tender. The dough should be smooth and just slightly sticky to the touch.
Shape and Chill the Dough
Transfer your dough to a work surface lightly dusted with flour. I find it easiest to shape these biscuits using a pastry bag fitted with a large fluted tip, which creates those characteristic ridged edges that are so iconic to authentic Galettes Bretonnes. Pipe the dough onto parchment-lined baking sheets, spacing them about 2 inches apart. If you don't have a pastry bag, you can also shape them by hand into small round discs about 2 inches in diameter. Once shaped, place the baking sheet in the refrigerator for 30 minutes. This chilling step helps prevent the biscuits from spreading too much during baking.
Prepare the Egg Wash and Toppings
While your dough chills, prepare your egg wash by whisking together 1 egg yolk with 1 tablespoon of water until well combined. Remove your baking sheet from the refrigerator and brush each biscuit generously with the egg wash—this creates that beautiful golden-brown finish that's so characteristic of these treats. If you're using toppings, press a single candied angelica strip or whole blanched almond onto the center of each biscuit now. The egg wash helps the toppings stick beautifully.
Bake Until Golden
Preheat your oven to 375°F (190°C) and bake the Galettes Bretonnes for 20-25 minutes, or until they're a beautiful light golden-brown color. Every oven is different, so start checking around the 20-minute mark. You want them golden on the edges but still slightly tender in the center—they'll continue to firm up as they cool. The aroma coming from your kitchen will be absolutely heavenly! Once baked, remove them from the oven and let them cool on the baking sheet for 5 minutes before transferring to a wire rack.
Cool Completely and Store
Allow the biscuits to cool completely on a wire rack, which usually takes about 15-20 minutes. This cooling time is important because it allows them to set properly and achieve that perfect crispy texture. Once cooled, store them in an airtight container at room temperature for up to 7 days. I love keeping a batch on hand for afternoon tea or as a simple after-dinner treat. They also make wonderful gifts when packaged in a pretty tin!
Nutrition Information
Per serving (serves 24). Values are approximate.
| Calories | 180 calories |
| Total Fat | 10g |
| Saturated Fat | 6g |
| Carbohydrates | 20g |
| Sugar | 8g |
| Protein | 2g |
| Sodium | 75mg |
| Fiber | 0g |
* Percent Daily Values are based on a 2,000 calorie diet. Your daily values may be higher or lower depending on your calorie needs. Nutritional information is an estimate and may vary.
Never Miss a Recipe
Join 5,000+ home cooks and get new recipes straight to your inbox.
Frequently Asked Questions
Can I make Galettes Bretonnes without a pastry bag?
Absolutely! While a pastry bag creates those beautiful ridged edges, you can absolutely shape these biscuits by hand. Simply form the dough into small discs about 2 inches in diameter and place them on parchment paper. They'll taste just as delicious, though they won't have that iconic fluted appearance. You could also use a small cookie scoop for uniform sizing.
What's the difference between Galettes Bretonnes and shortbread?
Great question! While both are buttery cookies, Galettes Bretonnes typically use salted butter and have a more delicate, crispier texture due to the higher proportion of butter to flour. Traditional shortbread usually contains equal parts butter, sugar, and flour, making it slightly denser. Galettes Bretonnes also traditionally feature egg yolks and are often topped with candied fruit or nuts.
Can I freeze the dough ahead of time?
Yes! I actually recommend making these in batches. After piping the dough onto baking sheets, you can freeze them for up to 3 months. When you're ready to bake, simply brush with egg wash and bake directly from frozen, adding an extra 2-3 minutes to the baking time. This way, you can enjoy fresh Galettes Bretonnes whenever you want!
Why do my biscuits spread too much during baking?
This usually happens if the dough wasn't chilled long enough before baking, or if your butter was too warm to begin with. Make sure to chill the shaped dough for the full 30 minutes, and always start with room-temperature butter—not warm or melted. Also, avoid overbaking, as these delicate biscuits can spread more as they continue to cook.
What's the best way to store these to keep them crispy?
Store your cooled Galettes Bretonnes in an airtight container with parchment paper between layers to prevent them from sticking together. Keep them at room temperature away from moisture. If they do soften slightly over time, you can crisp them up by placing them in a 300°F (150°C) oven for 5 minutes.

Hi, I'm Lisa!
I create simple, tested recipes from around the world that anyone can make at home.
Learn More →Reader Reviews
Based on 283 reviews
Leave a Review
You Might Also Like
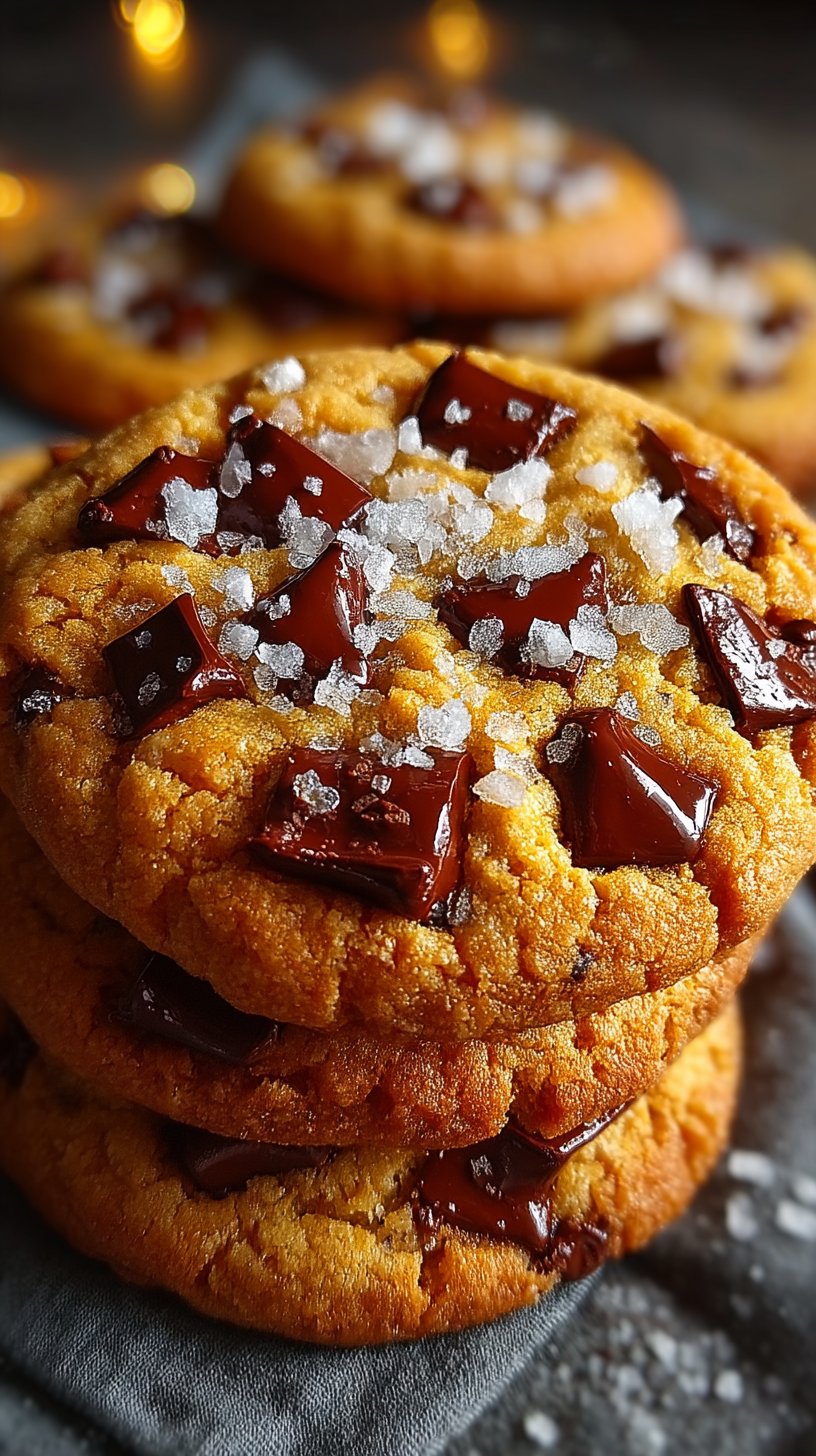
Desserts & Baking
Scoopable Brown Butter Chocolate Chip Cookies
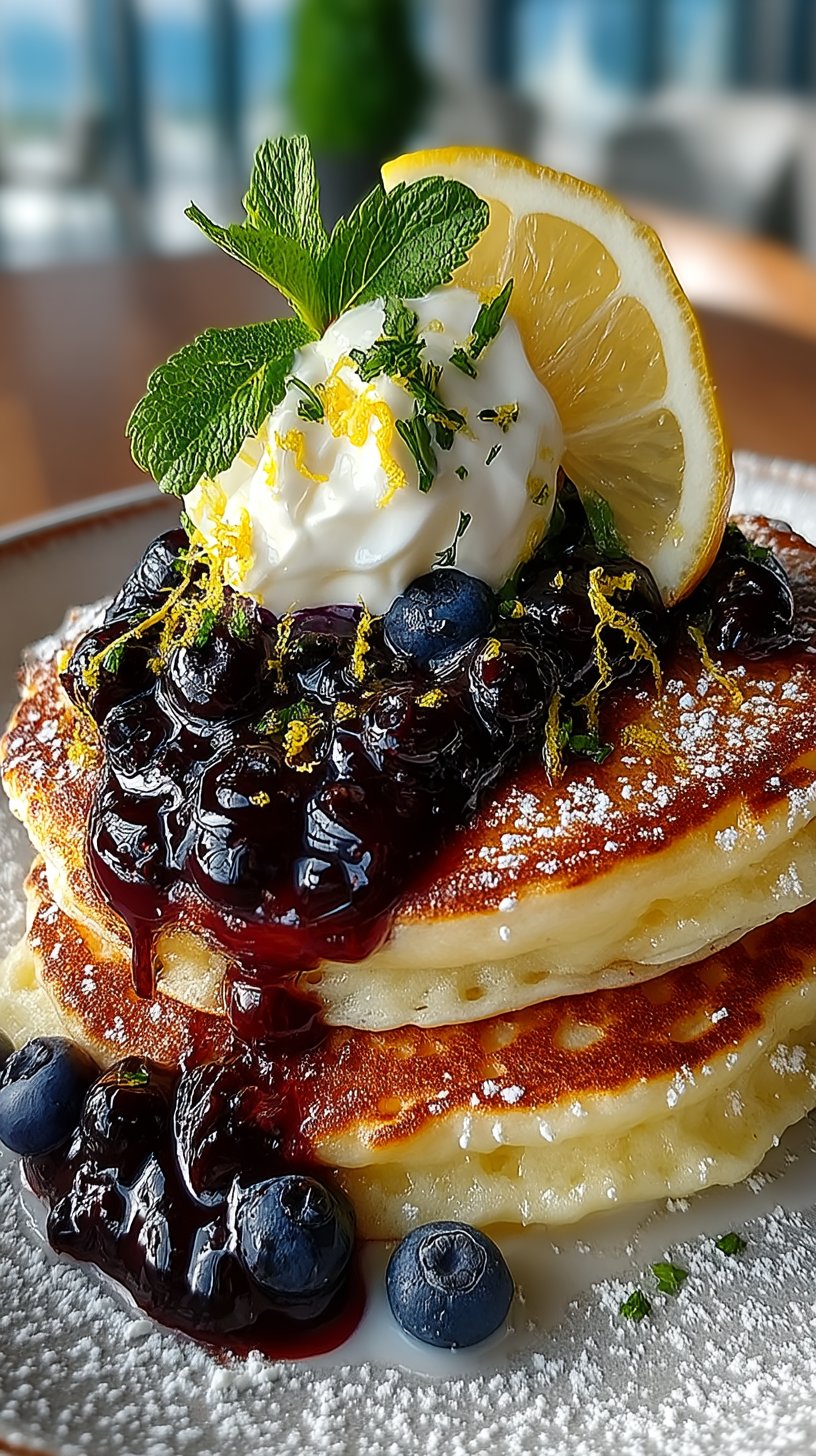
Desserts & Baking
Lemon Ricotta Pancakes with Blueberry Sauce
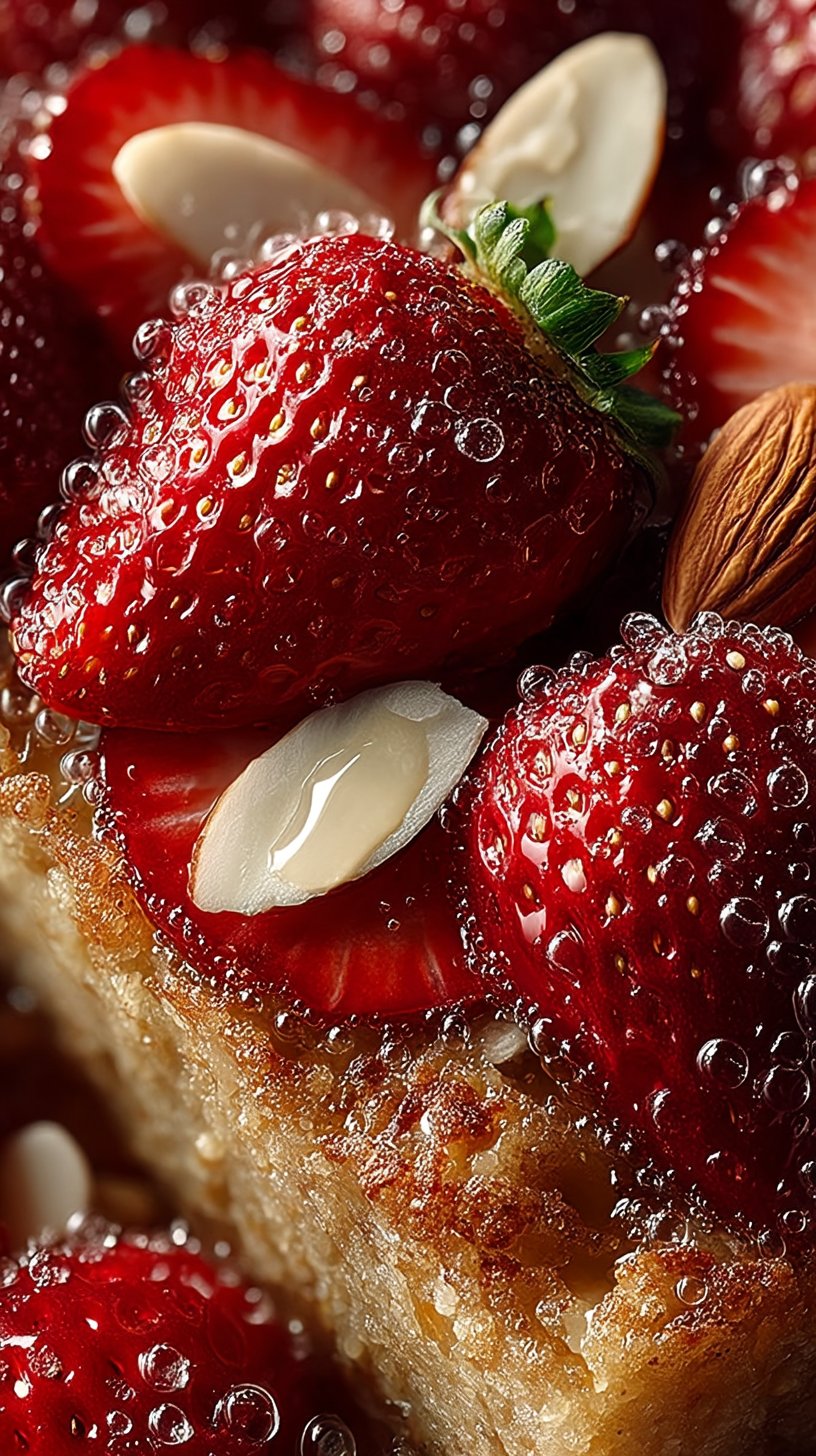
Desserts & Baking
Brown Butter Strawberry Baked Oatmeal Recipe

Desserts & Baking