Chicken & Poultry
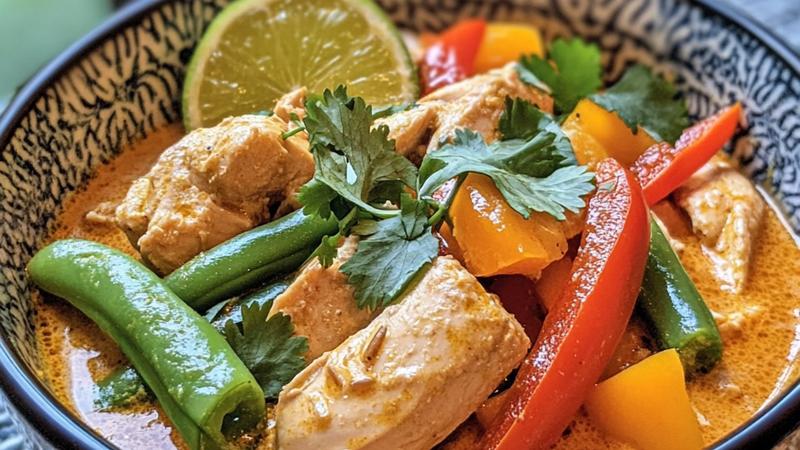
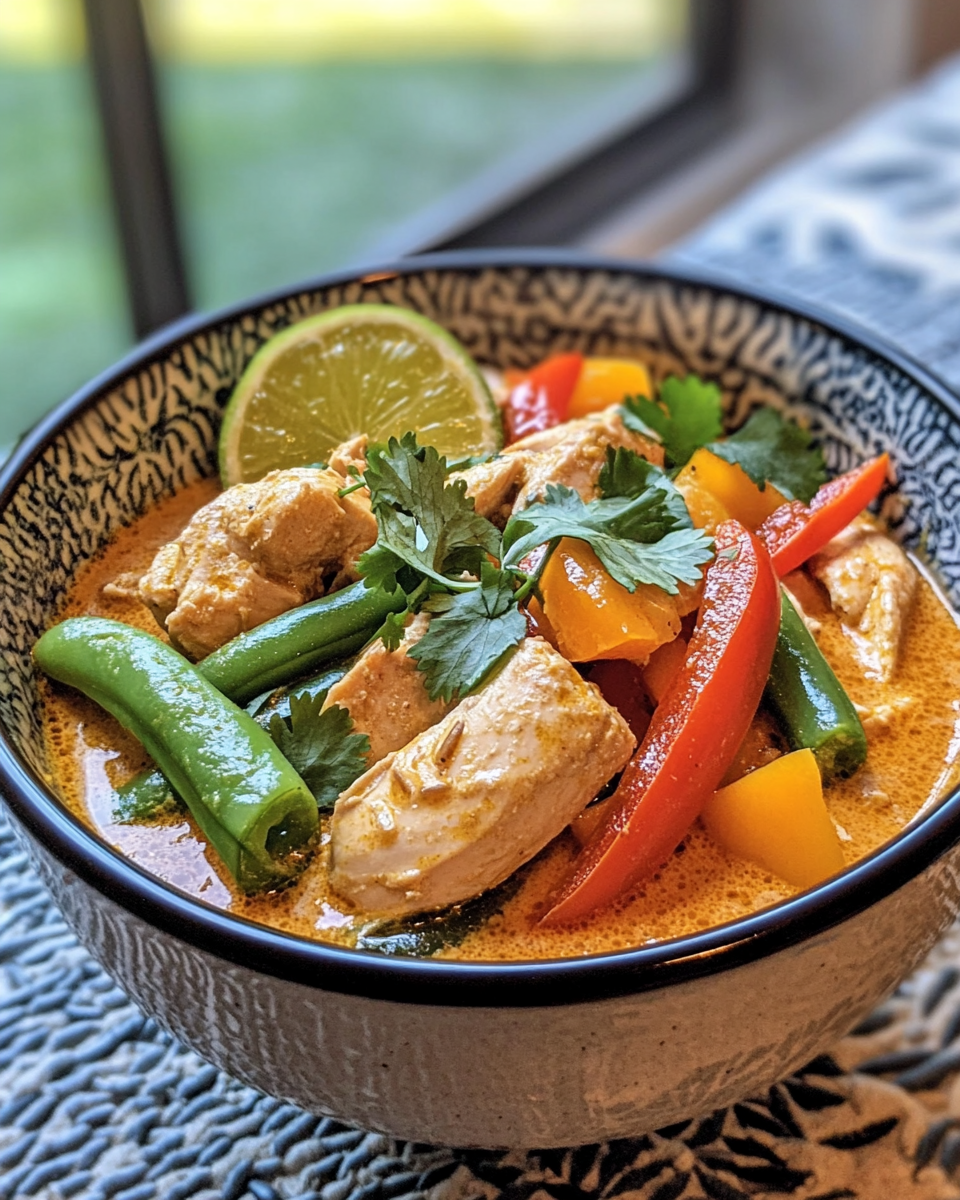
Coconut Chicken Curry - Quick, Easy, Fabulous
Learn how to make an easy coconut chicken curry at home in just 45 minutes. Creamy, aromatic, and absolutely delicious!
Why I Love This Coconut Chicken Curry
When I first discovered Thai cuisine during a backpacking trip through Southeast Asia, I was absolutely captivated by the balance of flavors—the creaminess of coconut milk, the heat of chilies, the brightness of lime, and the complexity of curry paste all working together in perfect harmony. That experience sparked a lifelong passion for world cuisine, and coconut chicken curry became one of my go-to recipes whenever I want to recreate those magical flavors at home.
What makes this particular version so special is that it’s genuinely easy to make without sacrificing any of that authentic, restaurant-quality taste. I’ve simplified the process over the years, testing different techniques and ingredient combinations to create a recipe that delivers maximum flavor with minimal effort. This isn’t a dumbed-down version of Thai curry—it’s a streamlined approach that respects the traditional flavors while acknowledging that most of us don’t have hours to spend in the kitchen on a weeknight.
The beauty of this dish is its versatility. Whether you’re cooking for a family dinner, impressing guests, or simply treating yourself to something delicious, this curry delivers every single time. It’s comfort food with an international flair, and it’s become a staple in my weekly meal rotation.
The Magic of Coconut Milk in Curry
Coconut milk is the secret weapon in this recipe, and understanding how it works will help you appreciate why this curry is so fabulous. Unlike dairy cream, coconut milk brings a subtle sweetness and richness that complements the spicy curry paste beautifully. The fat content in full-fat coconut milk (which is what you want for this recipe) creates a luxurious, velvety sauce that coats the chicken and vegetables perfectly.
When you pour the coconut milk into the pot with the curry paste and aromatics, something magical happens. The heat causes the coconut milk to emulsify with the spices, creating a cohesive sauce rather than a separated, oily mixture. This is why it’s important to use full-fat coconut milk rather than the lite version—the higher fat content is essential for achieving that creamy texture and rich flavor.
I always recommend giving your can of coconut milk a good shake before opening it, as the cream and liquid naturally separate during storage. Some recipes call for using just the cream from the top of the can, but I prefer using the entire can for a more balanced sauce. The result is a curry that’s creamy without being heavy, and absolutely delicious spooned over rice.
Ingredient Substitutions and Variations
One of the things I love most about this recipe is how adaptable it is. While I’ve given you specific ingredients, the beauty of curry is that you can work with what you have and still end up with something wonderful.
For the protein, chicken is classic, but you could easily substitute shrimp, which cooks even faster and pairs beautifully with coconut milk. Tofu is another excellent option if you’re vegetarian or vegan—just add it toward the end of cooking so it doesn’t break apart. You could also use a combination of proteins if you’re feeding a mixed group.
The vegetables are completely flexible. If you don’t have bell peppers, use whatever vegetables you enjoy. Carrots, snap peas, broccoli, cauliflower, mushrooms, and zucchini all work wonderfully. Just keep in mind that harder vegetables like carrots need a bit more cooking time, so add them earlier in the process.
For the curry paste, red curry is my go-to because it offers a nice balance of heat and flavor, but yellow curry paste is milder and slightly sweeter, while green curry paste is spicier and more herbaceous. Choose based on your heat preference and what you have available.
The fish sauce is traditional and adds incredible depth, but if you don’t have it or prefer not to use it, you can substitute soy sauce or tamari. You won’t get exactly the same flavor, but it will still be delicious. Similarly, if you can’t find Thai basil for garnish, regular basil or cilantro works beautifully.
Serving Suggestions and Pairings
The most traditional way to serve this curry is over jasmine rice, which is fragrant and slightly sticky, making it perfect for soaking up the creamy sauce. I love the way the delicate floral notes of jasmine rice complement the bold flavors of the curry.
Naan bread is another fantastic option, especially if you want something more substantial. You can use store-bought naan or make your own if you’re feeling ambitious. The warm, pillowy bread is perfect for scooping up the curry sauce.
For a lower-carb option, serve the curry over cauliflower rice or with a simple green salad on the side. The freshness of the salad provides a nice contrast to the rich, creamy curry.
As for beverages, I recommend pairing this curry with something that can handle the spice and richness. A crisp white wine like Sauvignon Blanc or Pinot Grigio works beautifully. If you prefer beer, a light lager or wheat beer is refreshing. For non-alcoholic options, Thai iced tea is the classic choice, or simply serve with ice water and lime wedges.
For a complete Thai-inspired meal, consider adding some simple appetizers like spring rolls or satay skewers, and finish with a light dessert like mango sticky rice or coconut sorbet.
Tips for Curry Success
After making this curry dozens of times, I’ve picked up a few tricks that ensure it turns out perfectly every single time. First, don’t skip the step of cooking the curry paste with the aromatics. This blooming process is what develops the deep, complex flavors that make this dish so special.
Second, use full-fat coconut milk. I cannot stress this enough. The lite versions simply don’t have the richness and creaminess that makes this curry fabulous. If you’re concerned about calories, remember that the fat in coconut milk is mostly medium-chain triglycerides, which are metabolized differently than other fats.
Third, don’t overcook the chicken. Once it’s cooked through, it’s done. Overcooked chicken becomes dry and tough, which is the opposite of what you want. The chicken will continue cooking slightly as the curry simmers, so remove it from heat while it’s still slightly tender.
Fourth, taste and adjust as you go. Everyone’s palate is different, and what’s perfect for me might be too spicy or not spicy enough for you. The beauty of cooking is making it your own.
Finally, don’t be afraid to make a big batch. This curry freezes beautifully and actually tastes better after a day or two as the flavors have time to develop. Having homemade curry in your freezer is like having a restaurant-quality meal on standby.
Ingredients
Main Ingredients
Garnish & Serving
Instructions
Prepare Your Ingredients
Start by gathering all your ingredients and prepping them before you begin cooking. Cut the chicken breasts into bite-sized pieces, about 1.5 inches each. Slice your onion thinly, mince the garlic, and grate the fresh ginger. Chop your bell peppers into chunks and trim the green beans. Having everything ready will make the cooking process smooth and stress-free. This mise en place approach is something I learned while exploring Thai street food markets, and it truly makes a difference in the final result.
Sauté Aromatics
Heat the vegetable oil in a large, heavy-bottomed pot or Dutch oven over medium-high heat. Once the oil is shimmering, add the sliced onions and cook for about 3-4 minutes until they become translucent and fragrant. Then add the minced garlic and grated ginger, stirring constantly for about 1 minute. This step is crucial because it builds the flavor foundation of your curry. The aroma that fills your kitchen at this point is absolutely incredible and signals that you're on your way to something special.
Add Curry Paste
Add the red curry paste to the pot and stir it into the aromatics, cooking for about 2 minutes. This allows the spices in the paste to bloom and release their essential oils, deepening the flavor profile. You'll notice the mixture becoming more fragrant and the color becoming richer. Don't skip this step, as it's what transforms simple ingredients into something truly fabulous. The curry paste is the heart of this dish, and giving it proper attention makes all the difference.
Cook the Chicken
Add the chicken pieces to the pot and stir well to coat them with the curry paste mixture. Cook for about 5-6 minutes, stirring occasionally, until the chicken is mostly cooked through and has absorbed some of the curry flavors. The chicken doesn't need to be completely cooked at this stage since it will continue cooking in the coconut milk. This step helps seal in the flavors and ensures the chicken stays tender and juicy throughout the cooking process.
Add Coconut Milk and Vegetables
Pour the entire can of coconut milk into the pot, stirring well to combine it with the curry paste and chicken. Bring the mixture to a gentle simmer. Add the bell peppers and green beans, along with the fish sauce, lime juice, and brown sugar. Stir everything together and let it simmer for about 12-15 minutes until the chicken is fully cooked through and the vegetables are tender but still have a slight bite to them. The coconut milk creates a luxurious, creamy sauce that's absolutely divine.
Taste and Adjust
Before serving, taste your curry and adjust the seasonings to your preference. If you want it spicier, add more curry paste or fresh chili peppers. If it's too spicy, add a splash more coconut milk. If you want more depth, add a bit more fish sauce. If you prefer it sweeter, add another teaspoon of brown sugar. This is your opportunity to make the dish perfectly suited to your palate. I always encourage home cooks to trust their taste buds and make adjustments that feel right to them.
Serve and Garnish
Ladle the curry into bowls and serve over fluffy jasmine rice or with warm naan bread. Garnish generously with fresh Thai basil or cilantro, a squeeze of lime juice, and sliced red chili peppers if you like extra heat. The fresh herbs add brightness and a wonderful aromatic quality that elevates the entire dish. Serve immediately while the curry is hot and the flavors are at their peak. This is comfort food at its finest, and it's something you'll find yourself making again and again.
Nutrition Information
Per serving (serves 4). Values are approximate.
| Calories | 385 calories |
| Total Fat | 18g |
| Saturated Fat | 12g |
| Carbohydrates | 22g |
| Sugar | 6g |
| Protein | 38g |
| Sodium | 680mg |
| Fiber | 4g |
* Percent Daily Values are based on a 2,000 calorie diet. Your daily values may be higher or lower depending on your calorie needs. Nutritional information is an estimate and may vary.
Never Miss a Recipe
Join 5,000+ home cooks and get new recipes straight to your inbox.
Frequently Asked Questions
Can I use chicken thighs instead of breasts?
Absolutely! Chicken thighs are actually my preference for curries because they stay incredibly moist and tender. They have more fat content, which means they won't dry out during cooking. Just cut them into similar-sized pieces and follow the same instructions. You might need to add an extra 2-3 minutes to the simmering time since thighs are slightly thicker than breasts.
What if I can't find red curry paste?
You can substitute with yellow curry paste or green curry paste, though the flavor profile will be slightly different. Yellow curry is milder and slightly sweeter, while green curry is spicier. You could also make your own curry paste by blending dried chilies, garlic, ginger, lemongrass, and spices, but the store-bought versions are convenient and work beautifully for this quick recipe.
How do I make this dairy-free?
This recipe is already dairy-free! Coconut milk is naturally free of dairy products, making this curry perfect for anyone with dairy allergies or following a vegan diet. Just ensure your curry paste and fish sauce are also dairy-free, though most traditional versions are. It's one of the reasons I love Thai cuisine so much.
Can I make this ahead of time?
Yes, this curry actually tastes better the next day as the flavors have time to meld together. Store it in an airtight container in the refrigerator for up to 3 days. Reheat gently on the stovetop over medium heat, adding a splash of water or coconut milk if it's too thick. You can also freeze it for up to 2 months. Just thaw overnight in the refrigerator before reheating.
What vegetables work best in this curry?
I love using bell peppers, green beans, snap peas, carrots, zucchini, and baby corn. You can also add mushrooms, broccoli, or cauliflower. The key is to add vegetables based on their cooking time, so harder vegetables like carrots go in earlier, while delicate ones like snap peas go in toward the end. Feel free to use whatever vegetables you have on hand or prefer.

Hi, I'm Lisa!
I create simple, tested recipes from around the world that anyone can make at home.
Learn More →Reader Reviews
Based on 420 reviews
Leave a Review
You Might Also Like
Chicken & Poultry
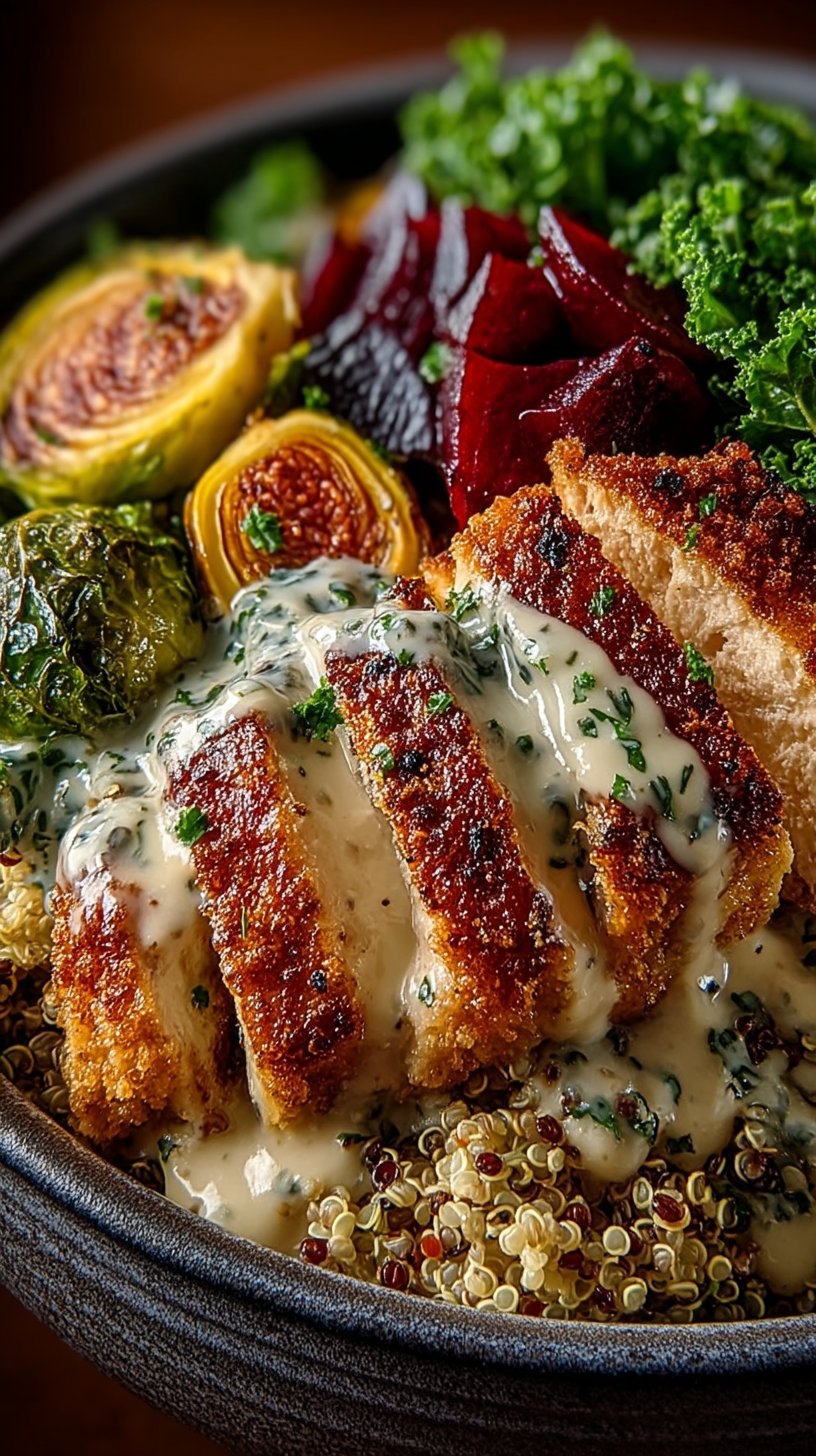
Chicken Harvest Bowl Recipe (Sweetgreen Copycat)
Chicken & Poultry
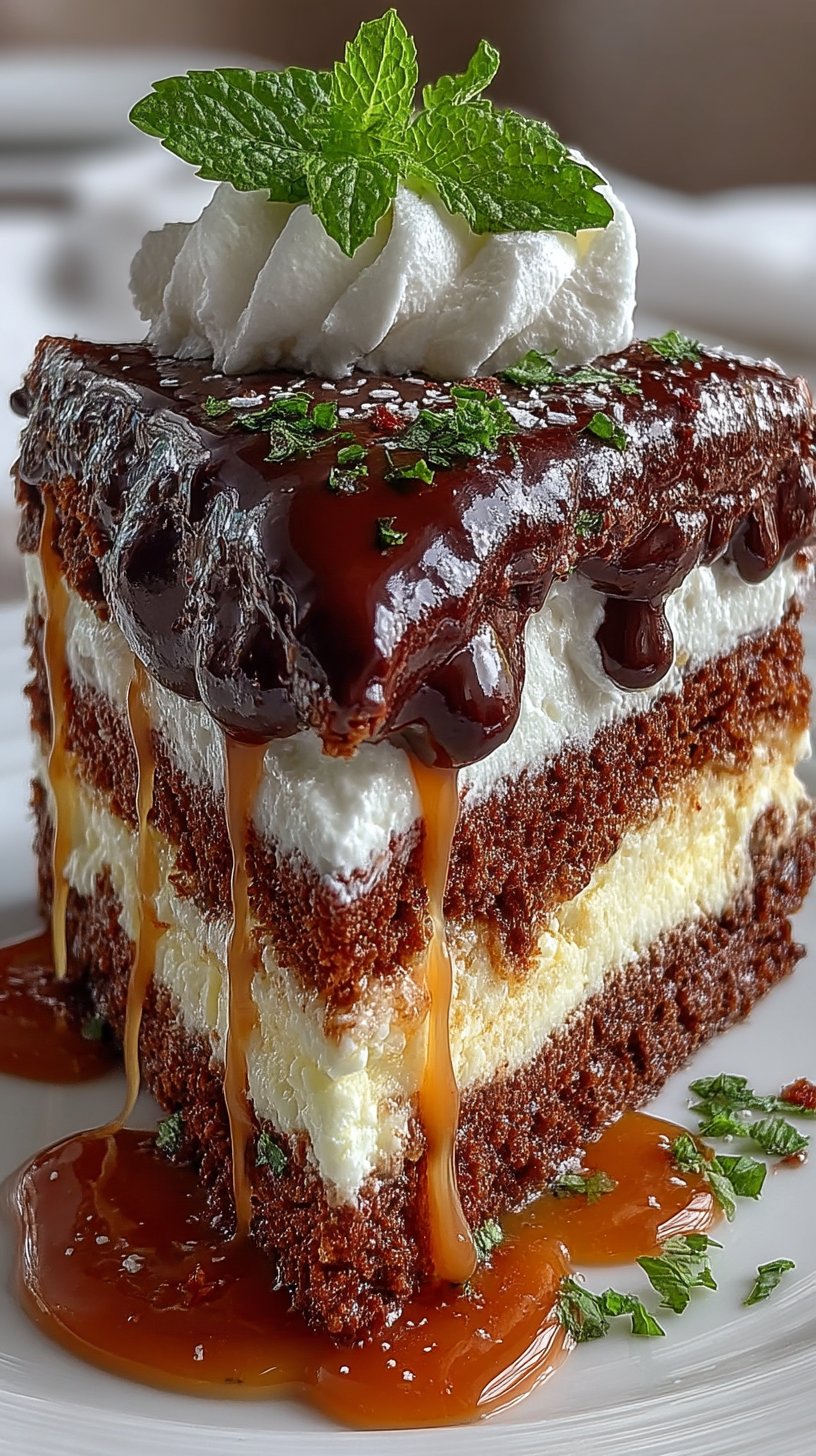
My Tuxedo Cake Rivals the Costco Version
Chicken & Poultry
Buttermilk Whole Roasted Chicken Recipe
Chicken & Poultry